This article describes the usage of the event's data structure.
We are gradually updating all Floqs to a new version in which the data types, data editors, integrations and releases are completely revamped. If your Floq is already on the new version, refer to the article about the data types.
What is the data structure?
In the data structure, you can set up types to categorise your data. You can link these types to each other and define per type what data should be displayed in the app by means of sections.
An example can be found below:
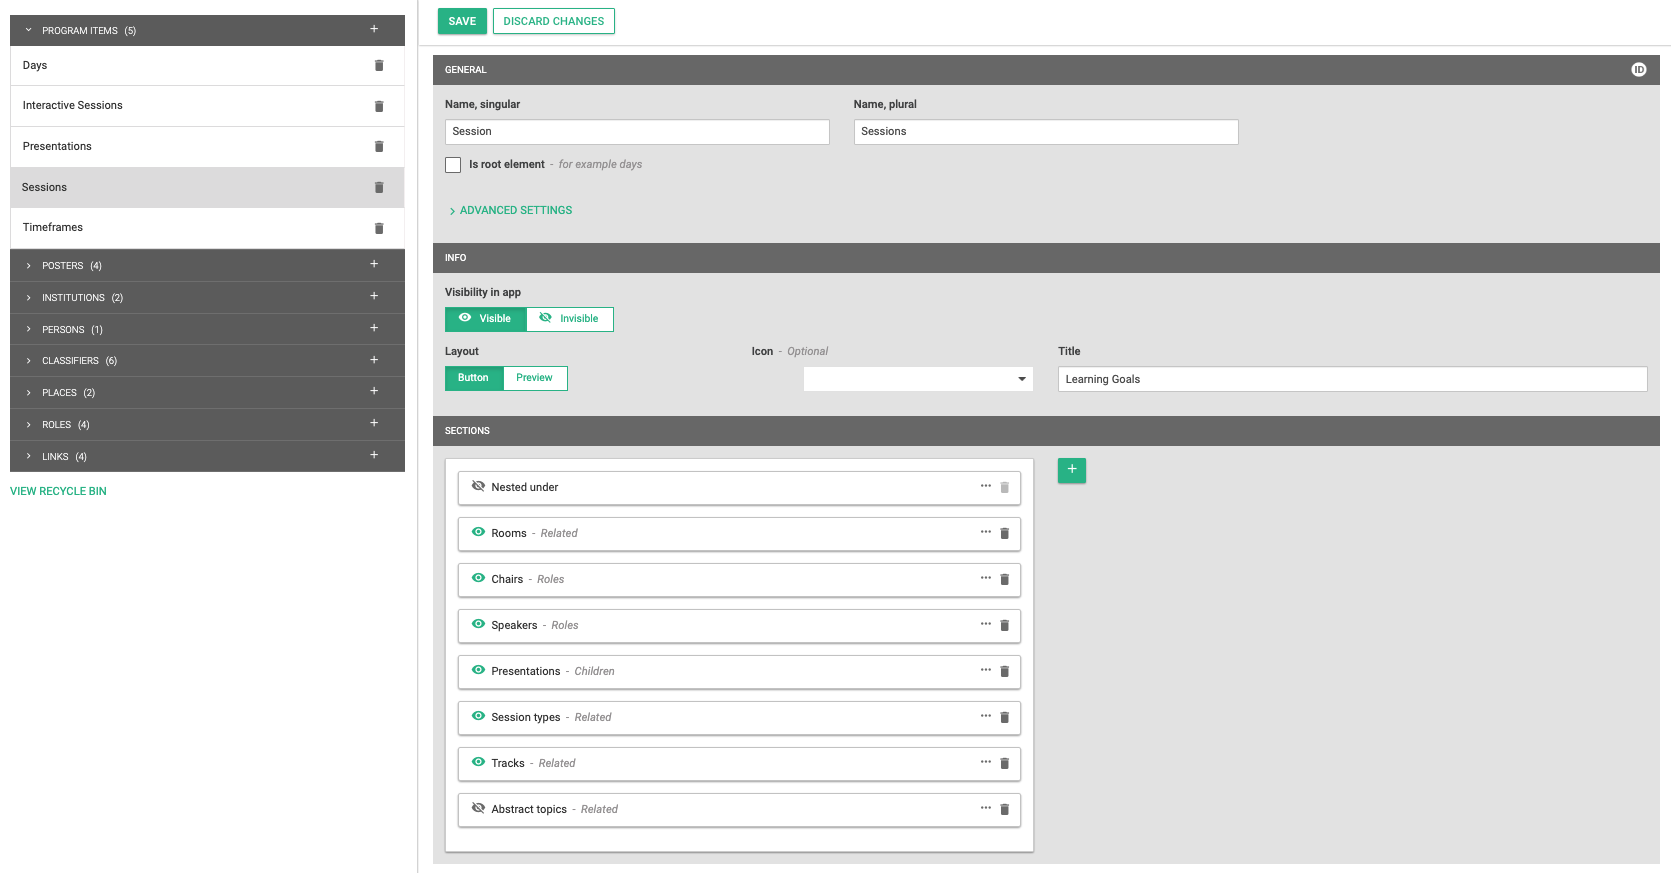 The type name is Session, this is displayed in the title bar.
-
The Info is set visible as a Button, with the name Learning Goals.
-
The session has Presentations nested under them.
-
The sections Speakers, Chairs, Tracks and Session types are visible.
-
The section Abstract Topics is invisible.
The default template comes with a basic data structure, that you can tweak if you like. If you create your own template export from an existing event, the structure of that event is included.
Create types to categorise your data
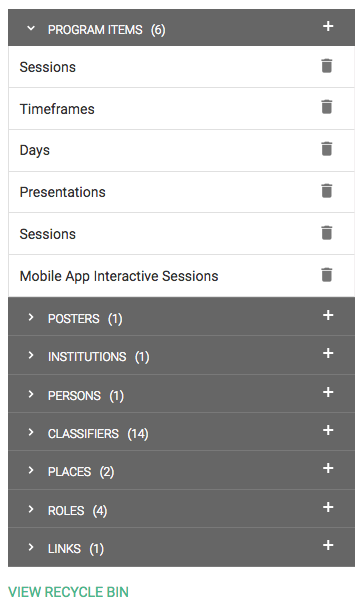
In the table on the left, you see an overview of all categories for which you can create types. The number next to a category is the number of types in it. To add a new type, click the +. Fill in the singular and plural names. These names will be used in the app, for example in the title bar or in the section headers on the detail page of an item.
To delete a type, click the trashcan. Please note that you cannot delete types that contain data. Deleted types can be found and restored through the View recycle bin link below the table.
The following categories are available:
-
Program items: all types related to the daily programme (timed), like sessions or presentations. Specify for days whether the item is a root element! This can be used to create the programme page.
-
Posters: all types that are in the program, but don't have a start and end time. This can be Abstracts or Posters but also OnDemand content.
-
Institutions: all types of institutions, such as exhibitors or sponsors.
-
Persons: all types of persons. Mostly only has the type Persons.
-
Classifiers: all types that are used to group data, e.g. sponsor levels, topics or product categories.
-
Places: all different place types, e.g. booths or rooms.
-
Roles: the roles persons could have, e.g. authors or presenters.
-
Links: all types of links, e.g. websites or abstracts
Configure app sections
In an Event's data structure you can configure the sections per type to define what info can be added and what is displayed in the app.
For program items, posters, persons, institutions and classifiers, you can define what data can be added and how this data is displayed in the app by means of sections.
Please note that when you've added a section for which you didn't add data, it will not be displayed in the app.
General
In the General section, you can add the name of the type, singular and plural.
For programme items or posters, additional settings can be found that apply if the program item of a poster are hosted. These can be found under the Hosted room settings.
- Make poster or slides file available on-demand: if enabled, the on-demand poster room is available for attendees. This means that here they can view the PDF that is uploaded below Poster/Slides for the item (either through the CMS, or through the host dashboard), and, if recorded by the host, play the audio description and video introduction.
- Allow hosts to override poster file: if this is enabled, hosts can add a PDF to their dashboards. This also means they can overwrite a PDF that is uploaded in the CMS.
In some categories you can click on Advanced settings and Hosted room settings to expand more settings.
Hosted room settings (everything applies to Program Items and Posters):
- Make poster or slides available on-demand:
Decide whether to make the uploaded poster or slides available in the app once on-demand content is enabled. - Display icon when poster or slides are attached:
Decide whether you want an icon to be displayed under the title of the program item or a poster once the poster or slides are uploaded. - Allow host to upload poster or slides:
Decide whether to give an invited host or presenter the ability to upload their poster or slides on their own. - Allow host to start meeting:
Decide whether to give an invited host or presenter the ability to start broadcasting their live presentation themselves. - Allow host to record or upload introduction video:
Decide whether to give an invited host or presenter the ability to record or upload an introduction video for their poster that would be available on-demand. - Allow host to record audio description:
Decide whether to give an invited host or presenter the ability to record an audio to accompany the uploaded slides.
Advanced settings:
- Virtual room can be accessed by: in Program Items, Posters.
Decide whether the virtual room (incl. recordings) can be accessed by anyone or only a specific group. - Tab can be accessed by: in Program Items, Posters, Institutions, Persons.
Decide whether specific content can be accessed by anyone or only a specific group. - Default session banner: in Program Items.
Set a default banner to appear in the side panel, above the programme item or poster name. Note that the default banner can be overwritten when editing a specific item. - Default background image: in Persons.
Set a default background image banner to appear in the side panel, behind the person's profile picture.
Info
Below Info, you can set whether the extra info from the data should be visible in the app.
Tip! You can use the Visible-Invisible feature to be able to already import all Poster Abstracts, and release them with one click (Visible) once the embargo is lifted.
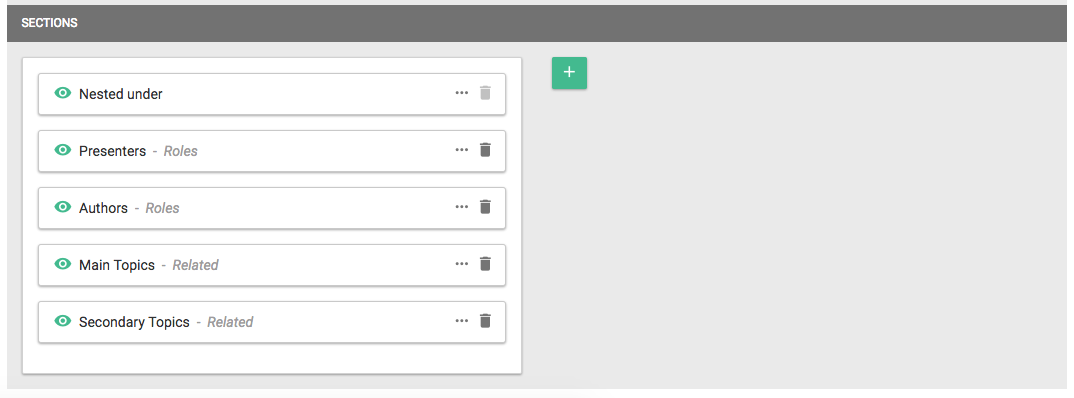
Sections
The sections define the data you can add in the data editor, and how this data is displayed in the app.
Add sections
To add a section, click the + button next to the list of sections.
First, select a category. Depending on the type you're adding sections to, there are different categories you can add:
-
Roles: this category will show you all types defined below Roles. You can use this to for example add a section Authors or Sponsors to a program element. Make sure to select whether a Person or an Institution has this role, as this defines in the data editor what kind of data you can add.
-
Roles of: this is the inverse of roles. Use this for example to add a section to Author of to persons or Sponsor of to institutions. In the data, you can then select program items of which this person is the author or institution is the sponsor.
-
Related: this can be used for a broad variety of things, for example, topics and rooms to a program item or booths and product categories to an institution, as well as any related links.
-
Related of: this is the inverse of related: if you add a Related section Topics to a Presentation, the type Topic will get a section Presentations - Related of. In the data, you can then select presentations in the topic data.
-
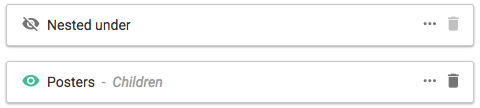
Children: only available for program items or posters. Here you can choose to display underlying items, for example presentations or posters in a session.
Delete sections
To delete sections, click the trashcan. You can only delete sections for which no data is added to any of the objects of this type. If there is data, you will get a warning that the section cannot be deleted. The objects that have data are listed.
The section Nested under in program items and posters cannot be deleted, as it is required.
Order sections
To order sections, click, hold and drag them to the desired position. The order of the sections defined here reflects the order of the sections in the app.
Make sections invisible in the app
If there is data in a certain section, but don't want this data to be displayed in the app, you can click the eye to hide the section in the app.
You can use this for example to already add the abstracts, but only show them in the app at the very last moment.
Extra options
Below the three dots, there are a few extra options.
-
Overwrite section name with: if you want the section to have a different name than the type name, you can enter your custom name here.
-
Group by: if there will be a lot of items in this section, you can group them in the app. This could for example be used to group many presentations below a topic By day or to group many institutions in a product category By initial.
- Evaluation name: only appears under the program item types for which Evaluation is enabled in Virtual and Interactivity. Can be used to change the name for all evaluation forms that refer to the specific program item type.