Use evaluation forms in your event
You can create an evaluation form to gather the attendees' feedback about specific sessions and posters or about the conference in general.
In this article, we explain:
- How to create an evaluation form
- How to create a direct link to the form
- How to add the form to programme items
- How to download a report of the results
Create an evaluation form
In the configurator, within the event, select Virtual & Interactivity and then the tab Evaluation forms. Click Add in the toolbar. This will open the following window:
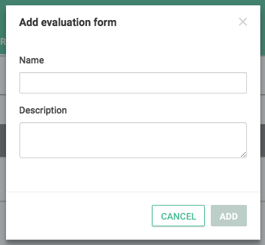
Add the following data:
-
Name: the name of your form. This will appear in the title bar in the app.
-
Description: add a brief description of the form. Try to be creative and not plainly repeat the name of the form. Best practice is to give some motivation for the user why to complete this form, and what the results are used for.
Click Add to create the form. Once the form is created, you can configure some texts users will see in the form in the General section:
-
Submit button text: the text on the button with which users can submit their evaluation.
-
Confirmation message: the message that is shown after submitting the evaluation.
- Required question error message: the message that is shown when a required question is not filled in.
Add a question
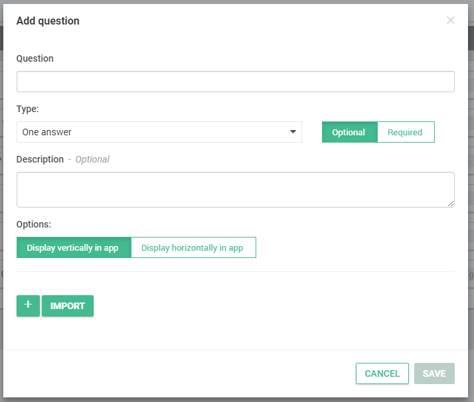
You can start adding questions below the Questions section by clicking the + sign. Add or select the following data:
-
Question: enter the question itself.
-
Type: select the type of question:
-
One answer: users can select only one option from a list
-
Multiple answers: users can choose one or more options from a list
-
Text: users can enter text in a text field
-
Dropdown: users can select one option from a dropdown list
-
-
Optional/Required: if you set a question to Required, the form cannot be submitted without answering this question.
-
Description: include a brief explanation of the question, for example when you use a 1-5 scale, what 1 up to 5 means.
- Options: when having selected One answer or Multiple answers, choose how the options should be displayed:
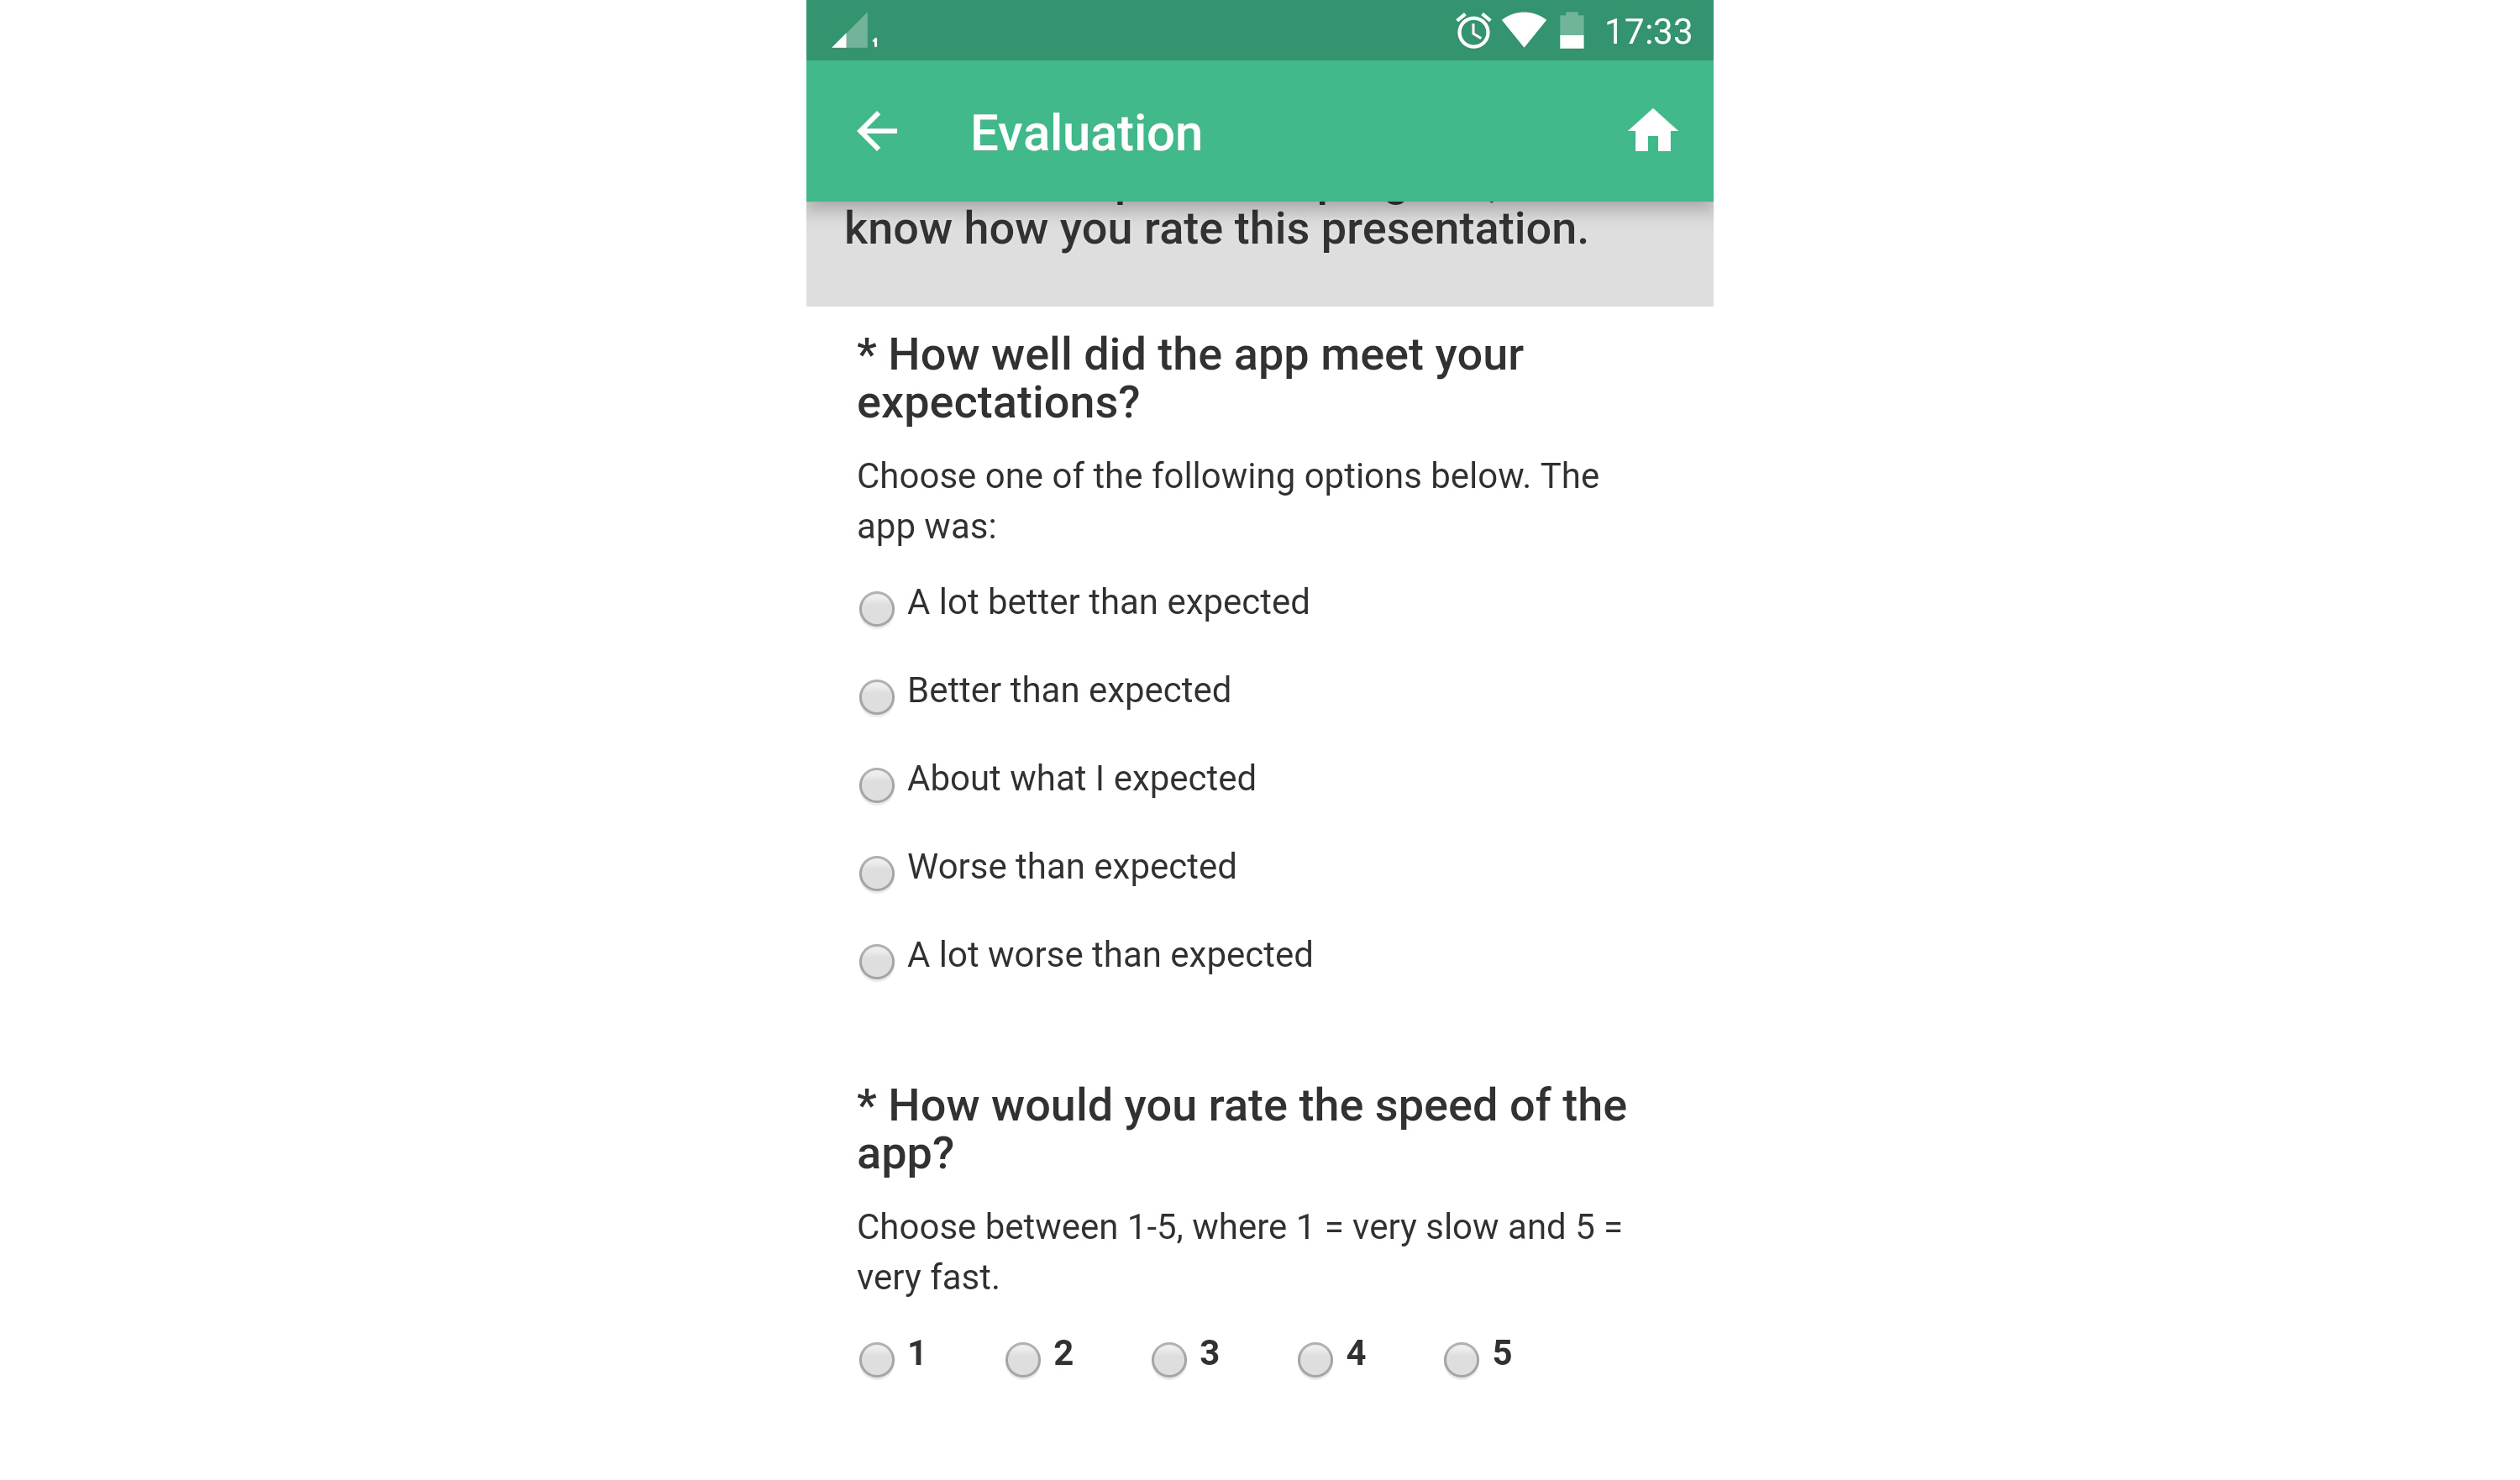
- Display vertically in app: answers will be displayed below each other, see first question below
- Display horizontally in app: answers will be displayed next to each other, see second question below
On small screens, horizontally only works if your options are very short. In general, vertically is a safer choice.
Add answer options
Then add the options by clicking +. Enter the option text in the text box and drag them in the desired order. Answer options can be deleted with the trashcan.
Note that the evaluation form is anonymous. If you would like to know who filled out the form, you need to include a question asking for the attendee's name.
Import answer options
If you have many options you don't want to enter manually, for example poster names in a poster voting form, you can quickly add them with the Import button.
Paste the options, for example from an Excel sheet, in the left column and check if they are correctly separated in the right. Click Add to convert them to options.
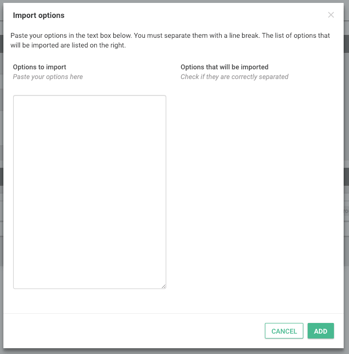
Click Save to add the question.
Edit questions
The order of the questions can be changed by dragging them within the field. Questions can be edited by clicking the pencil and deleted by clicking the trashcan.
Group questions
To group questions, add a name in the Optional group field. If you add the same name to multiple items, this group name will be displayed as a header above the questions with this group name.

Add an evaluation form to program items
An evaluation form can be added to all program items of the same type.
Go to Event settings > Data types and find below Programme items the type you want to turn it on for. Scroll down to the Content section, Interactive tab, and make sure that the Evaluate item is visible. Select the form the card should link to in the dropdown below.

Toggle on Send push notification reminders to send users a push notification reminder to evaluate the session. This notification is sent 10 minutes after the programme item has ended and only to people that have added the item to their favourites.
Remember that you have to create a release before the link to the form becomes visible in the app!
Create a direct link to a form
There is also a way to link directly to the URL of the form. You can use this for instance to create an evaluation form to gather feedback about the entire event. The link could be added to a home menu button, a navigation menu or as part of a news message.
You can find the form ID by clicking the link-icon on the editing page of the form:

Download a report of the results
From the Evaluation forms tab, you can download an Excel report containing the results of your evaluations by clicking Download results.
