Within the event, the settings are:
General
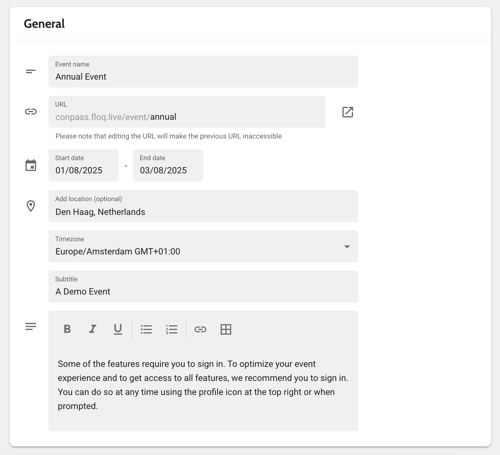
General
Edit the information you entered when adding the event, such as the start and end date, timezone and description.
Features
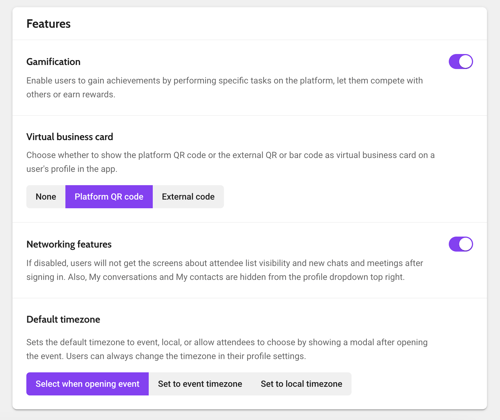
- Enable or disable Gamification.
- Choose the Virtual business card to use in the app: None, Platform QR code or External code. When selecting External code, the code that is filled in in the Bar code field for every attendee is translated in a bar code (if it only contains numbers) or QR code. You can use for example add the badge QR code here, so that it matches with the physical badge around the attendee's neck.
- Enable or disable Networking features: if you're not using networking features such as the attendee list or chat, you can turn off related settings with this toggle.
- Set the Default timezone of the event to Local or Event timezone, or allow users to choose when accessing the event for the first time, for example for hybrid events.
Colours
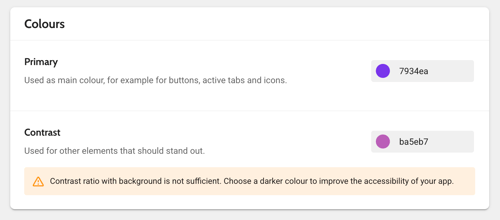
Choose the event’s primary and contrast colours. Please note that a warning is shown when the contrast ratio with white is not sufficient.
Images
The event icon and event image are already uploaded when creating the event, but can be edited here.
The sign-in background is displayed behind the sign-in modals in both the web and mobile app. Since it will be cropped on small devices and the mobile app, use an ambient background that doesn’t contain logos or text.
Placeholder images are shown in built-in virtual rooms when no image is uploaded by the host or moderator. When left empty, the platform's default images will be displayed.
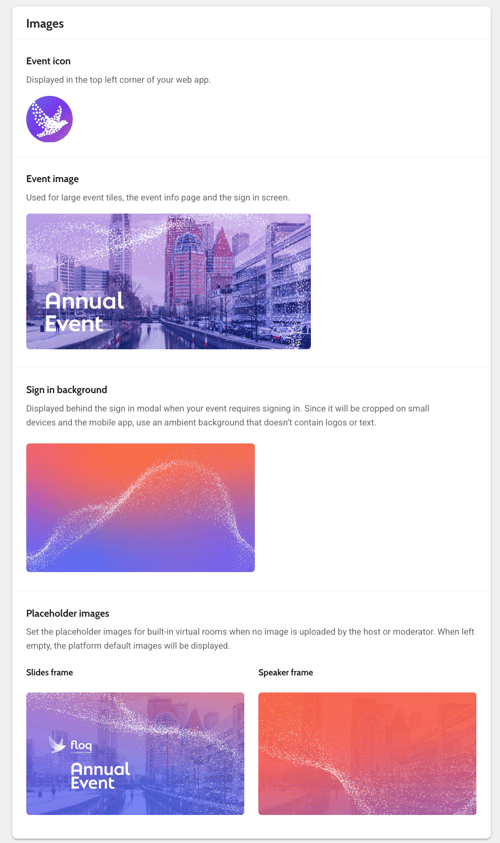
Tip! Upon adding an image, the studio will show you the required size and dimensions. You can also find this in the artwork articles.
Access
When adding a new event, the event status is by default set to Coming soon. In the event settings, you can make the event Available and apply event restrictions.
Set event status
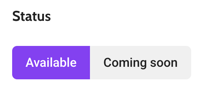
- Coming soon: When set to coming soon, the event cannot be installed by users. On mobile, you can add an event tile to the selection screen to already announce the event, but not allow users to enter it. On web, the event tile is shown as coming soon in the event overview on floq.live if the user is on the attendee list or received a virtual invite.
- Available: The event can be installed or accessed by attendees, of course depending on the event restrictions. On mobile, make sure to add an event tile to the selection screen to have it available to users on mobile. On web, the event is only shown in the event overview on floq.live if the user is on the attendee list or received a virtual invite. Note that the web app is always accessible with a direct URL unless access restrictions apply.
Set event access restrictions
You can restrict who has access to your event.
- Choose Anyone to not restrict access. Optionally, you can protect the event with a password that you share with your attendees. Just enable the checkbox and enter the password.
- When choosing Signed-in users only, anyone that can sign in, can install the event.
- Select Attendees only to restrict your event to users on the attendee list. You can import users on the attendee list from Excel, or sync it with an external system.
- Choose a Community group or Event group to restrict access even further to only users within the selected group(s).
Data types
The data types are addressed in a separate article.
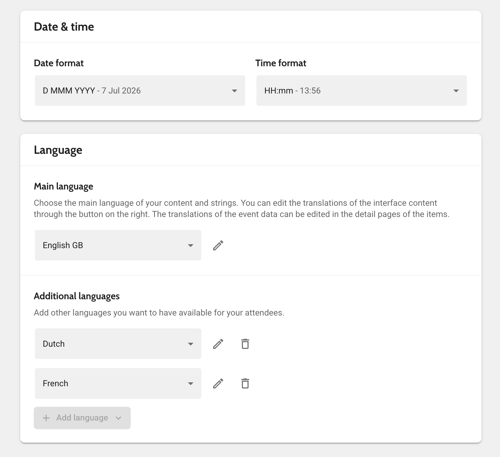
Language
First, choose the Date format and Time format and select the Main language from the dropdown. The main language is the default language for attendees, and the language you add your content (session names, information pages, etc) in.
Once the language is selected, you can customise the wording of every string by clicking the pencil icon. A short explanation of where the string is used is shown on the left, the string itself on the right. Use the search to find a particular string to edit. Changed strings can be restored to the default with the ![]() button on the side. To restore all strings, click the
button on the side. To restore all strings, click the ![]() button in the top-right corner.
button in the top-right corner.
Below Additional languages, you can select more languages for your event. Attendees will be able to choose from those in the event app. Not only the interface texts, but also the content, such as session names and information pages, will be automatically translated. These automatic translations can be overwritten by manual translations if they are not correct.
Note that each additional language involves additional costs. Check in with your Customer Success Manager if you need more languages than currently can be added.
Emails
Read here how to set your invitation templates for attendees, speakers, moderators, hosts and representatives.
Advanced
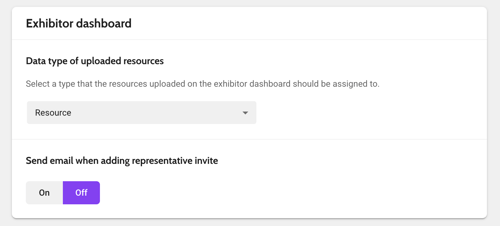
Exhibitor dashboard
Choose the Data type to which resources uploaded on the exhibitor dashboard should be added, and choose whether or not an automatic invite should be sent when inviting a representative to an institution.
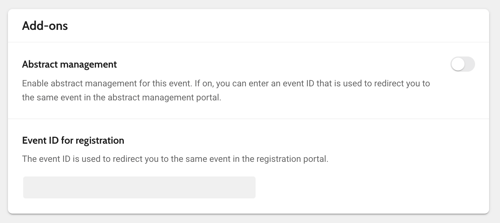
Add-ons
Choose whether the event has Abstract management. If on, an item will appear in the side menu. For event registration, you can enter the Event id you can find in the registration platform. The Event registration link in the side menu will then directly open the right event, instead of the list of all your events.
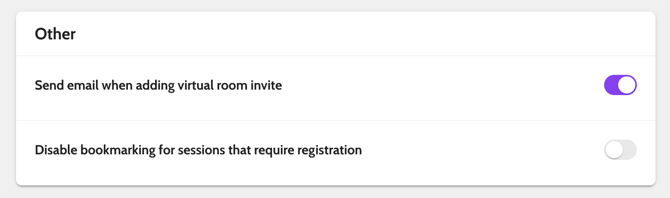
Other
Decide whether an automatic invite email should be sent when adding a backstage access invite, and choose whether you want to disable bookmarking for sessions that require registration.