Everybody who has been invited as a virtual speaker to the session gets access to the speaker dashboard. This is where you can present live, pre-record your presentation or a poster pitch, chat with other speakers and the attendees and see incoming questions. Below we explain every element of the dashboard and how to use it to deliver your presentation and follow the other presentations in a session:
We advise you to access the speaker dashboard in Chrome or Microsoft Edge browsers. To avoid distractions, we advise closing other applications and turning off your notifications. Please also make sure to use the same computer and internet connection before and during the conference as different settings can change your experience. For more tips read this article.
Bottom toolbar
Enable/disable the camera and microphone
On the bottom toolbar, you can turn your camera and microphone on and off using the buttons in the centre. With the small arrow on the right side, you can select another audio or video source than the default.
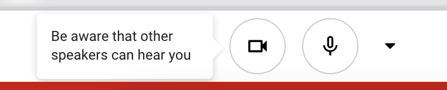
On the left of the camera and microphone icons, there are messages to inform you whether you are the presenting speaker, or someone else is.
Switch between modes
At the bottom left, you can switch between different modes

-
Present live: This view is used to present your slides live during the session. You can hear and be heard by others. What you see on your screen is what the audience sees as well.
-
Pre-record presentation: In this view, you can pre-record your presentation prior to the conference. While you are pre-recording, you cannot hear or be heard by the other speakers and moderators. Note that the option to pre-record is only available when the virtual room is still closed for attendees. If you are pre-recording and the moderator opens the room, the recording stops and you will be notified of that.
-
Audience view: When the session is live, this button allows you to see the session as the attendees do. When you select ‘Audience view’ you can watch the presentations of other speakers in the same session. Please note that in this tab, you can still be heard by others if you're not muted.
Below we will explain each mode in more in-depth.
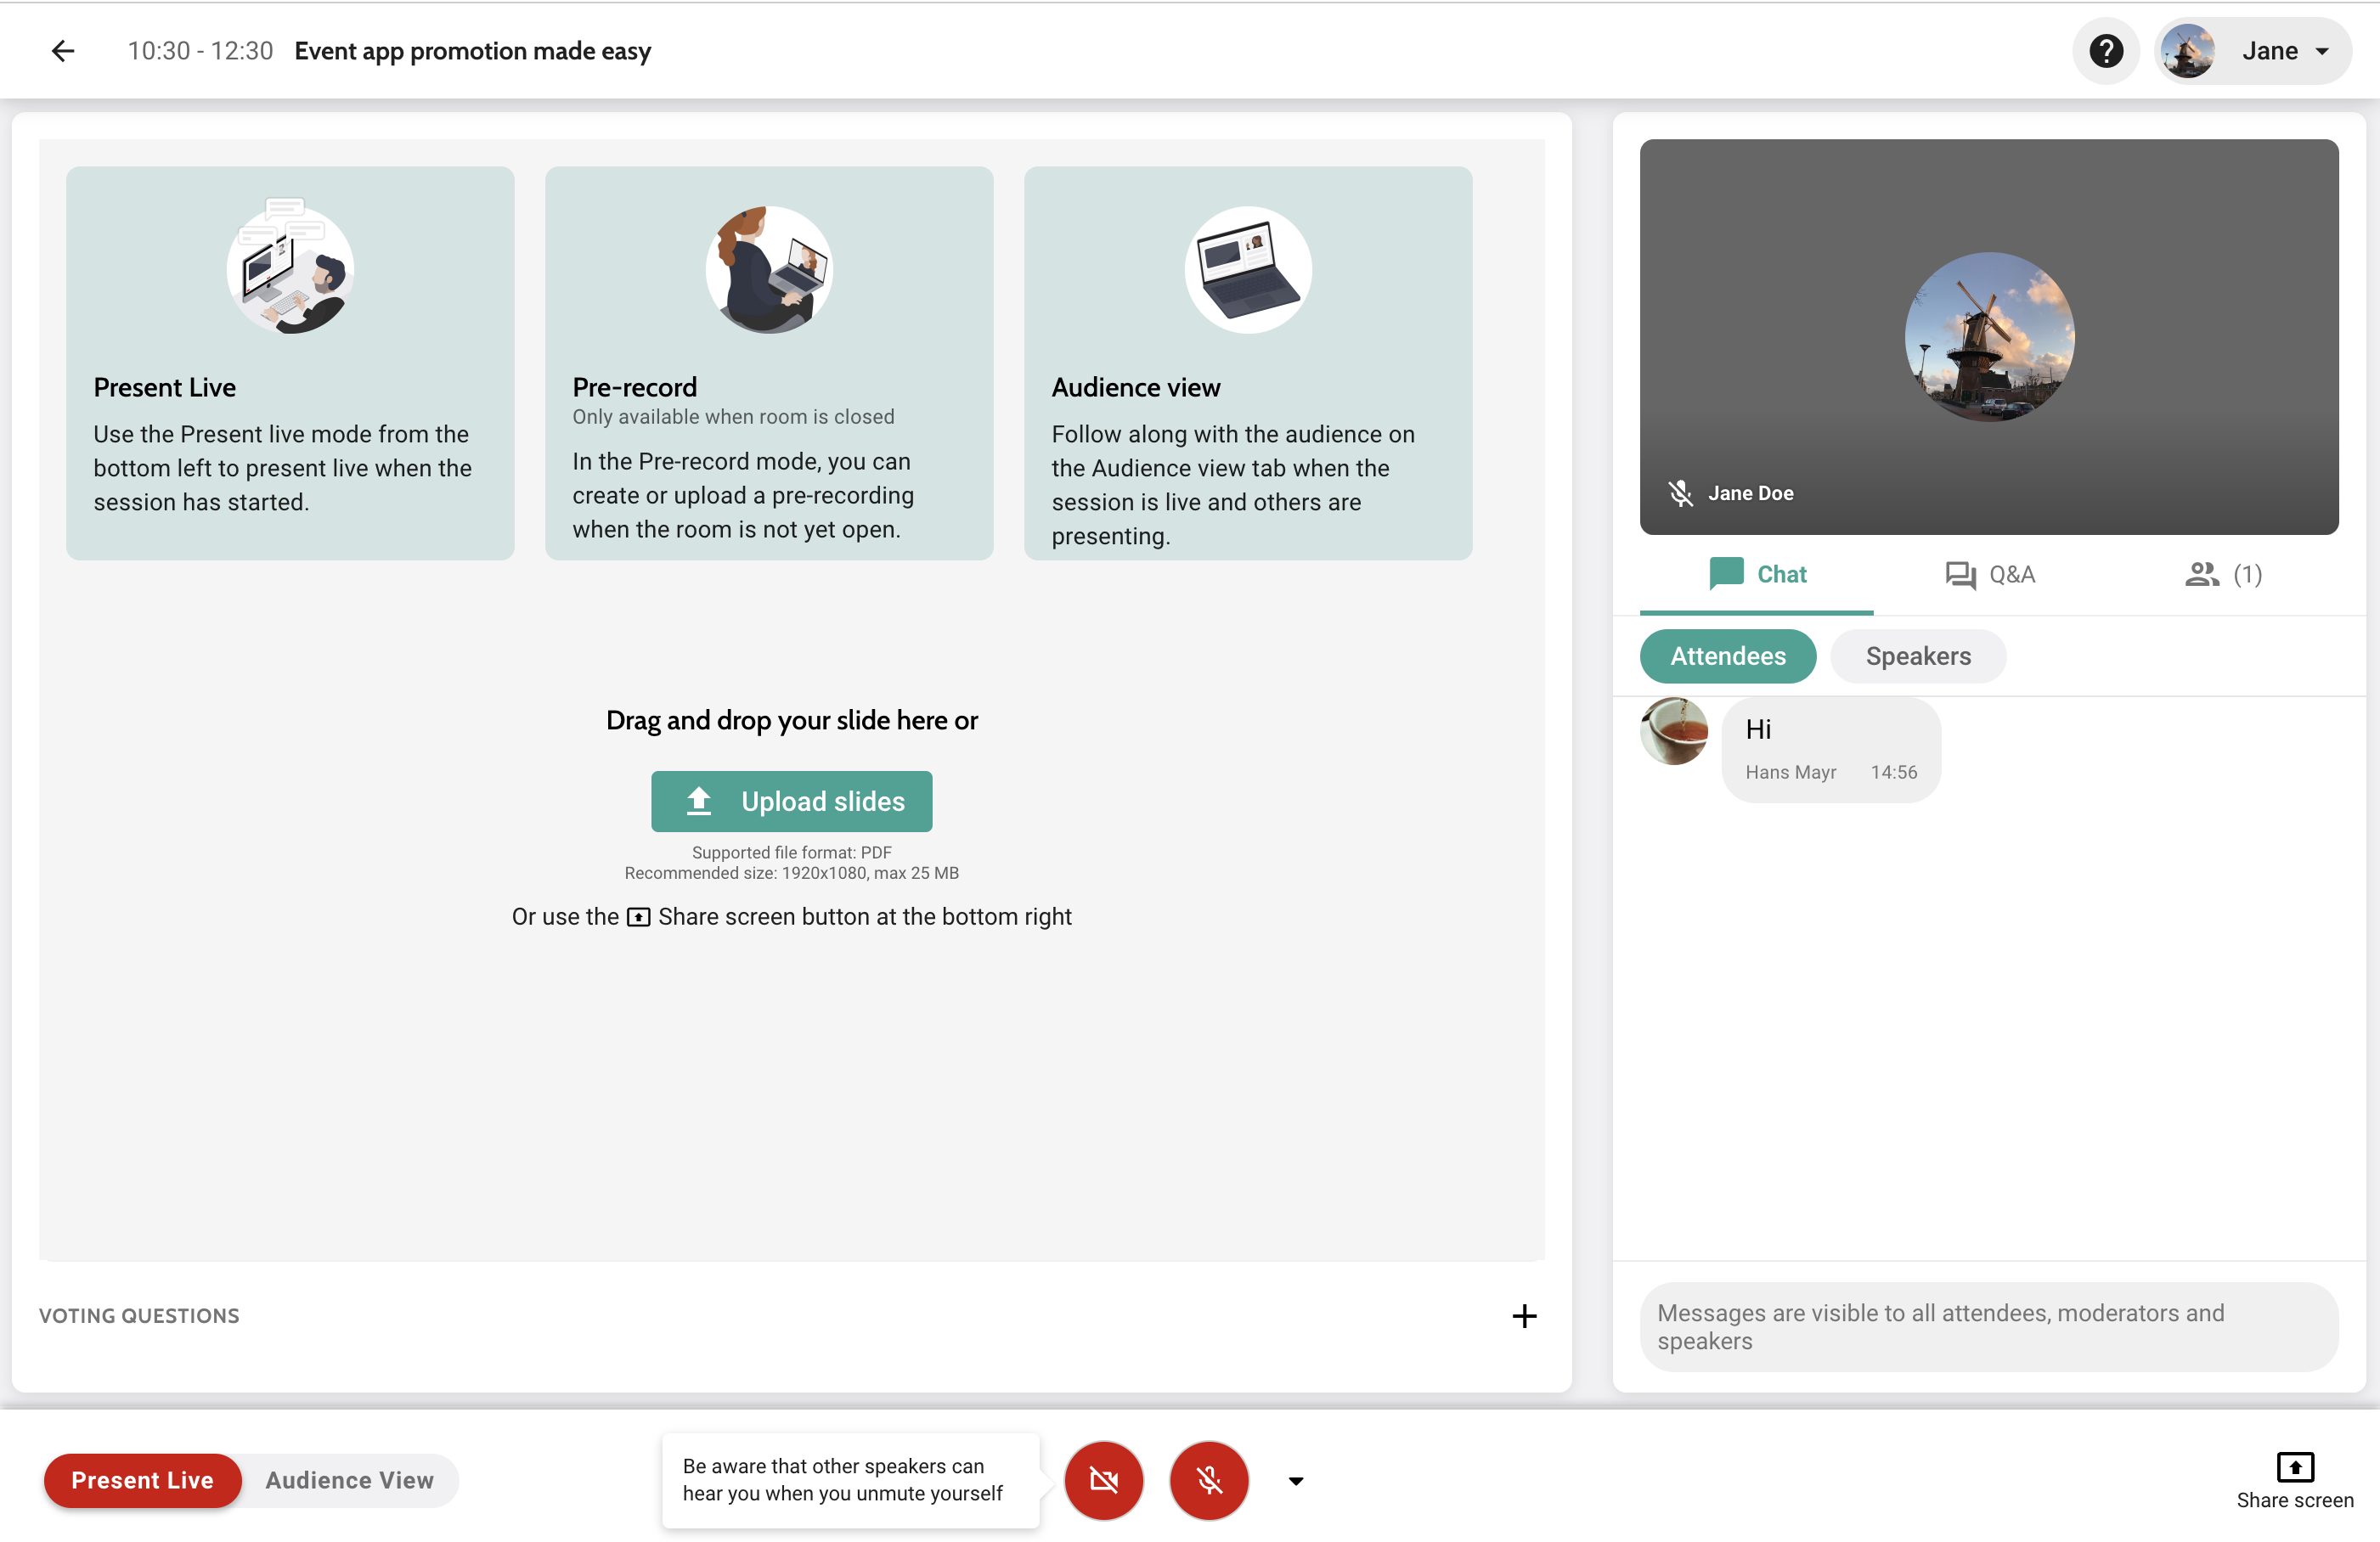
Present live
The frame that takes up most of the left part of the screen is where you can upload and share your slides. When you are the presenting speaker, the tag Live will appear here. Attendees then see the same view you have on your screen: a large frame with slides on the left, and your camera view on the right.
Sharing slides can be done in two ways:
Upload slides (PDF)
To upload your slides to the platform, make sure they are first exported as a PDF file. You can upload the file by dragging it into the slides frame or by clicking Upload slides and selecting the file from your computer. Once uploaded, you can click through the slides with the Next and Previous buttons.

Share screen
If you're using another format, such as PowerPoint, or want to share other applications on your screen, you can share your screen with the button in the bottom right corner.
You can choose to share your entire screen (for example for Powerpoint in presentation mode), an application window, or a Chrome tab. If you would like to share a video with sound or want to include sound effects, you will need to select the Chrome tab.
If the screen share button does not respond, please check your browser settings:
- Mac: Click System Preferences > Security & Privacy > Privacy > Screen Recording and add Chrome.
- Windows: if screen-sharing is not working, this might be due to a missing screen-sharing extension in your browser. You can check this by typing chrome://extensions/ into the address bar of your browser. If the screen-sharing extension is already there, it might be enabled. In that case, you can switch it on. If the screen-sharing extension is not there, please visit the Chrome Web Store to install one for free via this link.
Camera frame
The smaller frame on the top right is used for your camera. When you turn your camera on, you will see yourself appearing there. Moderators and attendees will also see that.
Pre-record
In the Pre-record mode, you can record your presentation in advance or upload an external recording instead of presenting live during the session.
Pre-record your presentation
Pre-recording on the platform will record both your presentation and video.
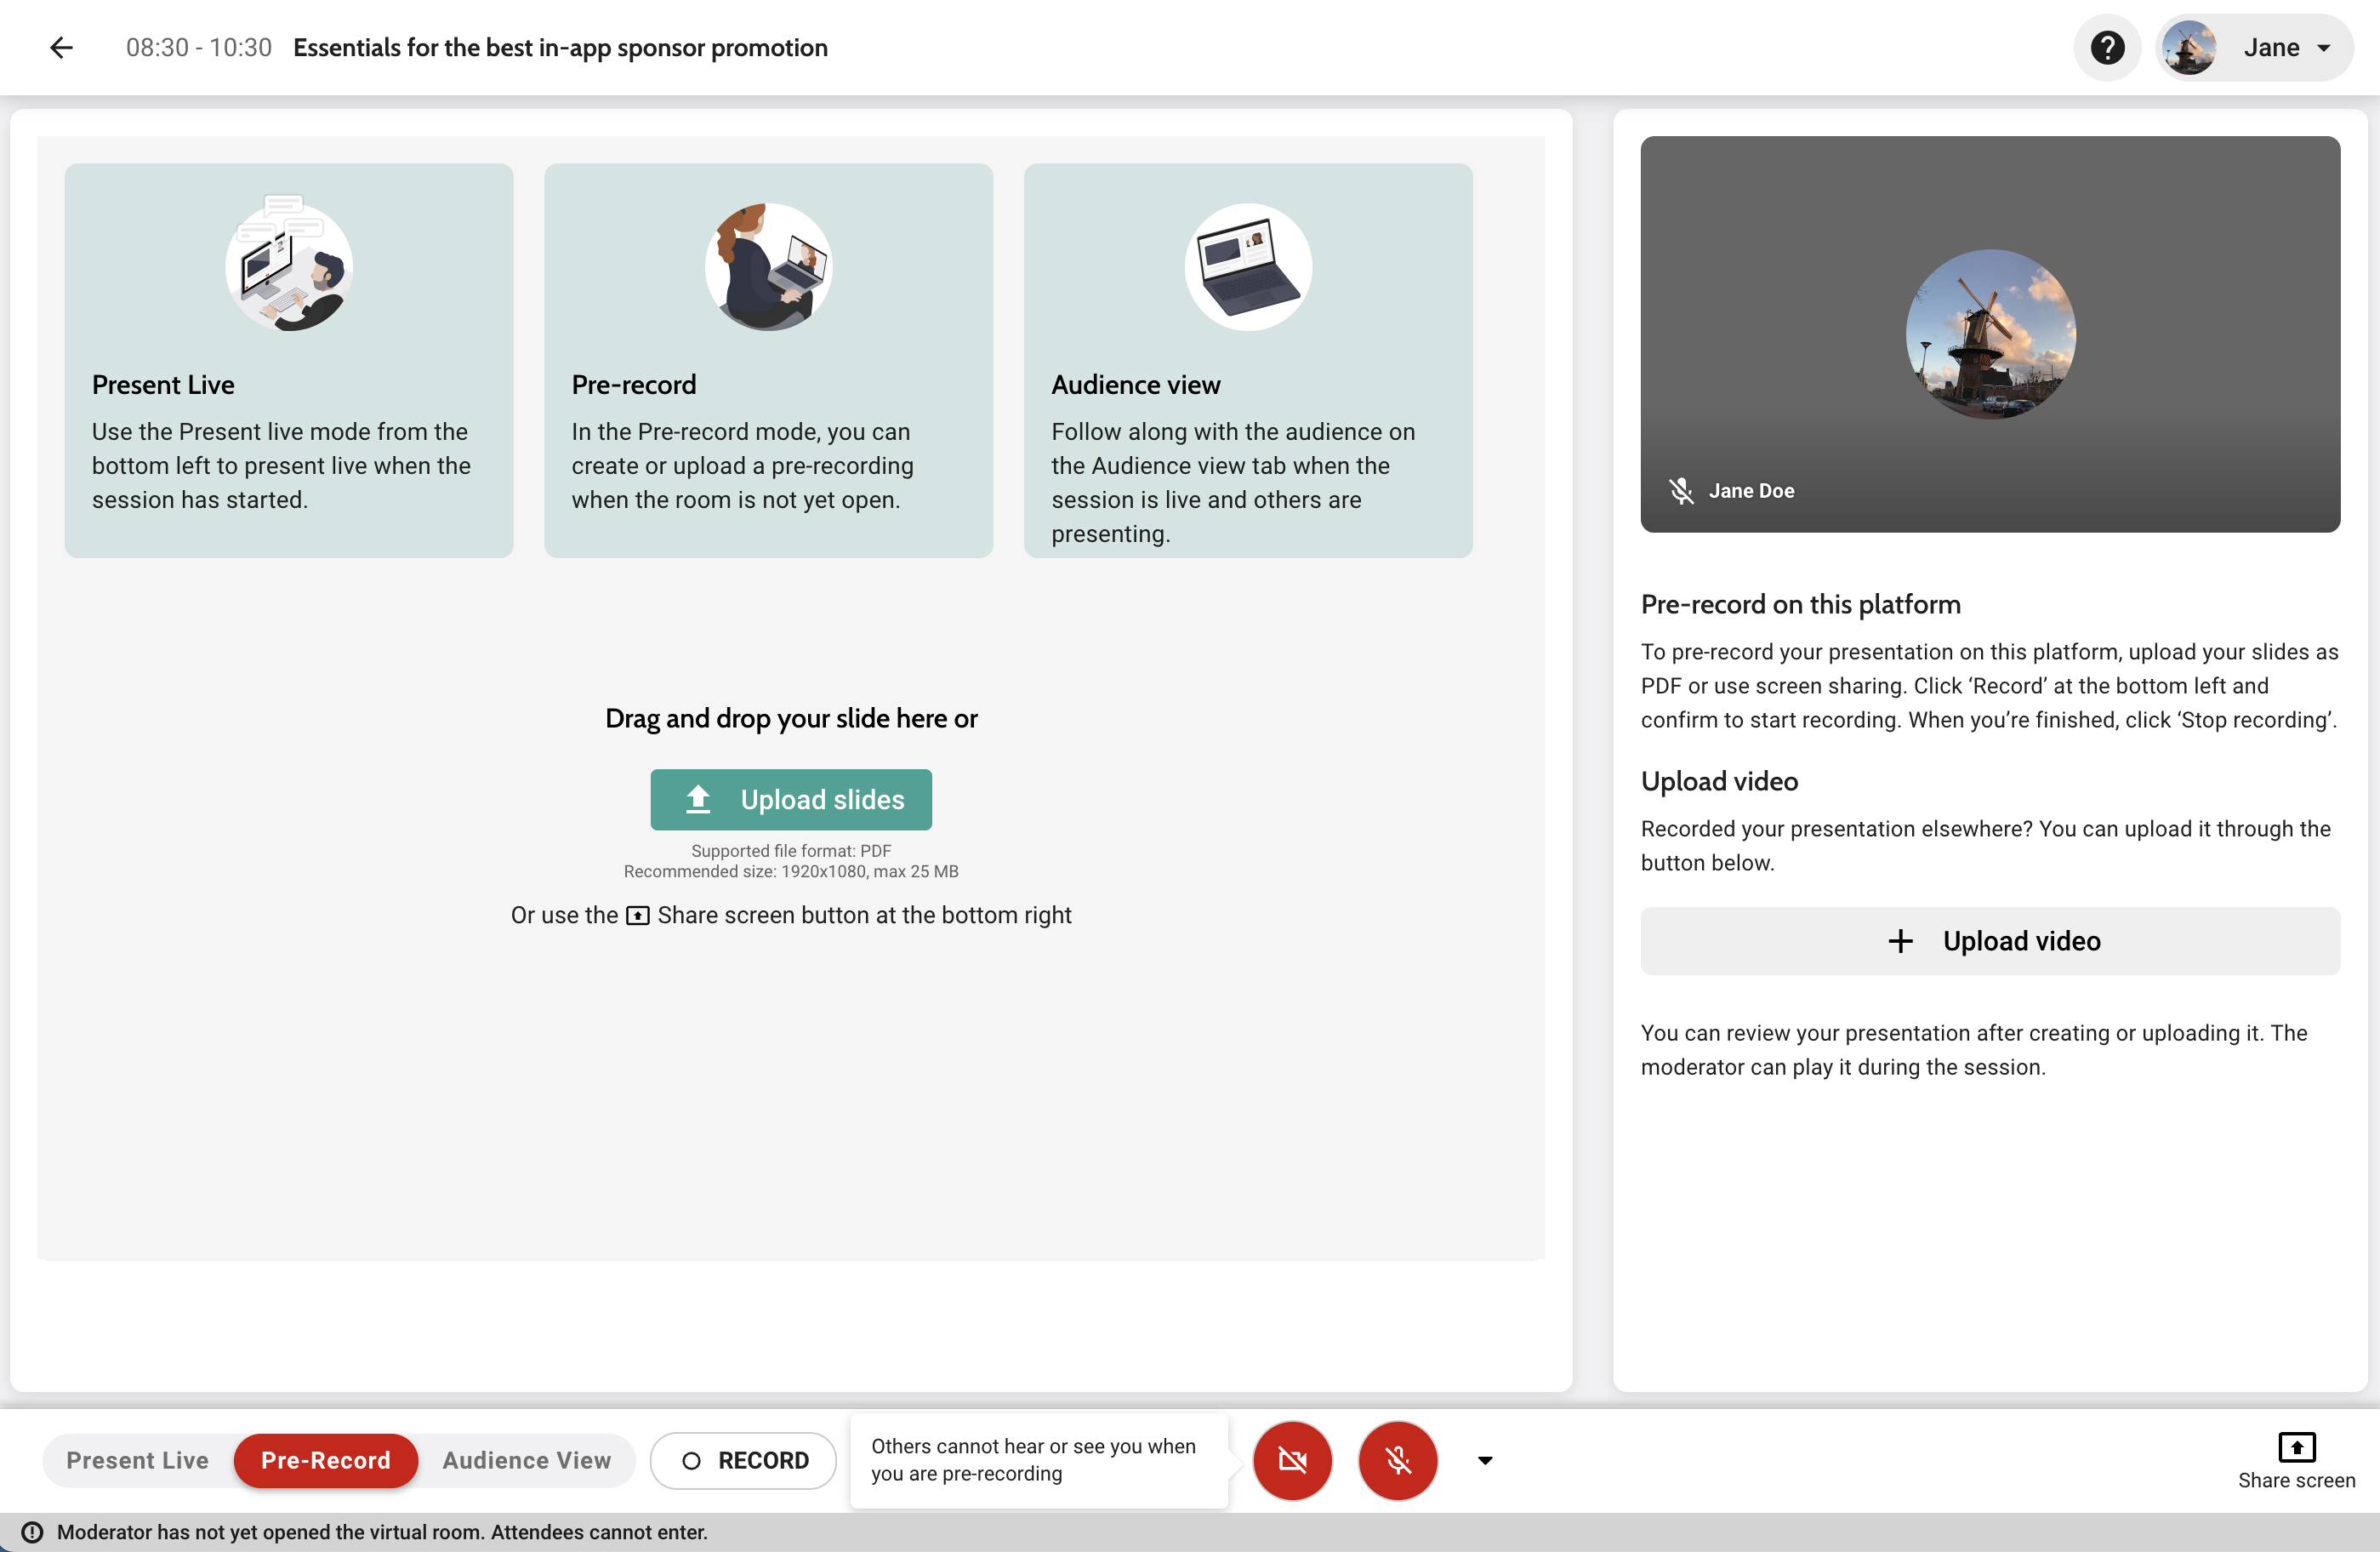
Set up your presentation by uploading slides as PDFs, or use screen sharing with the button in the bottom-right corner. Once you are ready to record, click Record in the bottom-left corner. A pop-up window will explain what will happen next. After reading it, click Start recording.
A timer will then start counting down from 5, after which the recording starts. While you are recording, you can keep track of the time inside the red Recording tag on the bottom-left corner. You can end the recording at any time by clicking Stop recording. The recording will automatically stop if it goes over 60 minutes.
Tip! Make sure to include a pause after the start of the pre-recording and a pause before you click Stop so that you can be sure that the recording is not cut off while you are talking.
Once the recording is finished, you can review it. The recording will be available to the session's moderator for review and playback during the session.
If you are not satisfied and want to record another attempt, first click Delete this recording. After confirming, the recording will be deleted and you can start over.
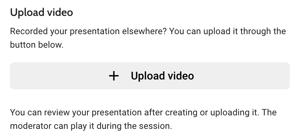
Upload a video
If you have created a recording that was made on another platform or you want to play a video, you can upload it by clicking on Upload video in the right-side panel.
You can upload a separate MP4 file for the slides frame and the speaker frame. If you have just one file, select it under the Slides frame.
Audience view
When the session is live and you are not presenting, you can click the Audience view button in the bottom left corner of the dashboard to watch the presentations of other speakers in the same session. Please note that in this tab, you can still be heard by others if you're not muted.
You can switch back to Present live by clicking the corresponding button in the bottom left corner. If you are in the Audience view, when the moderator selects you to be the active speaker, you are automatically switched to the Present Live mode.
Tip! You can participate in panel discussions from an Audience view, as long as you are not presenting slides or sharing your screen.
For a detailed walkthrough on how to pre-record, watch this video:
Interactive features
There are three interactive features available. If you see only one or two features, the moderator of the session has disabled them.
Chat
On the Chat tab, you can see the messages that are sent and send messages yourself. Messages posted under the Attendees tab are visible to everyone (attendees, speakers and moderators). Those posted under the Speakers tab are only visible to speakers and moderators.
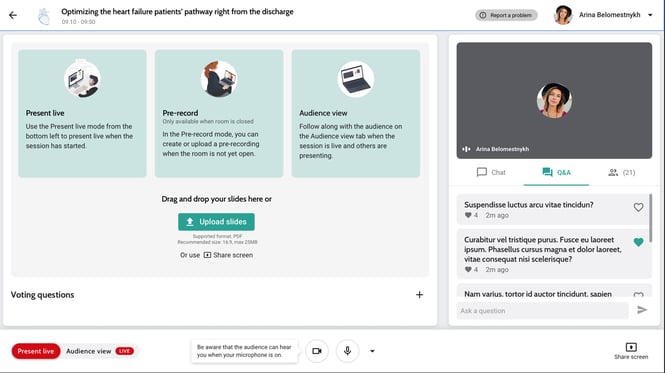
Q&A
On the Q&A tab, you can see the questions asked in the Q&A. Please note that when a question is asked, it is first Invisible. This means that only you and the moderator can see it and the audience cannot. You can make a question Visible to the audience by clicking on the eye icon.
Attendees
On this tab, you can see who is in the virtual room.
Tip! Do you have a question for the technical moderator, but did the session already start broadcasting? Send your question in the Speaker chat and the technical moderator will reply.
Vote
You can find the Vote section below the slides frame in Present Live mode.
 You can use the Vote feature to get the attendees’ responses to a certain question. This works as follows:
-
To add a question, select Add question. We recommend preparing questions in advance.
-
To enable a question, select it from the list by clicking the dot on the left. You and the attendees now see the question in the slide frame, however, they cannot submit their vote yet.
-
To allow attendees to vote, click Start voting. When the timer is used, the voting ends automatically once the timer runs out. Otherwise, the voting ends when you click Stop voting. Attendees will see the results once they submit their vote, or when the voting ends. The speaker and moderators see the results coming in real-time. You can now discuss the results.
-
To go back to your presentation, click Back to slides.
The audience will only see your (enabled) questions when you have selected the question and you are the Presenting Speaker.
For a detailed walkthrough on how to take a vote from the audience, watch this video: