We advise you to access the host dashboard in Chrome or Microsoft Edge browsers. To avoid distractions, close other applications and turn off your notifications. Please also make sure to use the same computer and internet connection before and during the conference as different settings can change your experience. For more tips read this article.
If you have been invited as a host for a virtual poster presentation or round-table session, you will see the following dashboard upon entering the room. This dashboard can be used during live meetings, but can also be used to add documents and recordings for the on-demand poster room.
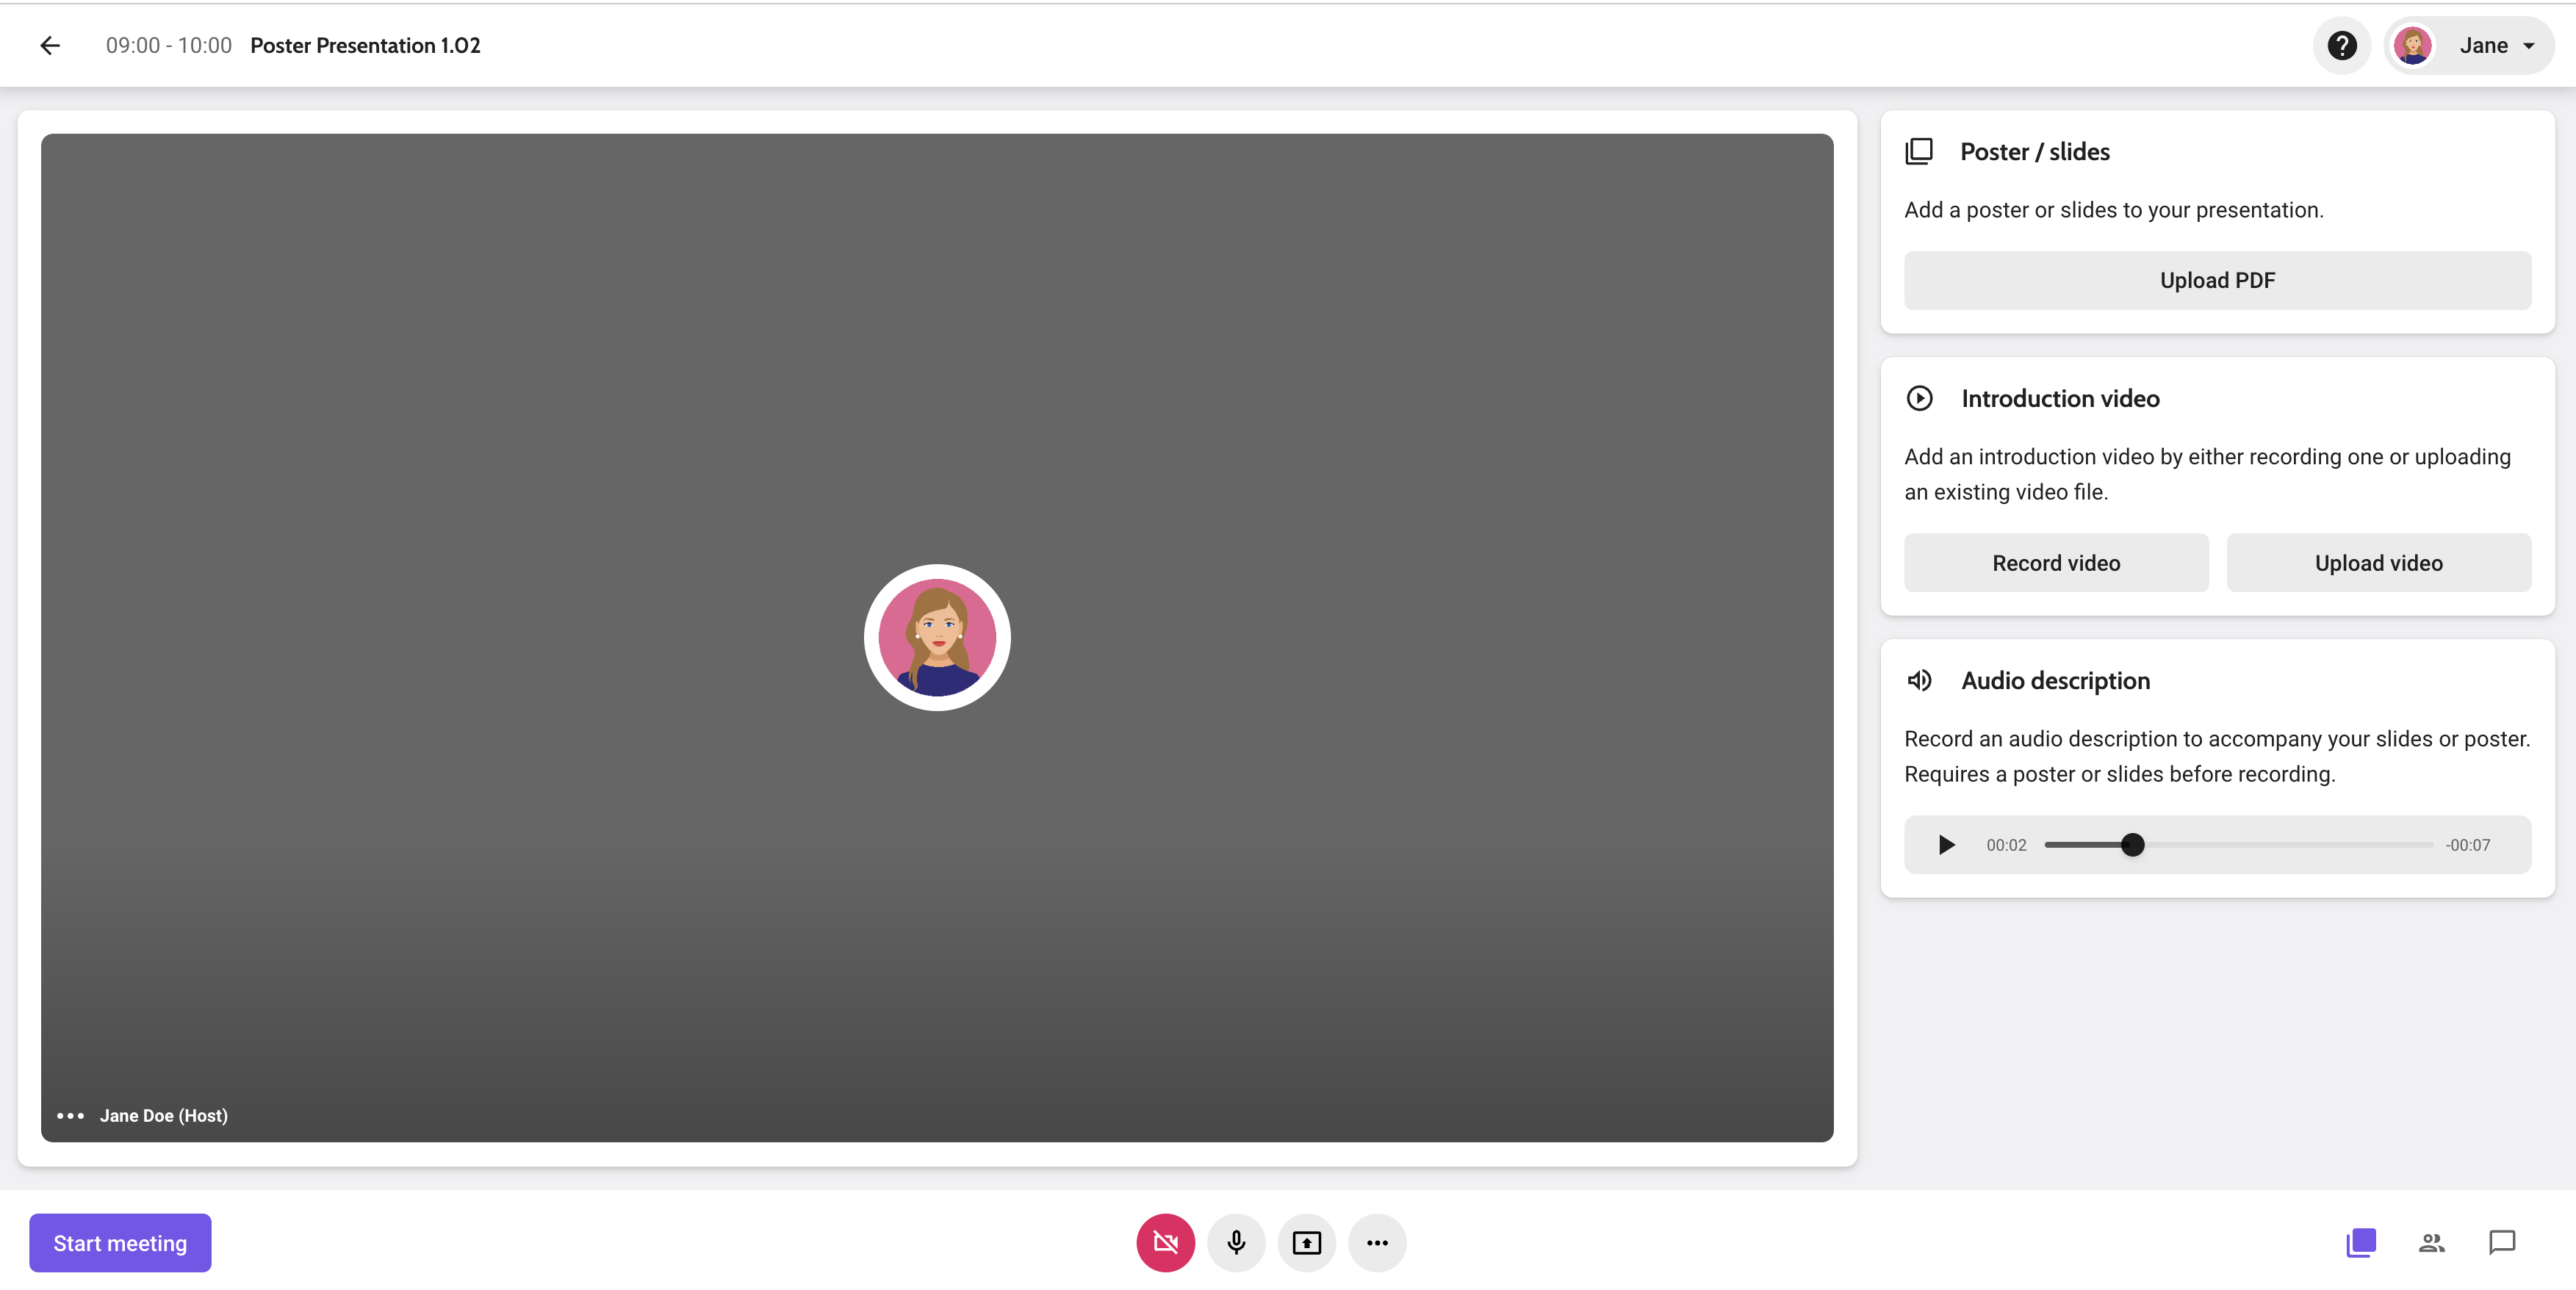
Click the buttons in the bottom right to switch between cards, participants and chat mode.

- In cards mode, you can upload a PDF, record an introduction video and record an audio description. This mode is especially useful to prepare the live meeting, or to add documents and recordings for the on-demand room.
- In participant mode, you can see yourself and all participants that have joined your session live. This mode is only useful when your live meeting has started.
- In chat mode, you can send chat messages to attendees in the on-demand or the live room.
Upload PDF
You can upload a one-page (poster) or multiple-page (slides) PDF to the session. This PDF is used in four places (if enabled by the organizer).
- if the session has an on-demand poster room, the PDF will be shown in the on-demand room.
- if the session is a live meeting, the PDF is shown in the slides frame to the participants.
- the poster will be added to the Resources tab on the detail page (outside the room).
- if the poster list is in grid view, a thumbnail of the poster will be shown as a preview.
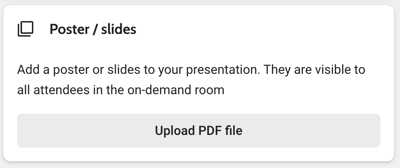
To upload your PDF to the platform, make sure you're in cards mode. On the Poster/slides card, click Upload PDF file and select the file from your computer.
When you upload a multi-page PDF (slides), you will see the Next and Previous buttons after uploading. If you upload a one-page PDF (poster), you will see zoom and pan controls.
Please note that it can happen that the organizer did not allow you to upload your PDF file, for example, because the organizer will upload it. In that case, you will see a message on the Poster/slides card.
It can also be that the organizer has uploaded a PDF file for you, but still allows you to overwrite this.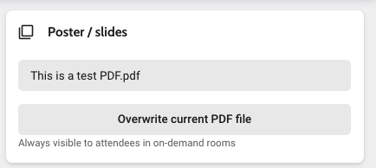
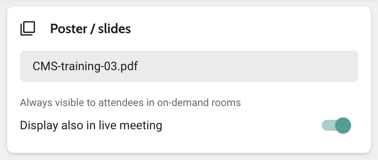
A switch is added with which the host can choose to use the PDF that was uploaded in the live meeting or not. If this is off, the PDF is only used for the on-demand poster room. If it's on, it's also presented to participants when the live meeting is started.
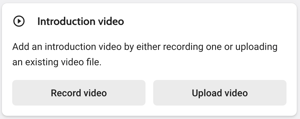
Record introduction video
In the cards view, you can record or upload a video on the Introduction video card.
This video is used in two places:
- if the session has an on-demand poster room, the video will be shown in the on-demand room.
- if allowed by the organiser, it is added as a banner above the title on the side panel/detail page in the app.
Record video
When you click Record video, you will see your own camera stream. Prepare for your presentation and click Record video when you're ready.
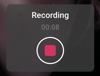
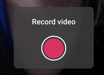 A timer will count down from 5, after which your camera and audio stream will be recorded. When you're done, just click the same button to stop recording.
Upload video
You can also upload a video that was recorded outside the platform. Just choose Upload video and select the file.
Add video to room
After recording or uploading an introduction video, a popup will ask you whether you want to add this recording right away or review it first.
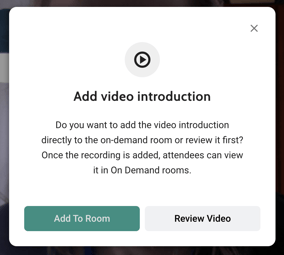
When reviewing, you can play and browse through the video. You can add it to the room by clicking the Add to room button at the bottom left.
Record audio description
In the cards view, you can record a video on the Audio description card. This audio recording is used in the on-demand poster room, where it accompanies the PDF file. Attendees can then play the recording while looking at the poster.
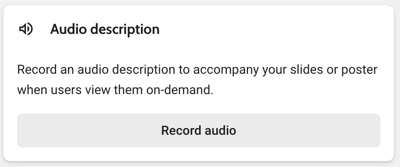
Please note that you need to have a PDF uploaded in order to record an audio description.
Record audio
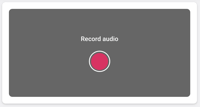
To start recording, click Record audio on the Audio description card. In the small frame on the right, a button will be shown with which you can start the recording.
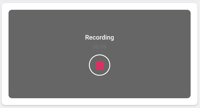
A timer will count down from 5, after which your audio stream will be recorded. When you're done, just click the same button to stop recording.
Add audio to room
After recording the audio description, a popup will ask you whether you want to add this recording right away or review it first.
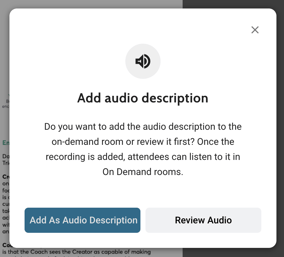
When you review it, you can just play and browse through the recording. You can add it to the room by clicking the Add as audio description button. It will then be added to the on-demand room (if enabled by the organiser).
Live meeting
Start meeting
Start the live meeting by using the Start meeting button in the bottom left corner.
The participants can only join the session when it has started. If you end the meeting while there are still participants, they will receive a notification saying that the room is closed.
View and edit participants
In the participant mode that can be selected bottom right, you can view all participants in your hosted session while it is live. There is a maximum of 15 attendees that can be in the room at the same time.
Mute attendees by hovering over their video and selecting the microphone icon. Please note that you cannot unmute them; they have to do that themselves. Attendees are automatically muted when they join the session, so they have to enable the microphone to be able to speak.
Block attendees from the room by hovering over their video and selecting the block icon. The attendee will be kicked out of the room.
Tip! When an attendee joins the virtual room, the microphone and camera are disabled by default for privacy reasons. But the attendee is able to hear and see you right away. As a host, you can then remind the attendee to enable their microphone and camera to participate in the discussion.
Turn on/off camera and microphone
You can turn the camera and microphone on or off using the buttons at the bottom of the screen. 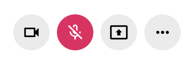 With the dots on the side, you can select another microphone or camera if needed.
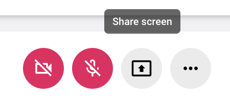
Share screen
If you're not using PDF, but for example PowerPoint, or want to share other applications on your screen during the live meeting, you can Share screen with the button in the middle.
You can choose to share your entire screen (for example for Powerpoint in presentation mode), an application window, or a Chrome tab. If you would like to share a video with sound or want to include sound effects, you will need to select the Chrome tab.
If the screen share button does not respond, please check your browser settings:
- Mac: click System Preferences > Security & Privacy > Privacy > Screen Recording and add Chrome.
- Windows: if screen sharing is not working, this might be due to a missing screen sharing extension in your browser. You can check this by typing chrome://extensions/ into the address bar of your browser. If the screen sharing extension is already there, it might be enabled. In that case, you can switch it on. If the screen sharing extension is not there, please visit the Chrome Web Store to install one for free via this link.