This article explains how to create the certificates needed to build a test version of the app when you are eligible for the Apple Developer Enterprise Program.
There are two types of Apple Developer programmes you can enroll in: Apple Developer and Apple Developer Enterprise.To enroll for an Enterprise account, there are a few requirements. Most importantly, your company needs to have at least 100 employees. All requirements can be found on https://developer.apple.com/programs/enterprise. If your company has less than 100 employees, follow the steps to create the certificates for the Apple Developer Program.
This article explains how to create the following files that you will need to add when building the app.
-
Distribution certificate - Apple requests that the apps are signed with a valid in-house certificate. You can sign all your apps with a single certificate.
-
Bundle ID - The Bundle ID is used to identify the app.
-
Provisioning profile - The provisioning profile saves the configuration of the apps for different devices and must be used together with the in-house certificate and bundle ID to sign the app.
The following steps must be performed on a Mac OS machine, as the Keychain application is used to create the certificates. The files will be used in the Sign step while building the app.
Access your dashboard
If you do not yet have enrolled to the Apple Developer Enterprise Program, please follow the steps in this article.
After enrolling, go to developer.apple.com and sign in by choosing Account on the top menu bar. This will open your dashboard.

Create inhouse distribution certificate
To distribute the app within your organisation as a test version, an in-house distribution certificate must be created. A .p12 file contains the certificates necessary to sign the app during its construction. This certificate is valid for nine months and can be used for all your apps.
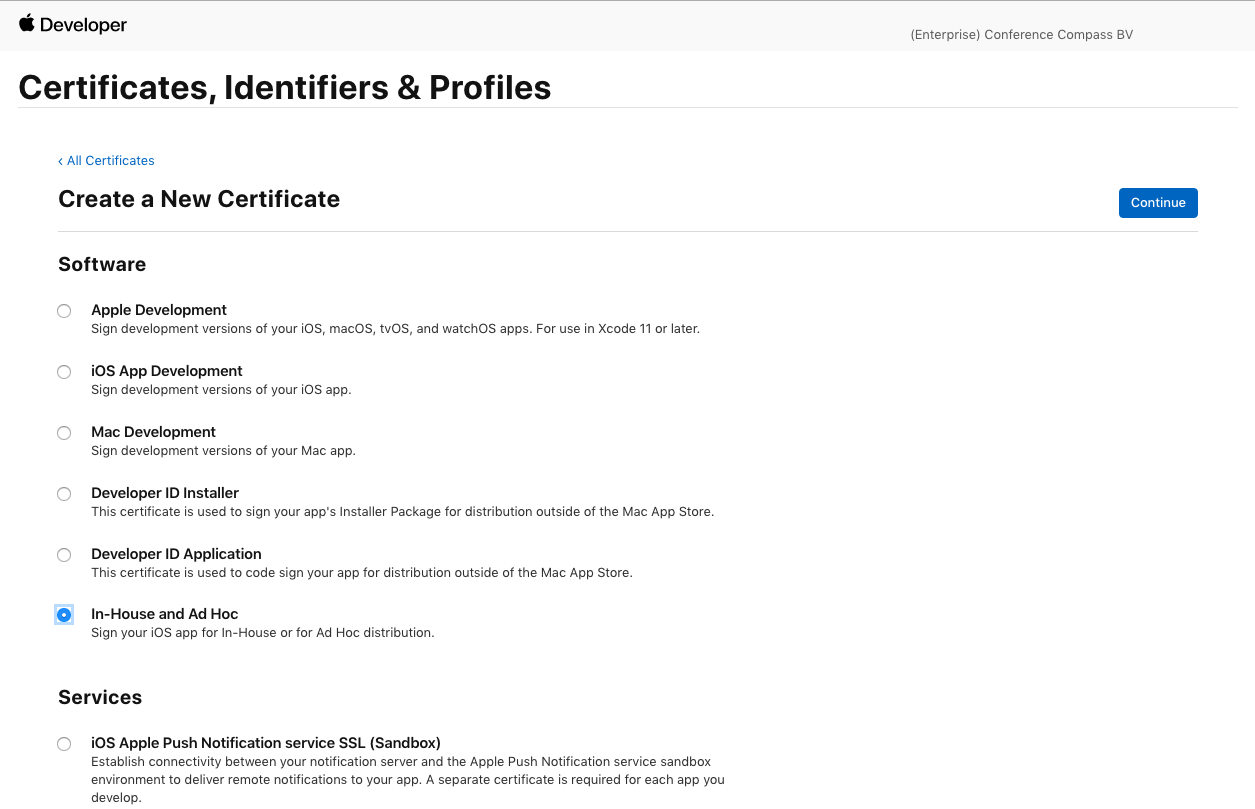
In the section Certificates, Identifiers & Profiles, select Certificates. Click the blue plus button to create a new Distribution Certificate.

When prompted about the type of certificate you need, choose In-House and Ad Hoc under the Software section.
In the next step, you will have to upload a Certificate Signing Request (CSR) file. In this article you can find how to create this file. Open the Keychain application, available on any Mac OS, and follow the steps described on the page. A file with the extension .certSigningRequest will be saved to your computer.

Upload the generated .certSigningRequest and click Continue. Now your certificate is ready and you can download to your computer a file named ios_distribution.cer.
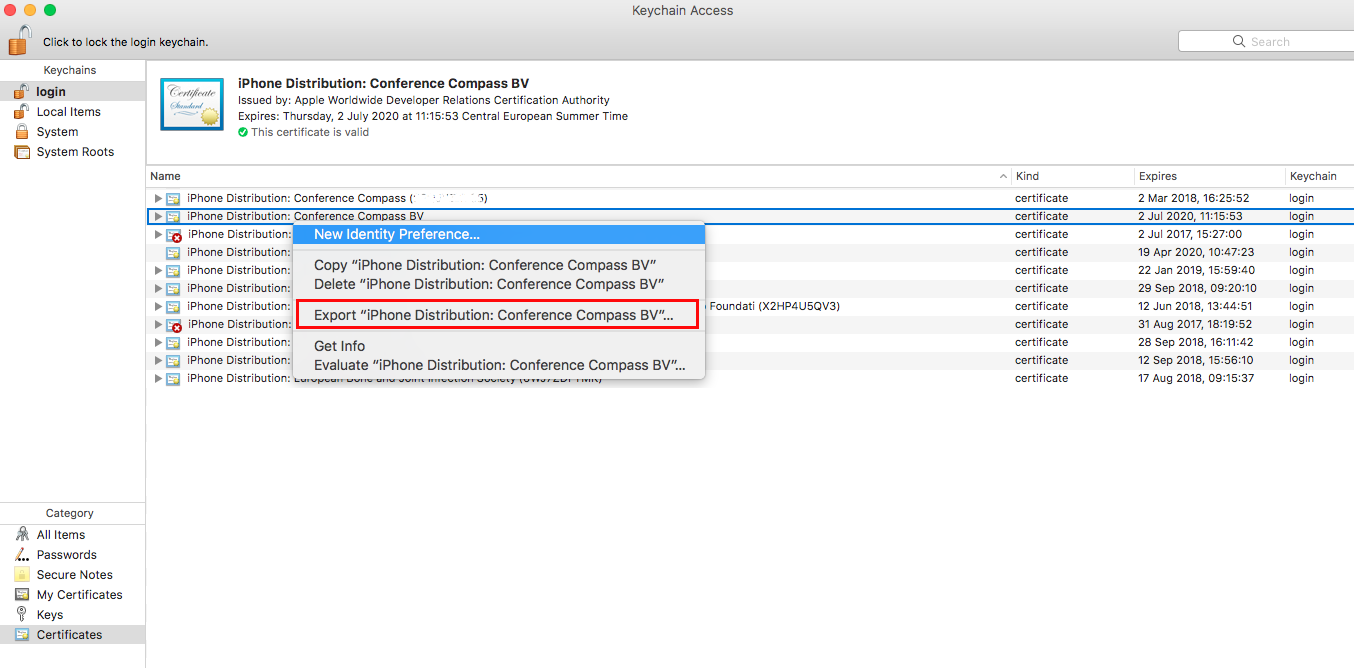
Open the ios_distribution.cer file. It will be automatically added to the Keychain application, and you should be able to see it on the list as iPhone Distribution: <your Apple account name>. Right click the row and select Export iPhone Distribution: [...]. You can now save a .p12 file to your computer. During the export, you will be asked for a password. If you don't want to set one, you can leave the fields empty and just click OK.
It is good practice to add 'inhouse' at the end of the file name, to easily distinguish the inhouse certificate used for testing from the distribution one used for the App Store.
The file you downloaded will have to be uploaded in the Sign step while building the app.
Bundle ID
The Bundle ID is used by Apple to identify the app. Each app needs to have a unique Bundle ID.
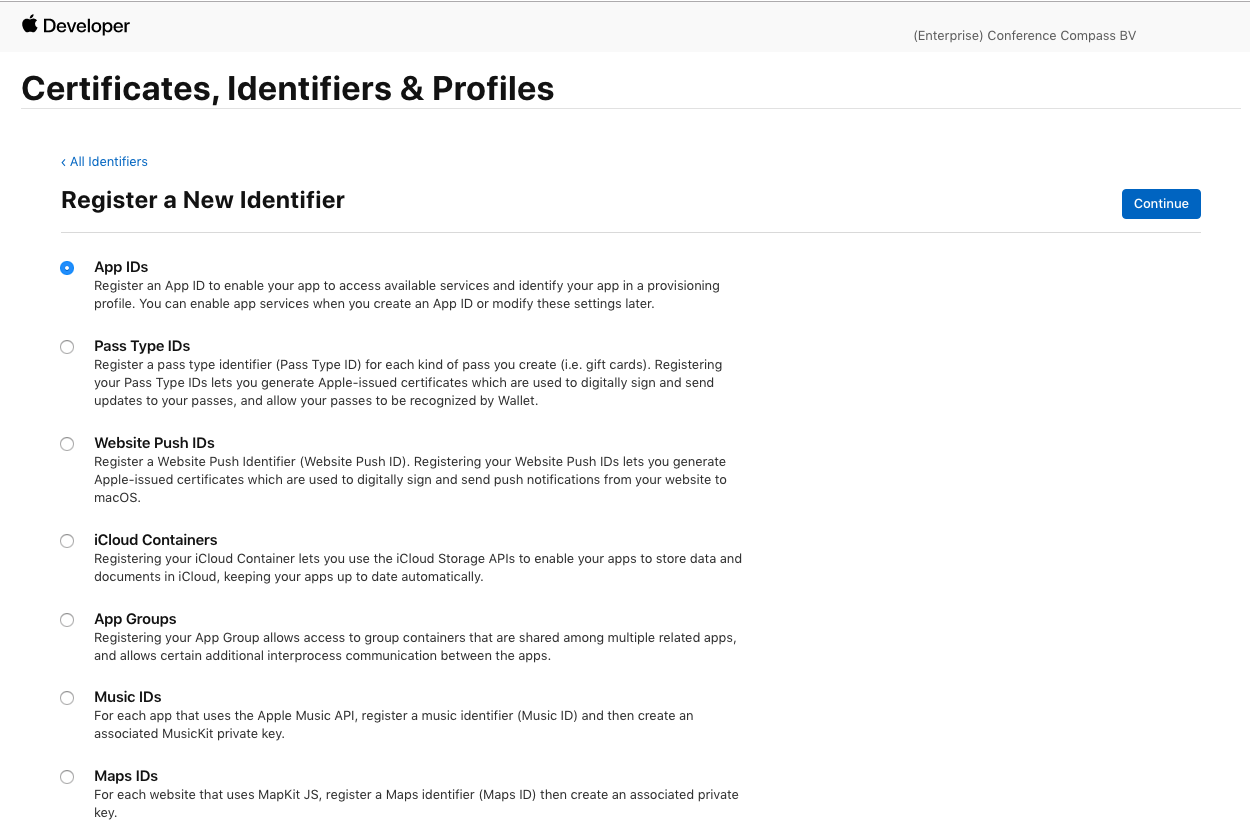
On the section Certificates, Identifiers & Profiles, choose Identifiers. Click the blue plus button to create a new identifier.
Select App IDs and click the blue Continue button.
In the next step, choose App and click Continue again.

The fields must be filled in as it follows:
-
Description: the name of your app
-
Bundle ID: select the Explicit option. Apple recommends using a reverse-domain name style (for example, if your website is conferences.cc, the Bundle ID should be cc.conferences.myappinhouse. It is good practice to add 'inhouse' at the end of the file name, to easily distinguish the inHouse certificate from the distribution one.
- Capabilities: The services to be used by the app. You must enable the Associated Domains service. Push notifications are not supported for test apps, so no need to check that.
 Click Continue, check all the information entered and then click to Register the app. Now your app should appear on the list of iOS App IDs.
Create provisioning profile
The app needs to be configured to launch on devices and use services, and this process is called Provisioning. These configurations are saved in the provisioning profile, which exports to a file with extension .mobileprovision. This file is combined with the certificates and bundle ID to sign the app.
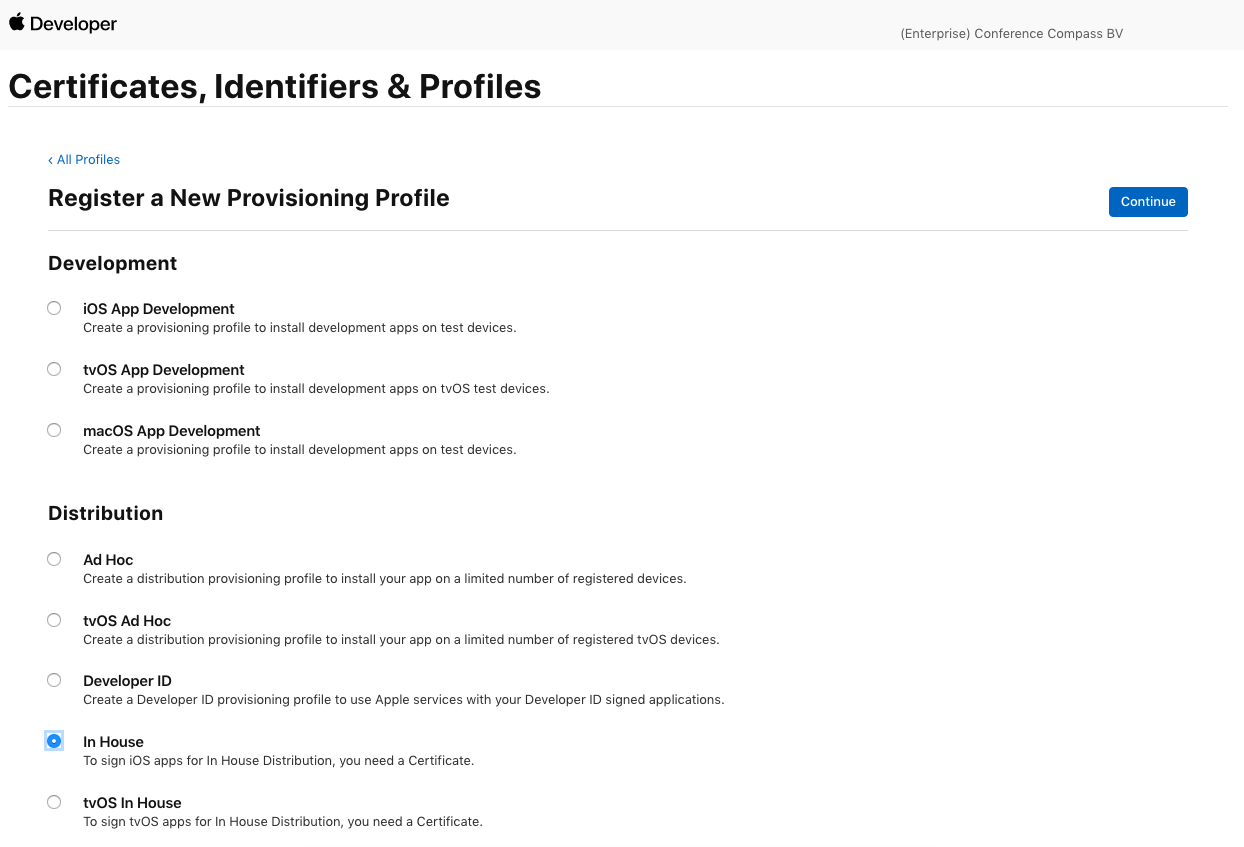
On the page Certificates, Identifiers & Profiles, select Profiles on the left menu. Click the plus button to create a new provisioning profile.
 When prompted about the type of certificate you need, choose In House under the Distribution section.
On the next screen, select the App ID that is going to use the provisioning profile and click Continue.
In the following screen, select the distribution certificate (p12 file) you created earlier. Keep in mind that the certificate selected in this step should be used together with the provisioning profile when building the app.
On the last step, enter a name for the provisioning profile. You can for example use the name of the app, followed by 'inhouse'. Don't use spaces your special characters in the name.
Click Continue and download the file to your computer. You will need it when building the app.