Building an app consists out of 5 steps:
1. Layout & Settings: set up all artwork, colours and texts
2. Keys: add push notification and sign in keys
3. Certificates: add the certificates
4. Build: submit the build to the queue
5. Test: download a test version of the app to check your build
After all 5 steps have been completed, you will be able to download the final version of the app to submit to the stores.
Each of the 5 steps are detailed below.
1. Layout & Settings
General
-
App name on device: this is the app name as is displayed below the icon on the home screen of your device. As you only have a limited number of characters there, try to keep this name short. If it's too long, it will be truncated with three dots on the device.
-
Version number: for the first version, this number should be 1.0. For other versions, this has to be higher than the previous version, so that the iOS device recognizes that there is an update available. The format should be a number with one decimal, e.g. 1.1, 3.4, 11.5, etc.
-
Android version code: for the first version, this number should be 1. For other versions, this has to be higher than the previous version, so that the Android device recognizes that there is an update available. The format should be an integer, e.g. 3, 11 or 54.
-
Software version: this is the version the app is built on. Default, the latest stable version is used. It is not configurable and is just displayed for your reference.
-
Data version to include in build (single-event apps only): for single-event apps, you can select the data release version that should be included in the build. Users that don't have an internet connection when they open the app, will see the data included in this build. When a connection is available, they can always update to the latest version.
Images
Image guidelines and required formats can be found in the artwork guidelines.
-
App icon iOS: the icon as displayed on the home screen of iOS devices.
-
App icon Android: the icon as displayed on the home screen of Android devices.
-
Welcome screen logo: the logo that is shown while the app is loading. This will be shown on top of a background color that you can configure below Colors.
Colors
-
Primary: used for the app bar on the selection screen, when the user opens the app without having an internet connection. When a connection is available, the color from the Colors modal on the selection screen is used instead.
-
Contrast: used for icons and other elements throughout the app. Please note that for each event, you can set a different contrast color that will overwrite the one included in the build.
-
Welcome screen background: The background color behind the welcome screen logo.
Strings
Strings are texts that are shown in the app. The strings that can be edited at this point, are all used in the selection screen, before any event is installed. The event strings can be configured within each event.
You can select one of the default languages, and optionally, change the texts. Please note that any changes you've made in a certain language are lost when you select another one!
Images in lists
Here you can set whether you want to see person images and company logos in lists. In case a photo or a logo is not uploaded, a placeholder will be shown.
If you uncheck these option(s), none of the items in the respective list will have a photo, logo or placeholder, even though you might have added them in the data editor. It is therefore advised to only switch this off if you're not adding any person photos or logos at all.
Custom configurations
Here you can add custom configurations, that are generally not applicable for most conferences. In case this is needed for your app, we'll let you know how to add it here.
2. Keys
One Signal Push notifications
One Signal is the platform used for sending push notifications to devices with the app installed. In order to integrate with the app correctly, the Sender ID (Google) and App ID (One Signal) keys have to be added.
How these keys should be generated, is explained in another article. Here you only have to copy the values:
-
App ID: the App ID is the key used to identify the app at the One Signal account. It can be found at OneSignal, under App Settings > Keys & IDs. In the configurator of your app, you fill in the same number. This links the news messages you send from there, to the right app.
-
Sender ID: the Sender ID is provided by Google. To find it, go to Firebase and select the app. The ID is under the Cloud Messaging tab on the App Settings. Copy only the numbers, the 'str:' prefix will be added automatically.
Branch.io configuration
In order for Deeplinks and invites redirecting to an event within the app after installing to work, you need to add branch.io keys in the build. This will be provided to you along with the studio.
If you do not have access to these keys, please contact us via support@conference-compass.com
3. Certificates
For each iOS app, certificates need to be added that classify you as a trusted developer. Different certificates need to be added for the test version as for the Store version.
iOS certificates of test version
After creating the certificates of the test version, you will know what to fill in for each of the fields below.
-
Test version bundle id: the Bundle ID is used by Apple to identify the app among all others in the App Store. Enter the bundle id of the test version here.
-
Test version mobileprovision file: the app needs to be configured to launch on devices and use services, and this process is called Provisioning. These configurations are saved in the provisioning profile, a file with extension .mobileprovision, which is used, together with the certificates and bundle ID to sign the app. Make sure to select the .mobileprovision file of the test version.
-
Test version P12 file: to build and publish the app to the store, a distribution certificate is required. A .p12 file contains the certificates necessary to sign the app during its construction, and only one is necessary for all your apps. Make sure to select the .p12 file of the test version.
-
P12 password: enter the password of the p12 file, if you've set any. If you didn't, you can leave this empty.
-
Test version certificate name: enter the certificate name of the test version.
iOS certificates of store version
For the Store version, the fields are the same, but the creating the Store certificates is a bit different. Select Add later if you don't have the iOS certificates of store version yet. The Store version will not be built, but you will still be able to test the app.
4. Build
In this step, you can select the software version you want to build on. Default, the most recent branch is selected and it is not needed to change that.
Submit your build by clicking Submit build. The build will be added to our queue. It takes up to 30 minutes before your build is complete. When the build is ready, you will see green checkmarks and you can continue to the next step.
In case there are errors, try to solve them yourself or contact us if you can't figure out what's wrong.
5. Test
To test the app, scan the QR code with an iOS or Android device. A page opens where you can click to install the right build for your device.
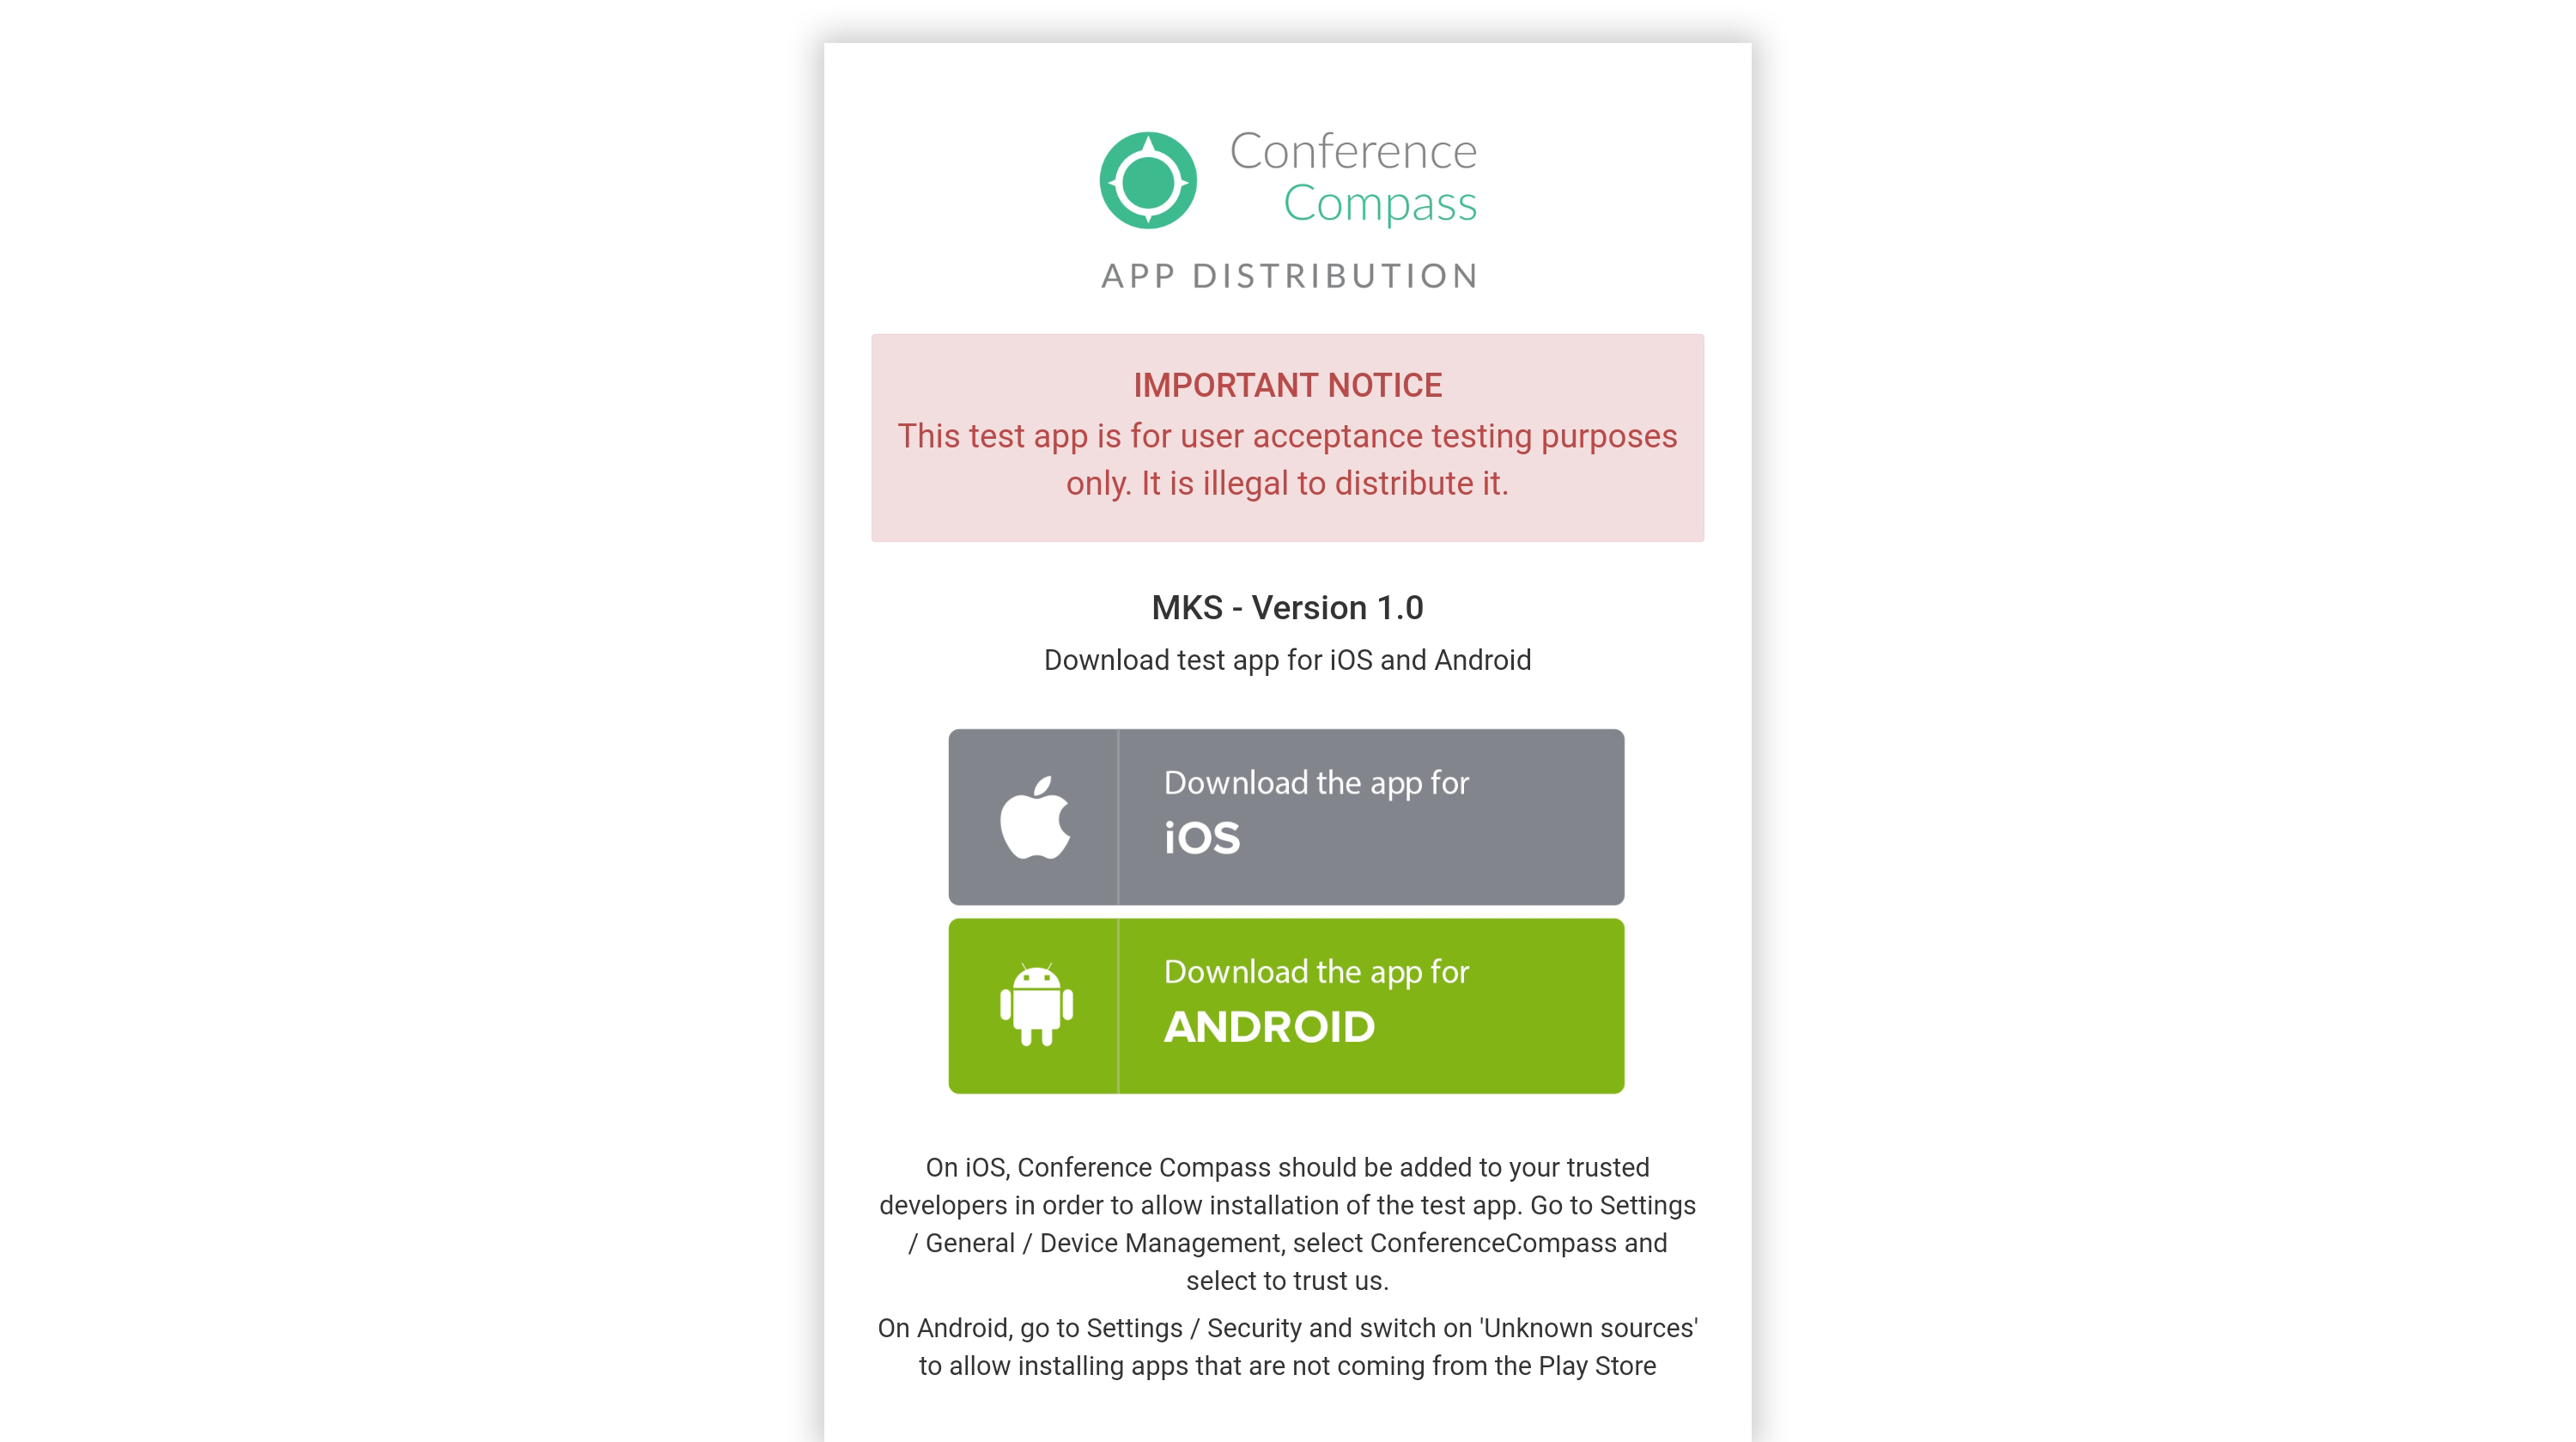
Depending on the device you're using, you will need to take different steps to allow opening the app.
- iOS: On iOS 16 and up, you will need to enable Developer mode to allow opening the app after installing it. Go to Settings / Privacy & Security > Developer Mode and turn on the toggle. Are you getting the message that the app's integrity could not be verified? Please make sure that your Device ID is added to the provisioning profile.
- Android: Go to Settings / Security and switch on Unknown sources to allow installing apps that are not coming from the Play Store.
When the app has been tested, you can tick the checkbox and finish this last step.
Please note that your iOS version should be 13.4 or higher, and Android version 8.0 or higher. Older versions are not supported and might not work properly.
Finishing and creating the submission files
After finishing all 5 steps and testing your app, you will be taken to the starting point in App builds page, where you will find details of the last completed version, including the QR code for the test app and the files that can be downloaded to be submitted to the App Store or submitted to the Play Store. If ticked in the build, you can also download the zip files that include the screenshots.
The properties this app was built with, such as the version numbers or colours, are shown when clicking View build properties.