Use rating in your app
You can add a 5-star rating to your programme items and posters to gather attendees feedback. In this article, we explain how to enable rating and how to view the results.
Enable rating
A rating card can be added with one setting to all program items of the same type.
Go to Event settings > Data types and find below Programme items the type you want to turn it on for. Scroll down to the Content section, Interactive tab, and make sure that the Rate item is visible.

A Rate card will then appear in the app on the Interactive tab of all items with this type. No further preparation is needed.
Attendees will only see their own rating, they cannot see the average.
View rate results
The Rate results can be found in the analytics. Go in the event you want to view the ratings of and click Event analytics.
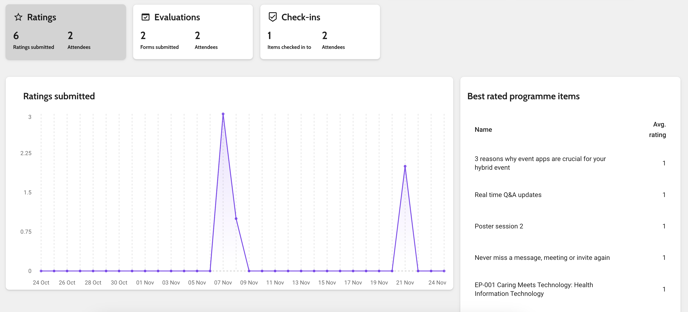
An overview of the total number of rates across your event can be found on the tab Event engagement:

In the graph, you see the number of rates that were given every day. Next to it, the top 5 programme items with the highest rate are shown. Click View all below this list to see the average rate and the number of rates for all programme items.
Export rate results
If you want to export the rate results, select the period and click Create Export in the upper right corner. In the Excel report, you can find the number of rates and the average rating on the tab Program items.