Ticket settings
Floq event registration gives you many possibilities when it comes to your ticketing structure. If your event requires it, you can enable users to select the same item multiple times and/or to allow consecutive registrations by the same registrant. These settings are very important. Please make sure to so set them up correctly before any attendee registers, as they cannot be modified afterward.
Pricing plan
You have the choice between organizing a free or a paid event.
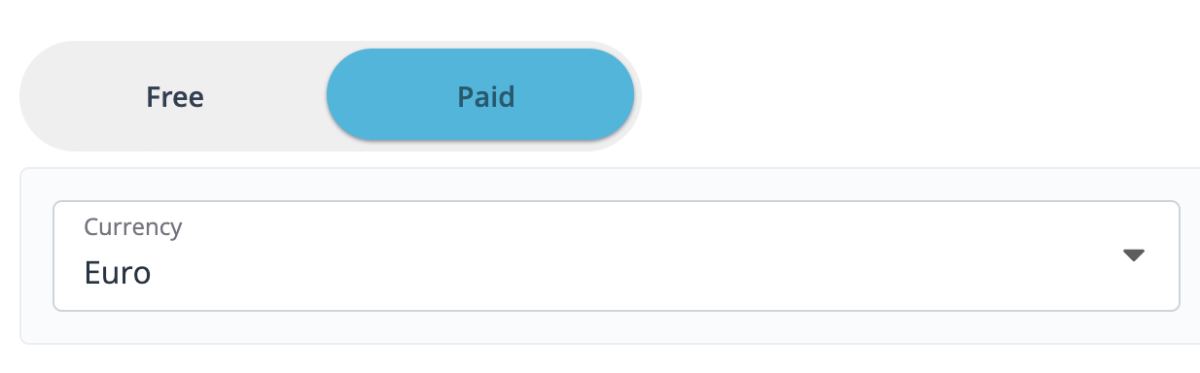
Organize a paid event and enable registrants to purchase tickets online. You can set different prices when editing your categories and options.
Manage the whole invoicing directly from Floq event registration (see this article ).
Tip: Once you have registered attendees, the pricing, currency and tax options are no longer editable. Make sure to correctly configure these settings prior to the registration opening.
Allow registrants to select several of the same items

The tickets are non-nominative, if a registrant chooses several times the same item, the entire selection will be made under his/her name. Upon confirmation, the registrant will receive a confirmation email containing all items. The corresponding QR code will be valid for as many check-ins as selected, meaning that one ticket will be valid for the entire team, family, group, etc.
Set up the maximum quantity each registrant will be able to purchase in the Limit per registration field in categories and options.
Allow several consecutive registrations by the same registrant
Let your registrants register multiple persons, teams or groups, in one single registration. They can add as many participants as they like to their registration, with all their details and individually chosen options.
The initial registrant completes his/her own registration first, and then has the choice to add another participant – in this case, the registrant starts the registration process again for the second participant. The fields about the company and invoicing details will automatically be filled in as from the second registration.

The initial registrant pays (if applicable) for the entire group, and each participant receives a confirmation email and a nominative ticket.
In the list of attendees, participants added by the initial registrant are clearly identified by an icon. All payment and invoicing details can be found in the initial registrant’s details.
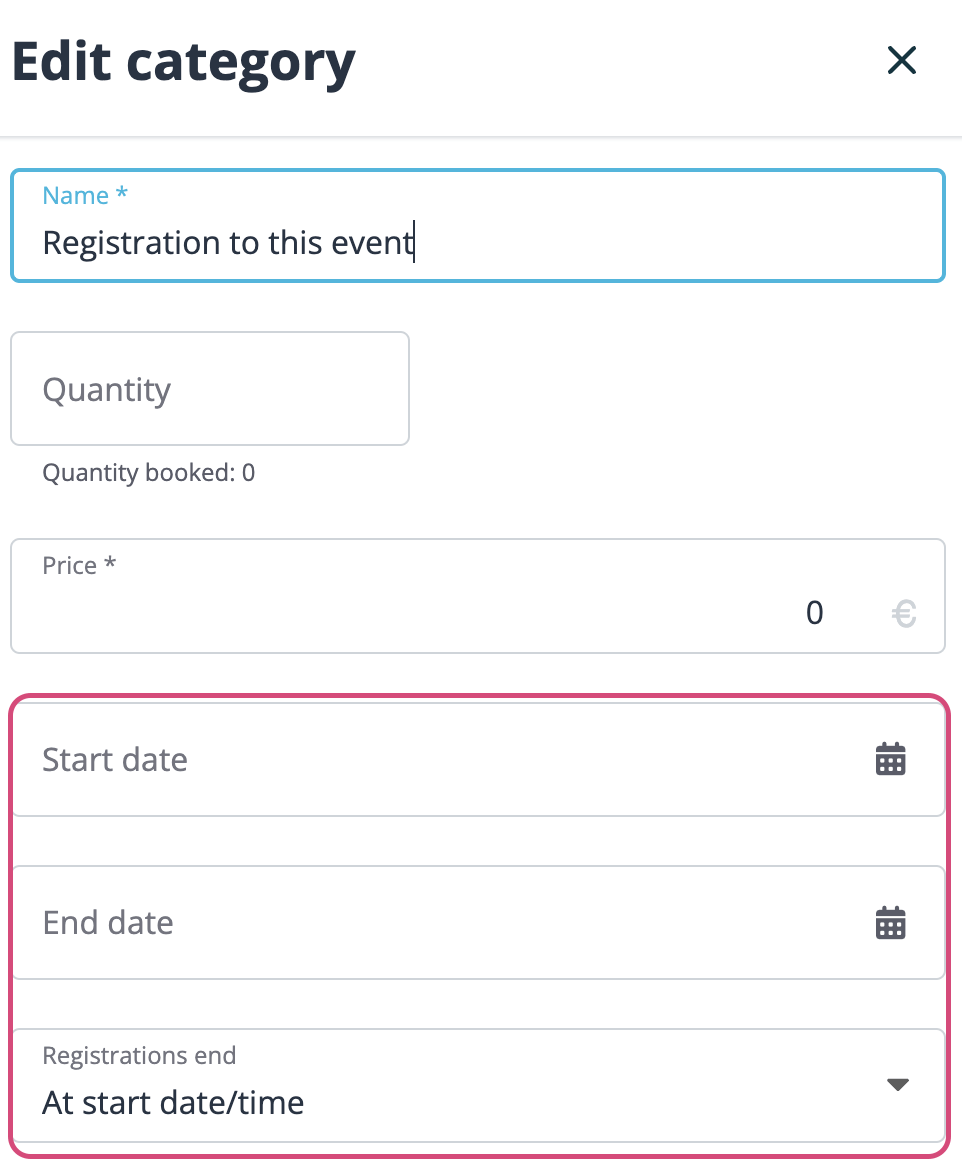
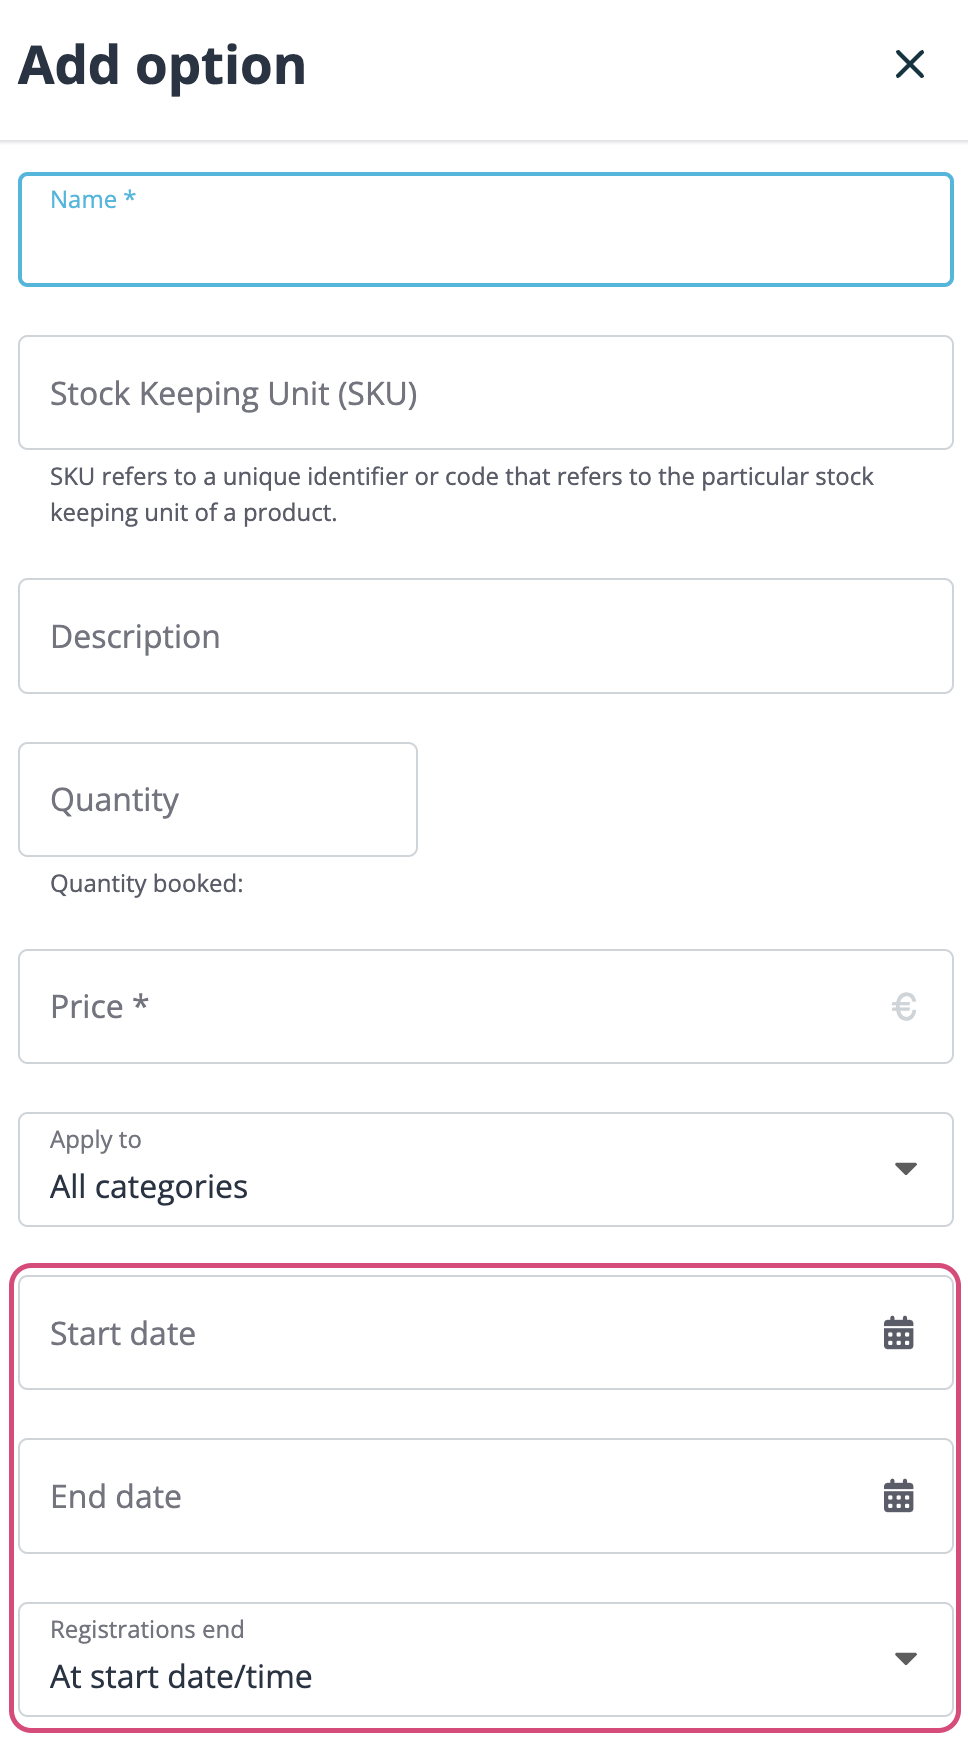
Activate specific dates for categories and options
This feature allows you to set specific dates and time slots for categories and options. Registrants will be able to add each session to their calendar (Google, Outlook, Yahoo, etc.) with detailed information about location, date and time.
Create a QR code for categories and/or options
This feature allows you to create a QR code for categories and/or options. You can print the QR code and display it on-site (at the entrance, on your booth...). By scanning this QR code, you will be redirected to the check-in system and can easily check participants in.
Stock management
Activate stock management options to have several stock management options.

You can also hide your sold-out items to prevent attendees from seeing categories or options that are no longer available.

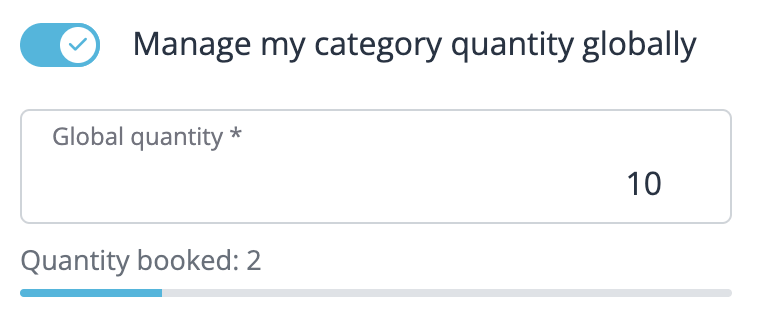
Instead of managing your stock in each category and options, you can manage your category quantity globally. For example, if your event cannot host more than 500 attendees, set the global quantity to 500.
Waiting list
Allow registrants to join a waiting list for sold-out options. If some of your options were more successful than others, keep track of registrants who would have liked to register for a fully booked option and automatically inform them when additional spots are made available for this option.

- Registrants need to tick the Waiting list checkbox during the registration process.
- If new spots are made available they will receive an email notifying new options have been made available for registration.
- They will be able to modify their registration themselves if the <b segoe="" ui",="" roboto,="" oxygen,="" ubuntu,="" "helvetica="" neue",="" arial,="" sans-serif;"="">Allow attendees to modify their registration option is enabled in Registration > Settings.

Categories and Options
One of the most important steps of your registration form’s set up is the creation of your ticket using registration categories, groups and options.
Correctly creating and setting up your categories and options from the beginning is very important. There are limitless combinations possible and finding the most appropriate to your event’s specificities will greatly improve the efficiency of your overall event management.
Here is an example of the 3 different layers:
- Categories
- Options
- <b segoe="" ui",="" roboto,="" oxygen,="" ubuntu,="" "helvetica="" neue",="" arial,="" sans-serif;"="">Groups

Be aware that once a registrant has purchased a specific category or option, you will no longer be able to remove that item, as you wouldn’t want to delete a ticket that has already been purchased.
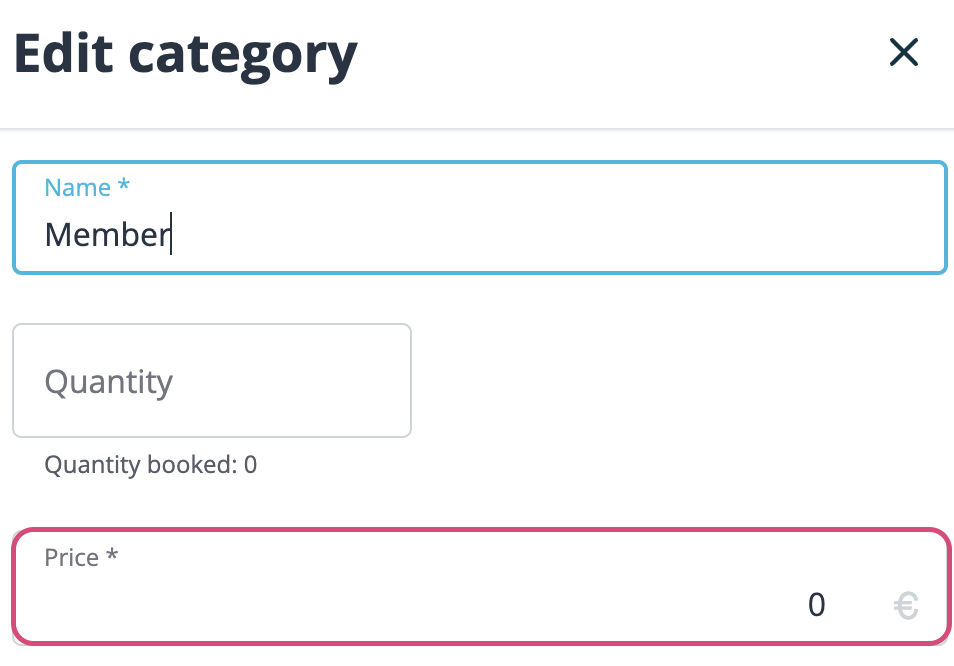
Configure your categories
Categories are the first layer of choices you make available to your registrants. They are mutually exclusive (registrants can only pick one) and represent the highest items in your ticketing structure. Options created later in the process will be applicable to your selection of categories.
If your event is simple and you do not offer many choices to registrants, you can create simple categories (i.e. “Participation to day 1”, “Participation to day 2”, etc). However, most of the time, event organizers wish to offer more choices to their participants and spread these choices over multiple layers. This is where event registration's unique Categories/Options structure becomes most valuable, allowing you to create multiple layers of choices.
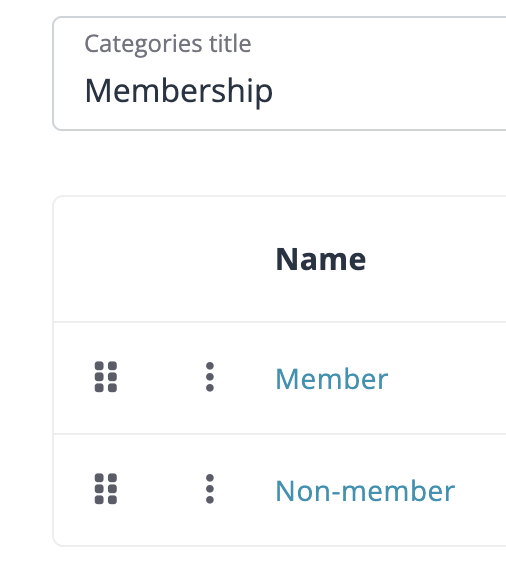
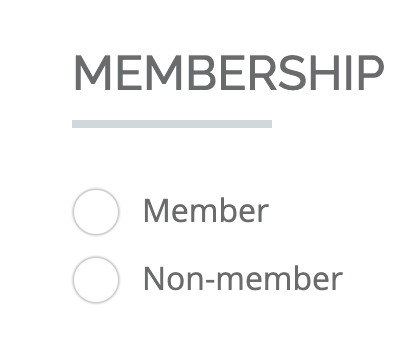
A common example of categories would be membership type (Member – Non-member):
Backend view
Frontend view
By default, a category is always active. However, if you have no use for categories and only want to work with options and groups, you can deactivate them by activate the Hide Categories toggle. Please note you cannot have more than one category created to be able to use this feature.
Configure your groups
Once your categories are properly set up, you can start (if your event structure requires it) to create your Groups. Groups represent the structure in which the options will be displayed. You can be very creative in your groups, and truly adapt the structure to your events’ specificities.
A common example of groups would be Day 1, Day 2, etc.:
Backend view
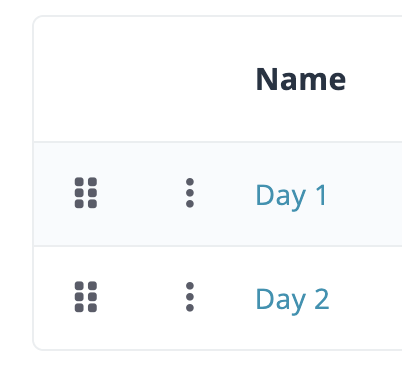
Frontend view
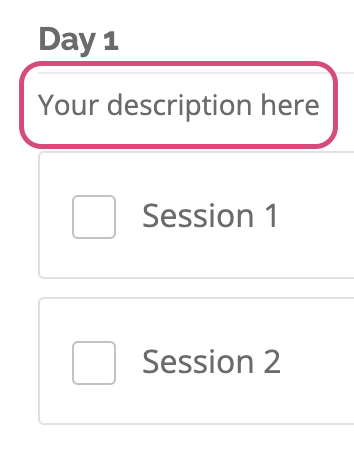
Edit your groups and decide if the options that will be linked to the groups should be single choice and/or mandatory. You can also add a description to your groups and make them collapsible.

Add a description to your groups to give more information to your registrants.
If your groups are collapsible, registrants need to click on them to view the options. This can be useful if you have many groups.

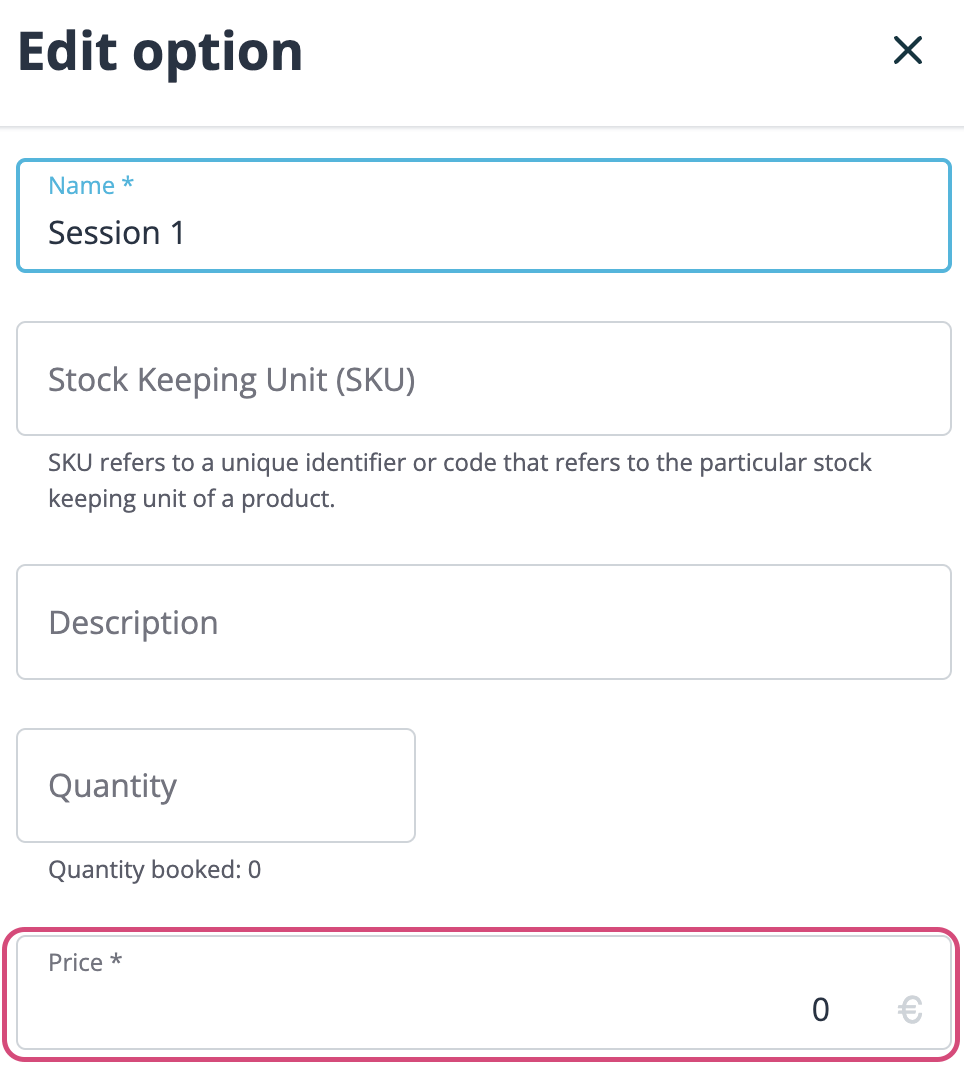
Options
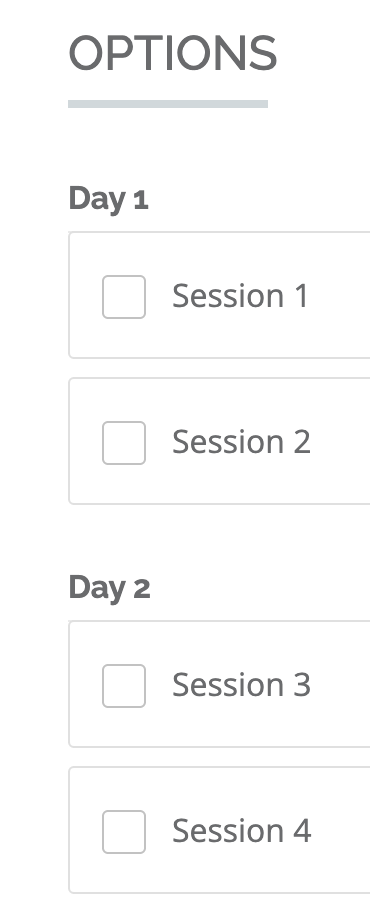
Once categories and groups are set up, you can begin creating your options. Options are the lowest level of choices your registrants will be able to select during their registration. You can create as many options as desired, apply them to all or only a selection of categories, and choose in which group each option will be displayed.
A common example of options would be Session 1, Session 2, Session 3, Session 4. In this example, we have linked session 1 and 2 to Day 1 (the first group) and sessions 3 and 4 to Day 2 (the second group). All sessions are applied to both categories (Members and Non-members), except for Session 4 that is linked to Members category only.

Discounts
Discounts are a great way to promote your event, may it be with Early bird prices, Coupons or Volume discounts.
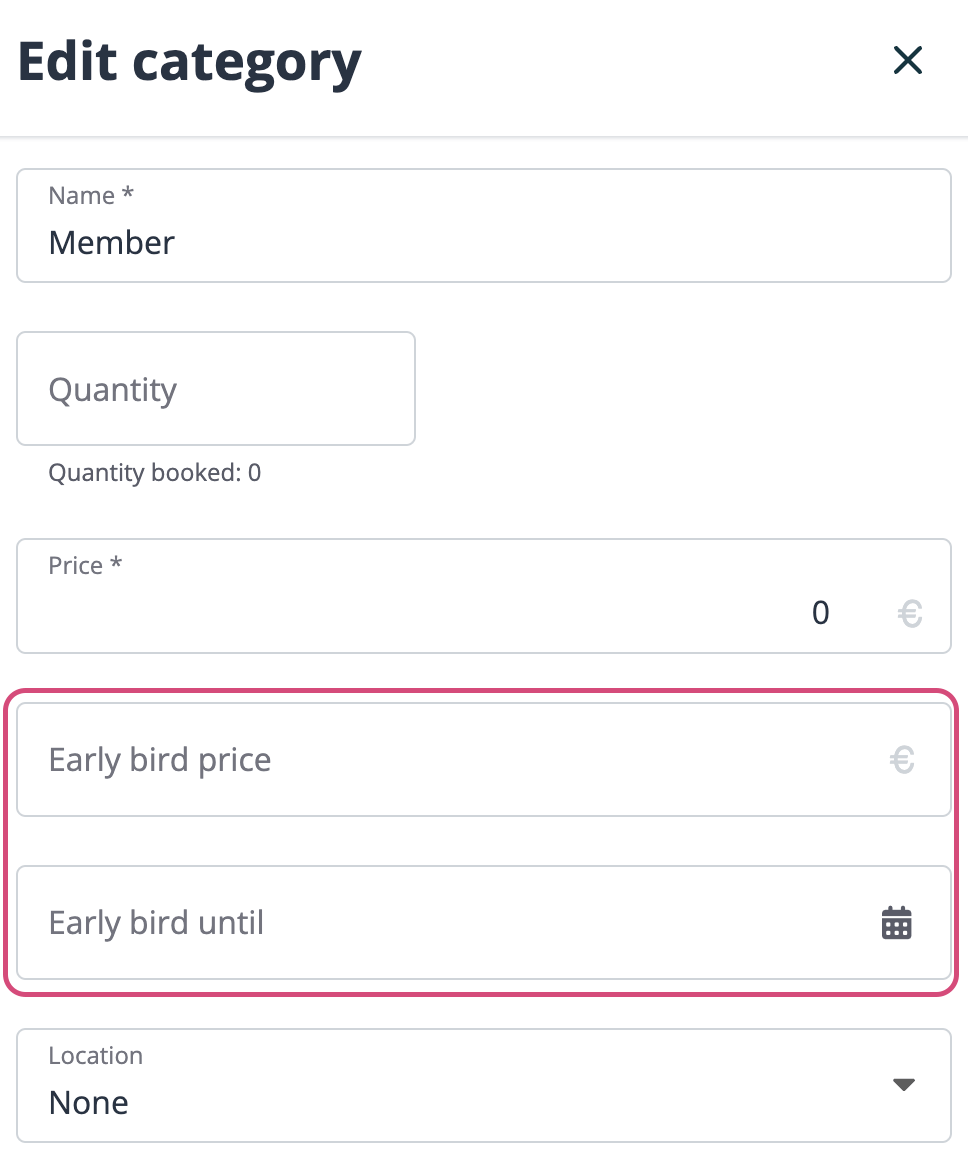
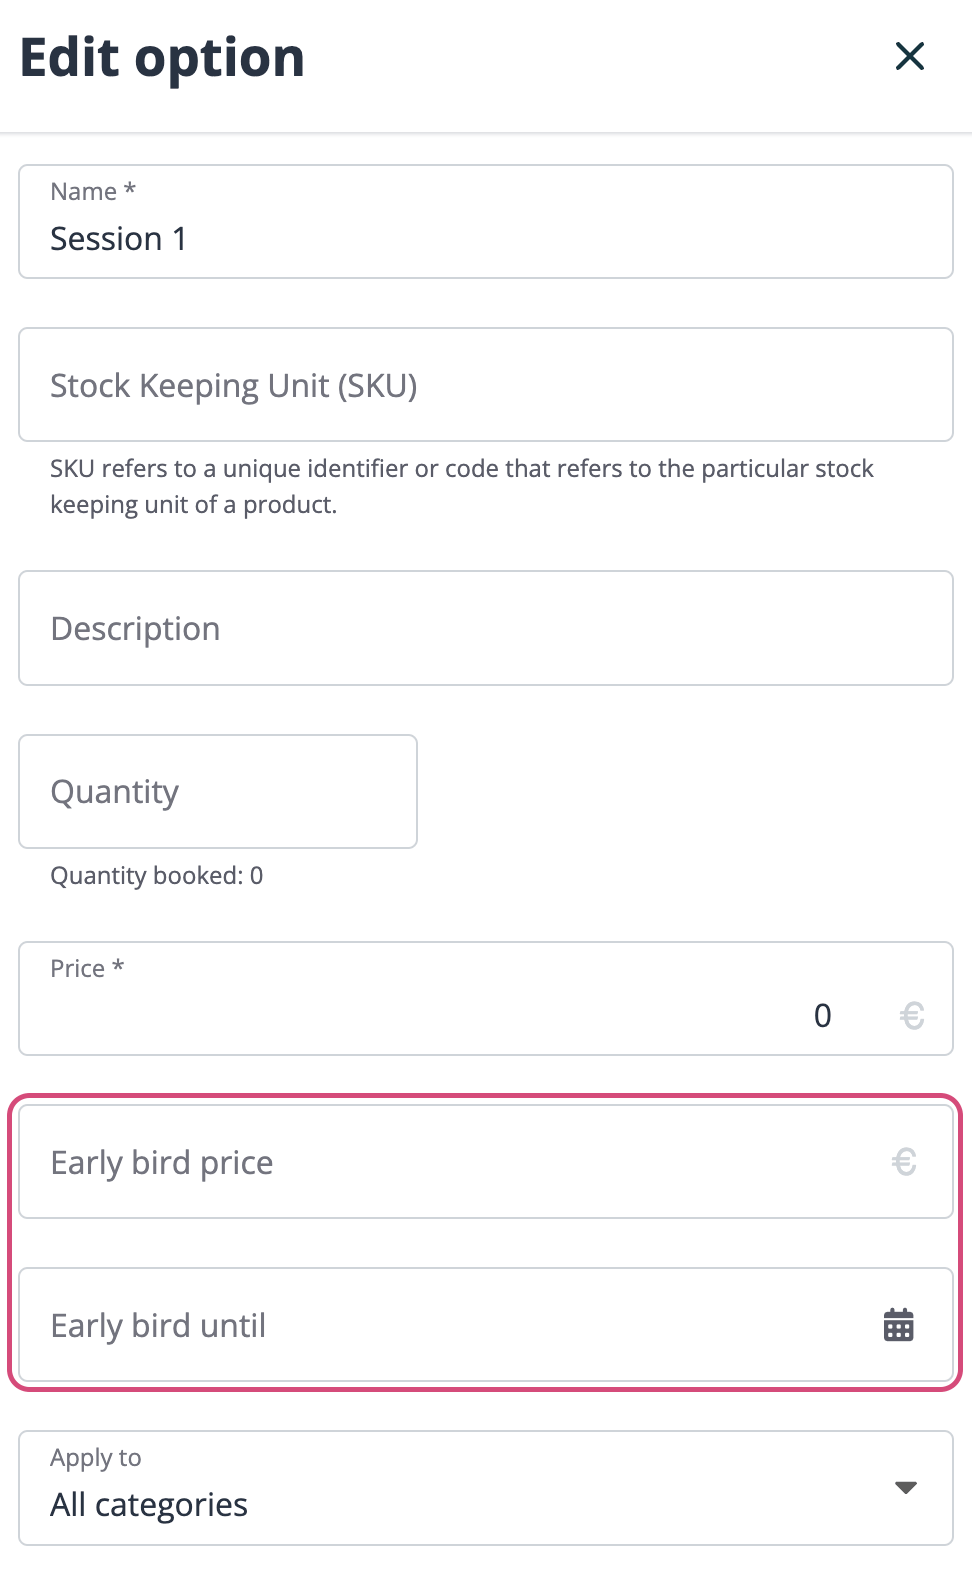
Early bird
Apply different prices until a given date to incentivise early registrations. Activate this feature to display early bird date and time fields for each category and option and then edit your categories and/or options.
Note that early bird price and date cannot be modified once a registrant has purchased this specific category or option.
Coupons
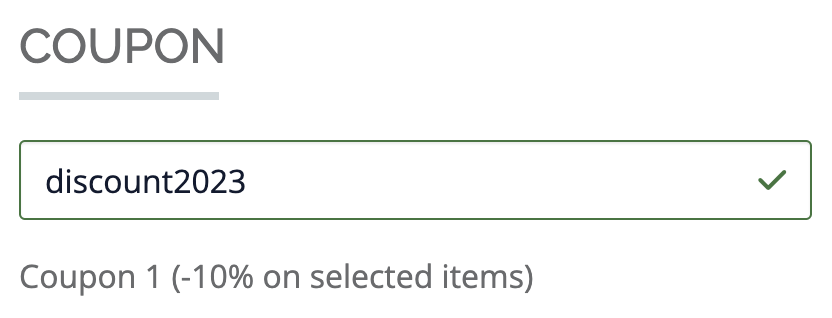
Create unlimited number of coupons and send reduction codes to your registrants. The corresponding reduction will automatically be applied to the price. This is a great way to give away preferred deals to selected prospects.
A coupon can be set as a certain amount of money or be a certain percentage of the price.
It can be applied to the total amount of the booking or to a specific category or option.

The coupon code is the code you will give out to registrants who should get the discount. All they have to do is enter their code during the registration process.
Backend view

Frontend view
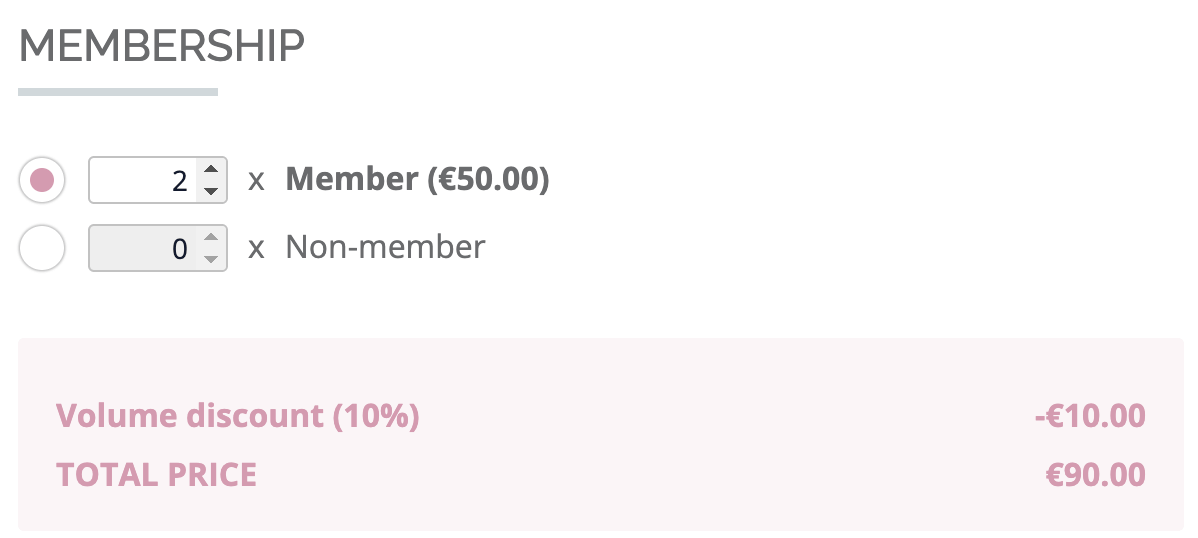
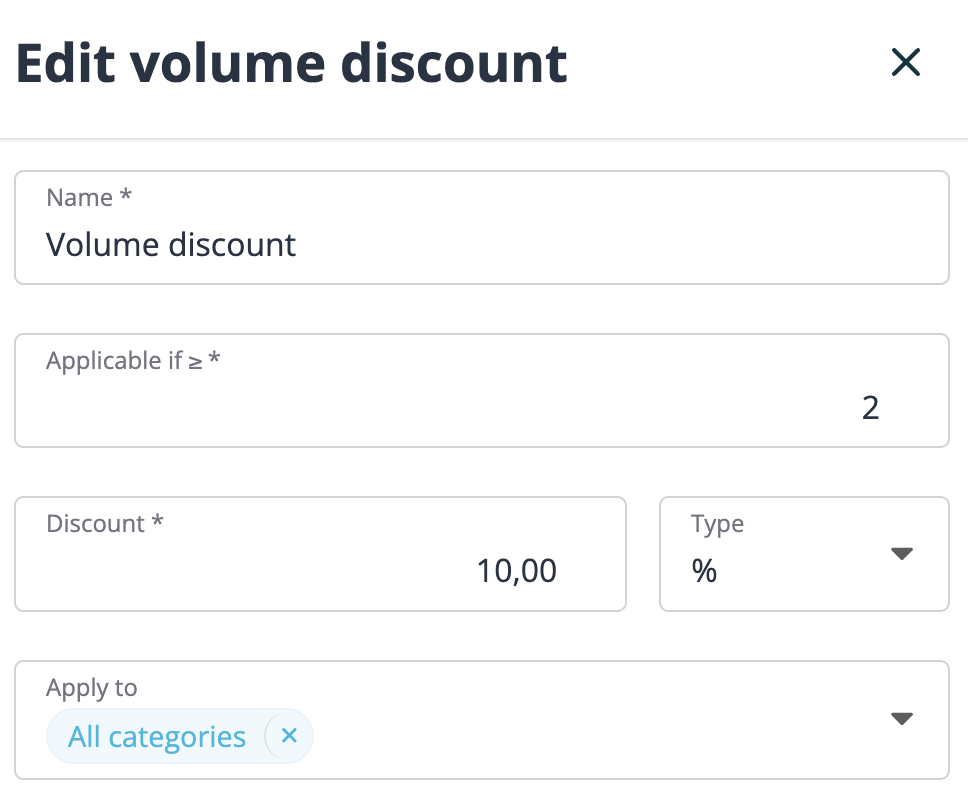
Volume discounts
Apply special discounts as of minimum defined quantities. Prior to the creation of your volume discount(s), allow your registrants to select several of the same items or allow several consecutive registrations by the same registrant in Tickets > Settings.
Add a volume discount and choose the minimum quantity you want to set up for the discount. Then, define the amount of the discount, it can be set as a certain amount of money or be a certain percentage of the price and can be applied to the total amount of the booking or to a specific category or option.
You can create as many discounts as needed.
Backend view
Frontend view