![floq-logo-by-cc-2-white@2x.png]](https://knowledge.conferencecompass.com/hs-fs/hubfs/floq-logo-by-cc-2-white@2x.png?height=40&name=floq-logo-by-cc-2-white@2x.png)
The web app and mobile app both use the same event data. However, the home page and menu can be configured separately, leaving you to be flexible on what you want to include and in what order. Through the side menu item Pages, you can configure the contents of the home page on the tab Home and that of the bottom navigation, top or side menu on the tab Menu.
Please note you have to publish a release to make the changes visible to your attendees.
Home
Configure the first page attendees see when opening your event app by adding customizable tiles and widgets.
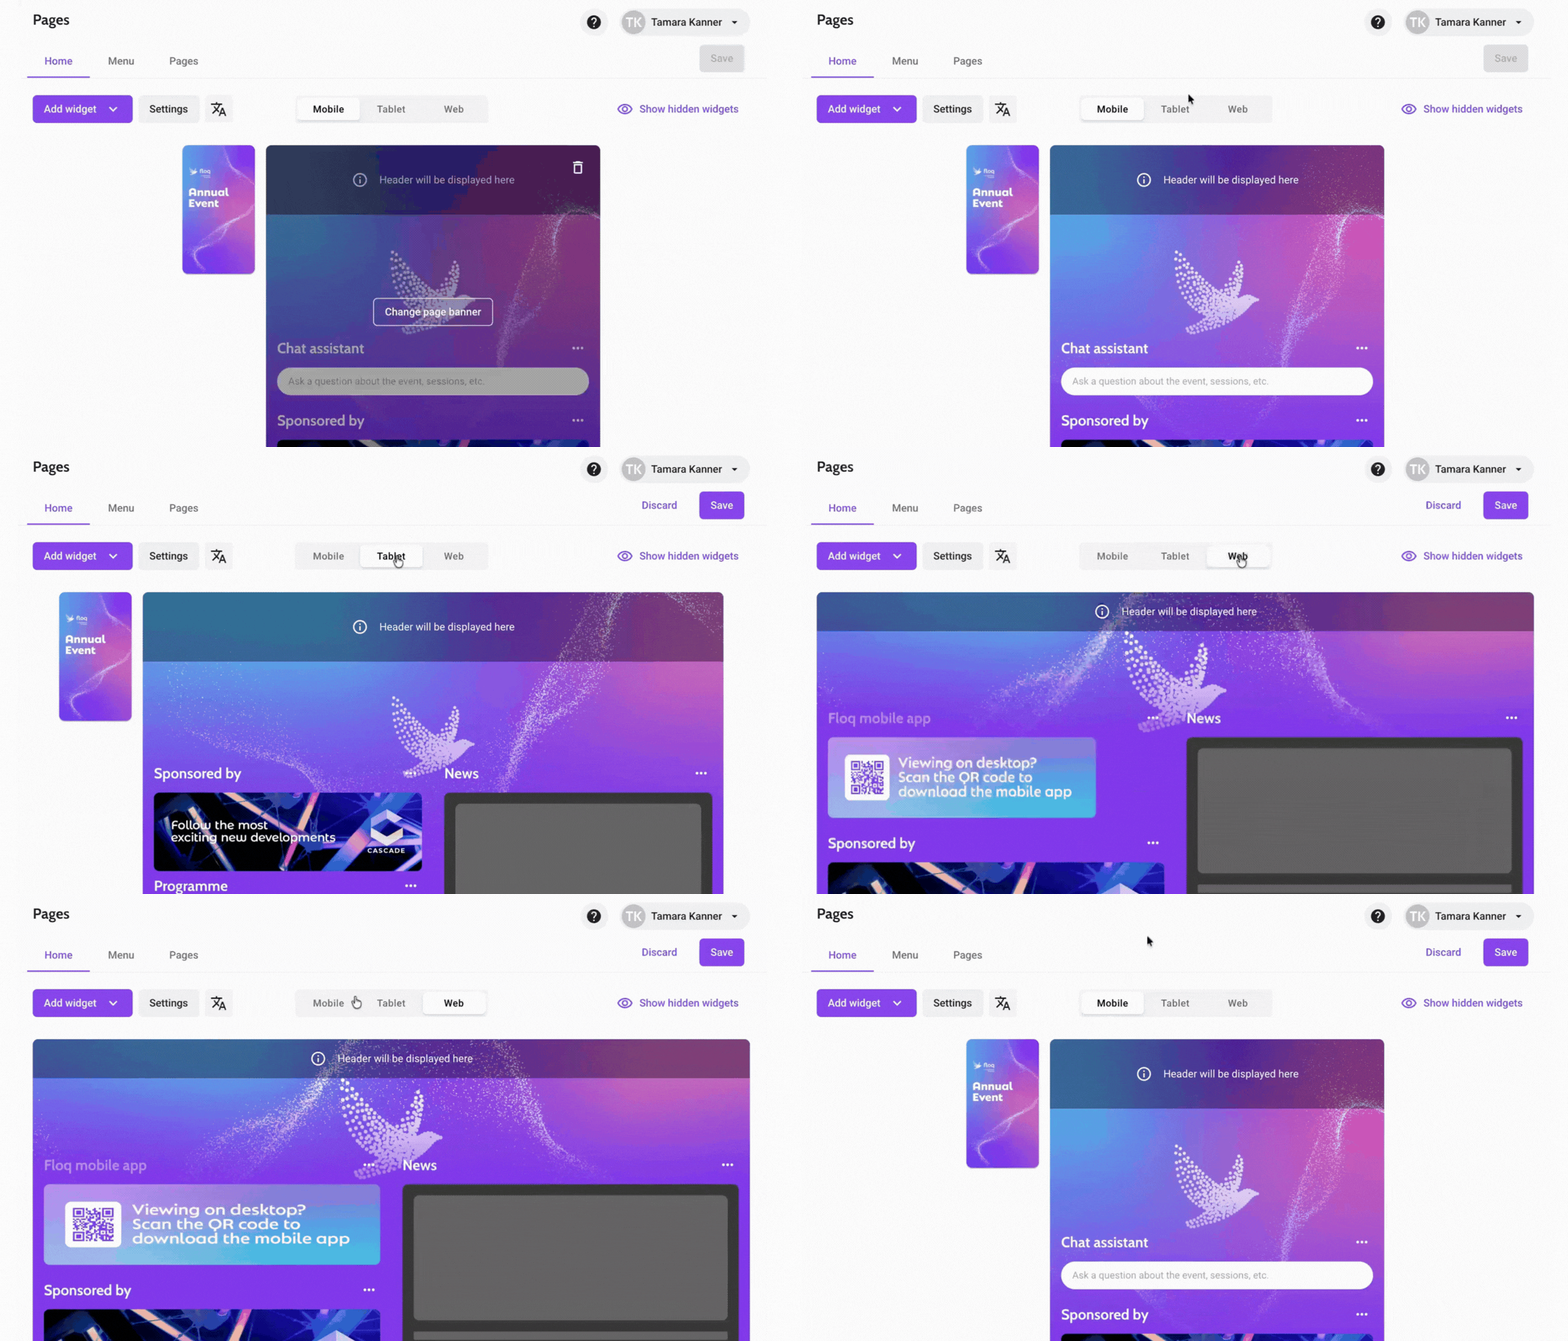
On the top of the editor, toggle between device layouts for Mobile, Tablet, and Web. While widgets automatically appear across all three layouts when added, you can customize their order per device type. For example, you can prioritize the sponsor banner on desktop before the event, while keeping Happening now sessions front and center on mobile devices during the live event.
Configure general layout settings
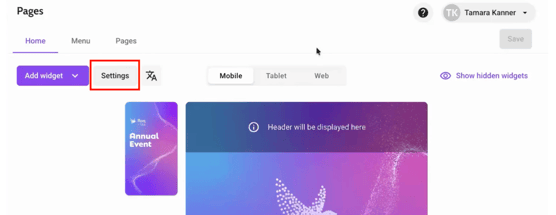
Adjust overarching style and layout properties by clicking the Settings button under the tabs.
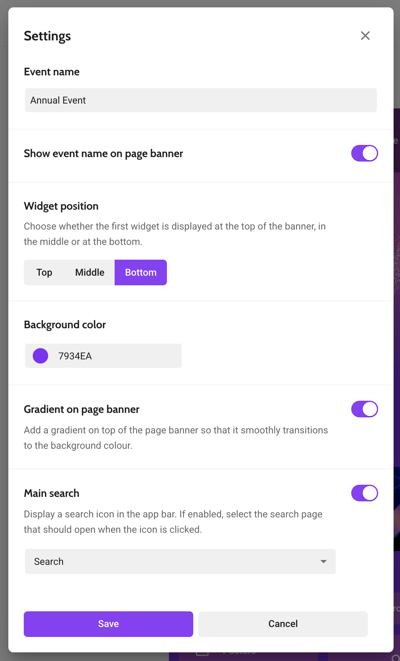
- Define your event name and visual background colors, including a gradient transition option between your background image and background color.
- Adjust default widget position, such as placing widgets on the Top, Middle or Bottom of the background image.
- Enable a search icon and select the search page that should open when the icon is clicked.
- Enable a gradient on the page between the background color of the home page and the page banner.
Add page banner
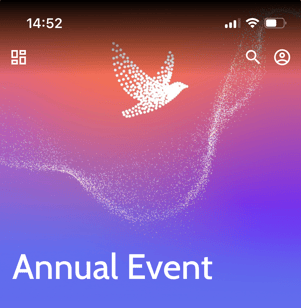
Upload a page banner image to display at the top of your homepage screen above your widgets. Click the Add page banner placeholder or click Change image when hovering over an existing banner.
The recommended banner dimensions are 3000x3000px. Because the top portion of the image is covered by the status bar, event title, and action icons, keep key graphic elements near the center.
Learn more and see examples in the artwork guidelines article.
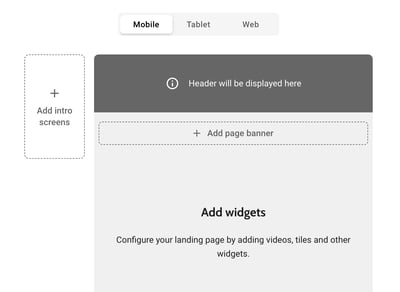
This image appears above the first widgets. The top part of the image will be covered with the status bar, event title and some icons so make sure to not put any important content there.
Add intro screen
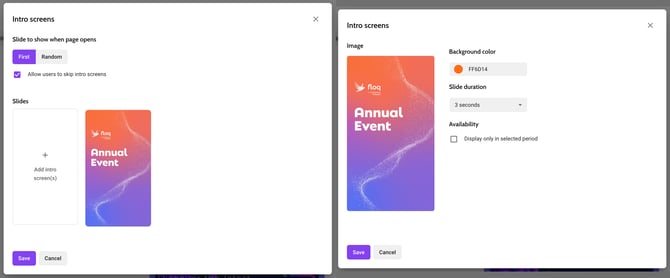
Display intro splash screens to attendees on mobile devices before the home page opens. Configure these screens by clicking the Add intro screens placeholder or selecting the thumbnail at the top left of the device preview.
Learn more and see examples in the artwork guidelines article.
In the main settings window, configure how intro screens appear to attendees:
- Slide to show when page opens: Choose First to always display the first slide on the left first, which works well for top sponsors or important speakers advertising. Setting it to Random allows for a more equal distribution of image views.
- Allow users to skip intro screens: Enable this setting to show a close X (❌) icon in the top right corner so attendees can skip the screens immediately.
You can also customize individual slide properties for each image:
- Background color: Fills the space surrounding the fitted image.
- Slide duration: Adjust display duration between 1 and 9 seconds.
- Availability: Set a specific timeframe for when an intro screen appears, which is useful for time-sensitive promotions. Use this for example when the image refers to a session and is no longer relevant when that session is over.
Add widgets
Click Add widget in the top left toolbar to add different widgets to your landing page.
You can select from the following widget types:
The following widget types can be added:
- News feed: Displays all published news messages in a dedicated news feed. To accommodate multiple news posts, this widget has a fixed position: at the bottom of the layout on Mobile, and on the right side on Tablet and Web.
- Sponsor banner: Displays a sponsor banner that can optionally be linked to a designated destination, such as a sponsor profile, session page, or external link. Recommended dimensions are 1260 x 370 px. Learn more about it here.

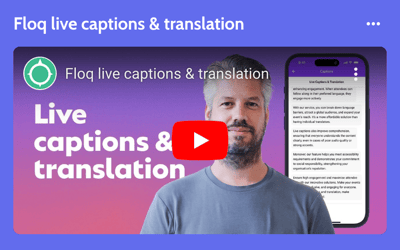
- Video: Displays a playable video preview tile using an internal MP4 URL generated from the Files and media page (learn more here), YouTube URL or public Vimeo URL.
- Happening now: Displays the first 2 live, active sessions from a selected Happening now page alongside a button to view the full page. If no sessions are live at that moment, this widget remains empty.
- Navigation: Adds a navigation section with action buttons to your web and mobile app.
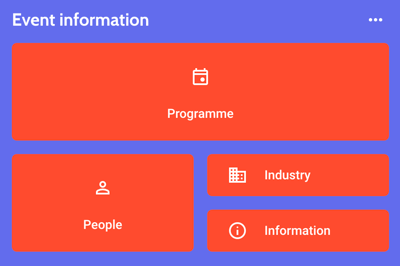
For Navigation widgets, you can customize individual buttons:
- Choose between Small, Medium, or Large button sizes.
- Style buttons using Icons + Text Labels or Custom Images.
- Link buttons directly to internal pages, specific data objects (such as a featured speaker profile), or external web URLs.
- Add multiple Navigation widgets across the page and place as many buttons as needed inside each.
Rearrange widgets
Manage your page structure directly in the visual editor.
- Rearrange widgets: Drag widgets to your preferred layout position. Click the Save button in the toolbar to apply changes.
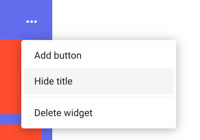
- Hide or show widget titles: Click a widget title to edit its text, or select Hide title from the More (...) menu. Hidden titles display as greyed out in the studio preview but remain hidden from attendees.
- Delete widgets: Select Delete widget from the More (...) menu. Click the Save button in the toolbar to save your updates.

Menu
On the Menu tab, you can set the menu of the web and kiosk app on the left and the bottom navigation of the mobile app on the right.
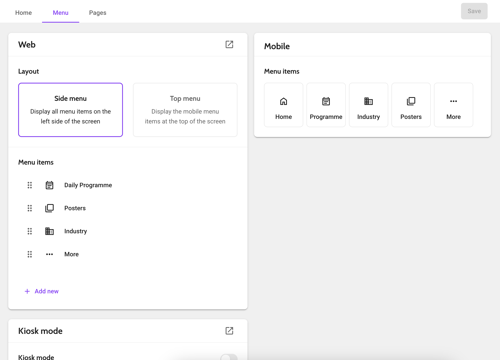
Under the Web section, select whether your desktop layout uses a Side menu or a Top menu.
When using a Side menu, manage your navigation links under Menu items:
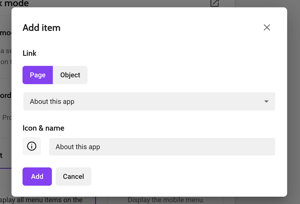
- Click Add new to create a menu item, or click the ellipsis (...) icon next to an existing item to edit it.
- Assign an icon, label, and target page or data object to each item.
- Direct link requirement: To display a daily programme on the web app, link directly from the side menu item to that programme. Linking to a navigation page that contains multiple programmes will not display correctly in the side panel. Create separate side menu items for individual programmes, such as a scientific programme and an industry programme.
- External web URLs opened from menu items will always open in a new web browser tab.
When choosing Top menu, the web app uses the same menu layout configured for your mobile application.
Below Web, there is another section Kiosk where you can configure a 'kiosk' version of the web app that doesn't have the options to sign in or favourite items. This can for example be used to embed on another website or to put on a display on-site. You can set it up the same way as the other menus. Optionally, you can add a password to it, for example if you only want to use it for displays on-site.
⚙️ Troubleshooting
Changes are not appearing in the live mobile or web app: If updates made in the Pages editor do not show up for users, you may have forgotten to publish a new release. Navigate to Publish > Publish a release to make your home page and menu changes live.
The "Happening now" widget is invisible or missing content: If the Happening now widget displays as empty on the app, check if there are any active sessions scheduled for the current time. If no sessions are currently taking place, the widget automatically hides its contents until the next scheduled session begins.
Daily programme is not opening correctly in the web app side panel: If your programme fails to display in the web side panel, ensure your menu item links directly to the specific programme page rather than a parent navigation page. If you host multiple tracks, create a dedicated menu item for each individual programme.
Intro screens are not displaying on the web application: Intro screens are designed exclusively for mobile devices. If you need to feature sponsors or key information on the web app, use Sponsor banner or Navigation widgets on the home page instead.