The list of attendees is a central element in the management of your event. From there, you can easily update the details of your attendees, export attendee's information or import new attendees. You can also perform other actions on your attendees such as sending them confirmation emails or editing their registration status. Furthermore, it gives you a quick preview of the registration status of your attendees and of the global participation to your event.
Organize your list of attendees
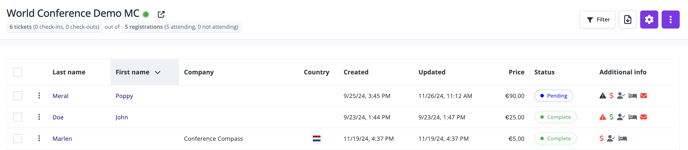
To access your list of attendees, go to General > Attendees. The list contains basic details about your attendees and their registration. You can organize this list according to your preferences. For example, if you want to organize it by date of registration, simply click on the Created column.
By default, only the attendees with the Registration complete or Canceled status will be displayed in the list. If you want to display another status or even only display attendees with a specific status, click on the Filter icon and adjust your filter settings. You can also filter attendees by tags, payment status, categories, option or check-in status.
Import / Export attendees
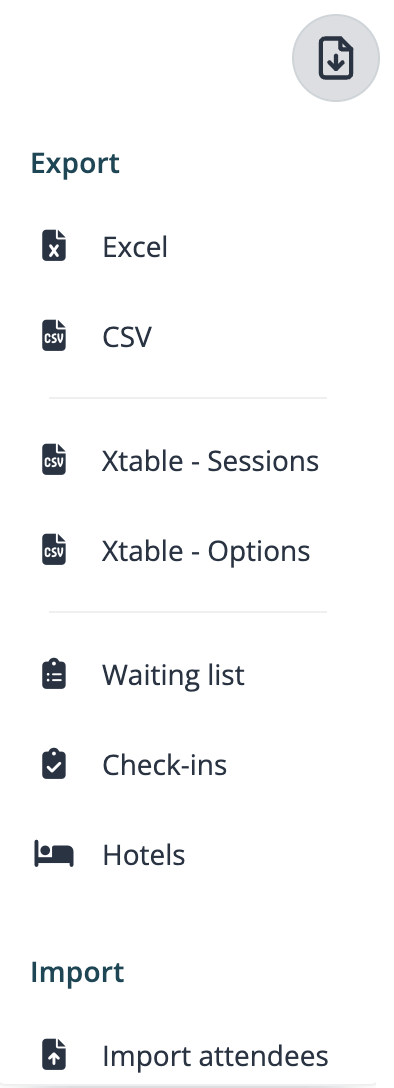
- You can quickly export your list of attendees by clicking on the Import/Export button at the top right of the screen. First, select the format of your export (Excel or CSV) and then which fields you want to have in your export. Please also note that we have other pre-defined export templates, such as waiting list, check-ins, hotels, options breakdowns.
- You can also import attendees to your event if needed. Click on the Import/Export button, select Import attendees and then Download empty template. The empty template is based on the fields in your registration form. Fill it with the details of the attendees you would like to import without changing the structure of the Excel file. Otherwise, the import will fail. Once it is done, go back to event registration and upload your completed template by clicking on Upload completed template. A pop-up will appear on the top right of the screen informing you the upload will start soon. You will be notified by email if the upload has succeeded or not.
Please note you can also use the Import feature to update your attendees details.
Update attendees details
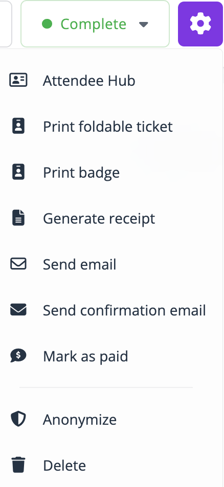
To edit the details of your attendees, simply click on an attendee's name directly from the list or on the 3-dots button next to the attendee's name and then on Details. The Attendee's details page is divided into five sections from which you have the possibility to update all the details of your attendees registration:
- Essentials: From this page you can easily update the registration status or language of your attendees and add a tag or a note to your attendees. You can also track all the registration activities under the Logs section.
- Form: This page contains all the information your attendees have entered in their registration form when registering to your event. All the fields can be edited which is useful if you need to quickly update a registration.
- Options: Find here a complete breakdown of the categories and options selected by your attendees
- Hotels: If hotel booking is activated on your event
- Payments: If your event is paid, this page gives you a great overview of the payment status of your attendees.

More actions
Note you can also perform various actions directly from the list of attendees. Simply select one or several attendees to perform different actions such as:
- Download tickets: Click on Download tickets to download the foldable tickets of the selected attendee(s) which include attendees' details and their QR code.
- Edit status: Quickly update the registration status of one or several attendees.
- Edit tags: Label your attendees with tags. It is particularly helpful if you want to send a campaign only to a selection of attendees as you can filter campaigns by attendees' tags.
- Anonymize: Protect the privacy of your attendees by removing personally identifiable information about them.