The process of the App Store submission can be divided in three steps: creating the app record, uploading the app (.ipa file), and releasing the app.
Creating app record
The first step is to specify the metadata of the app. This is done in App Store Connect, a web tool used to manage and release your apps.
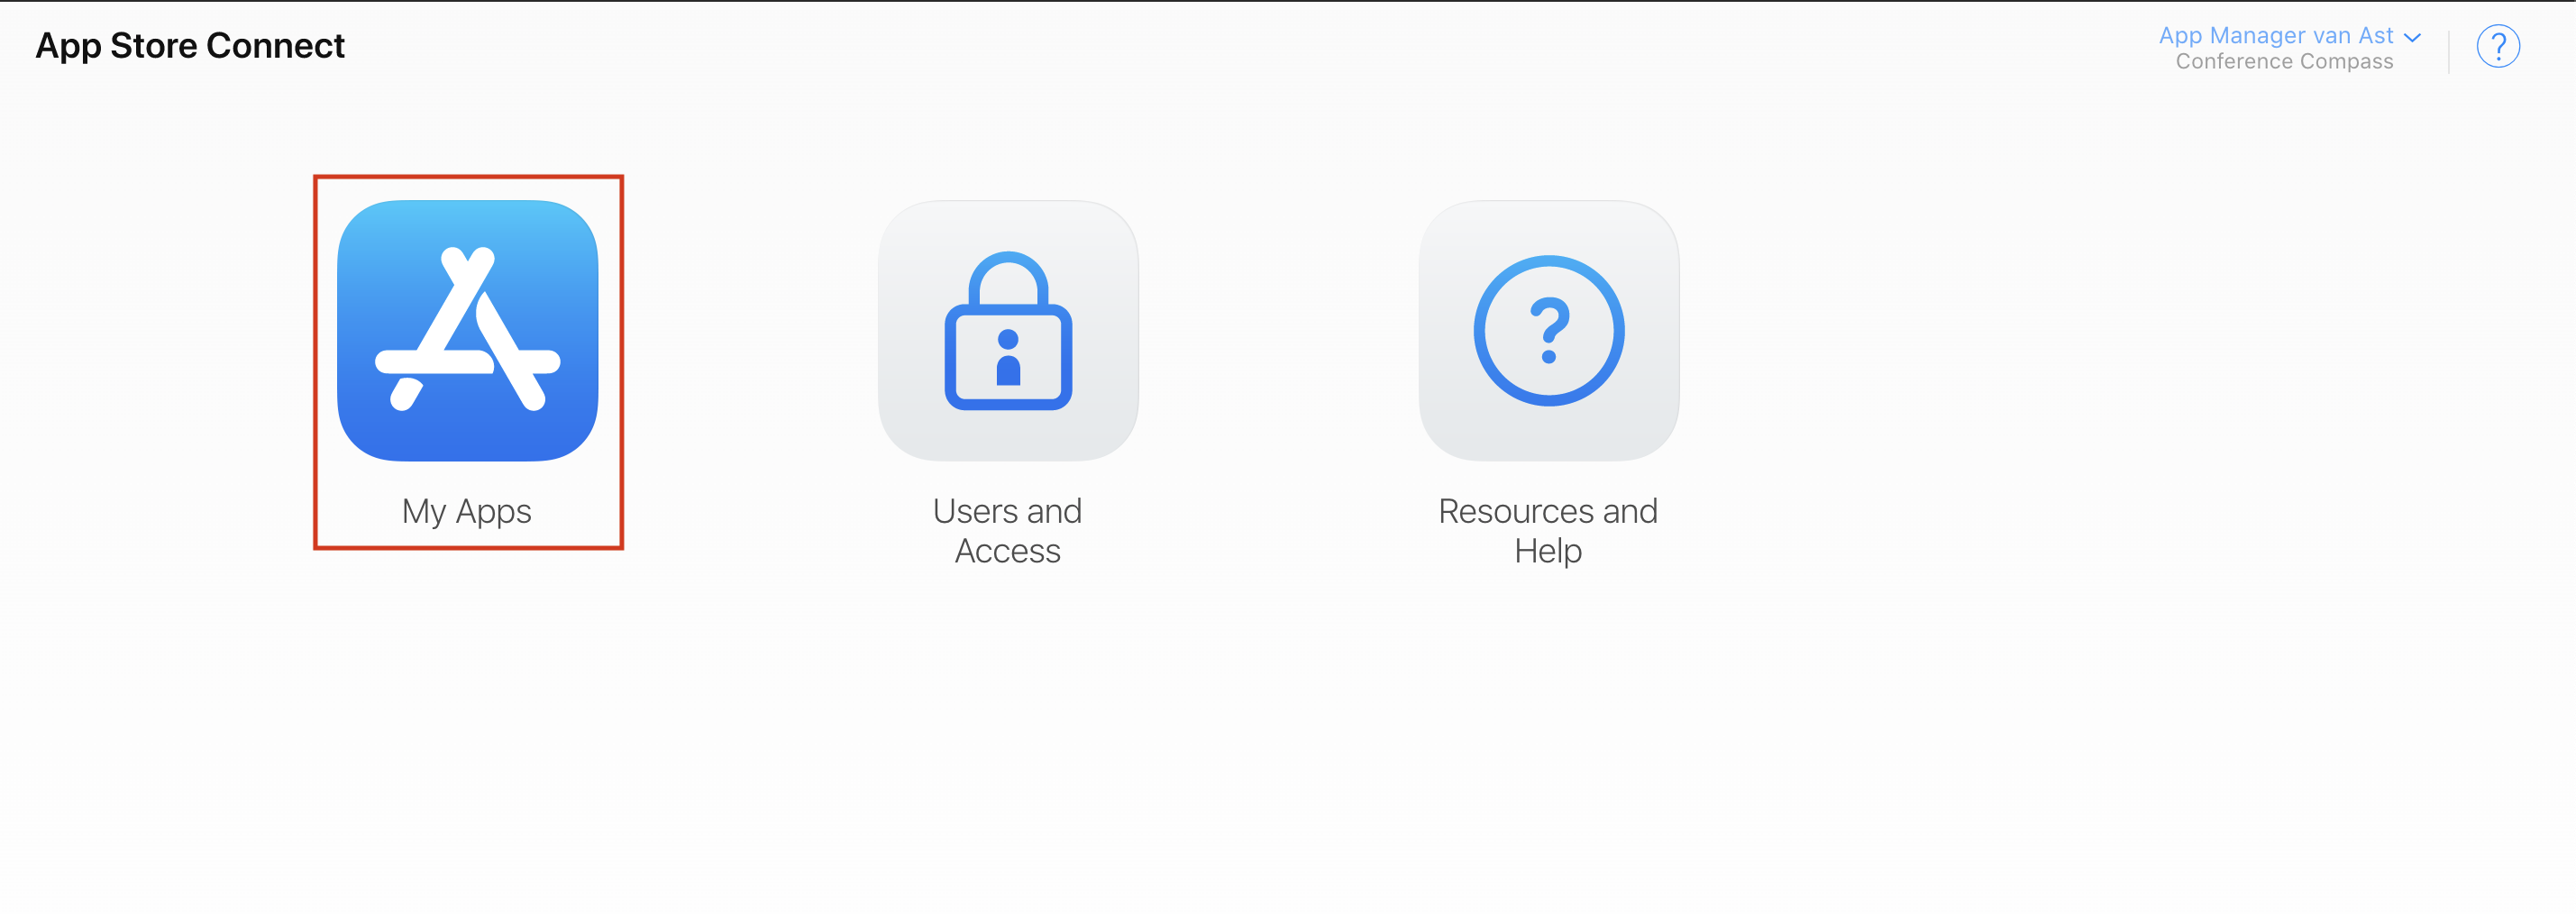
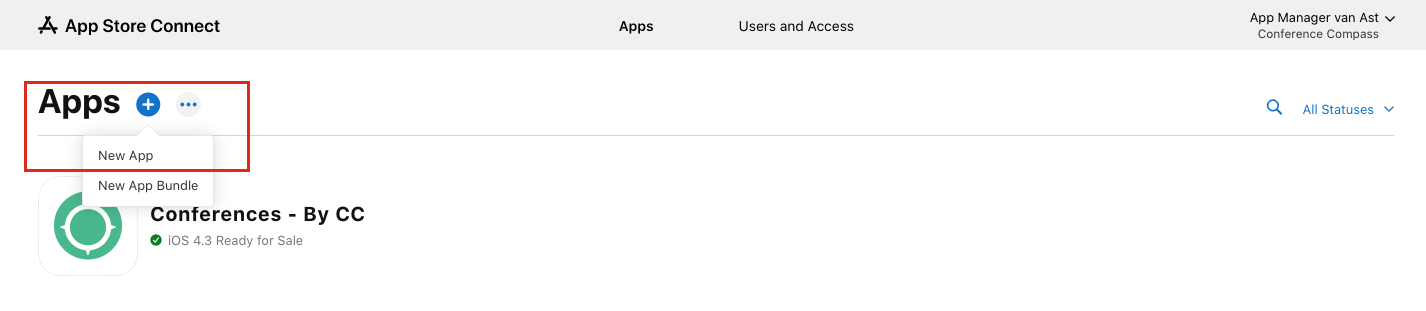
On the page My Apps, click the plus button in the top-left corner to create a new app.
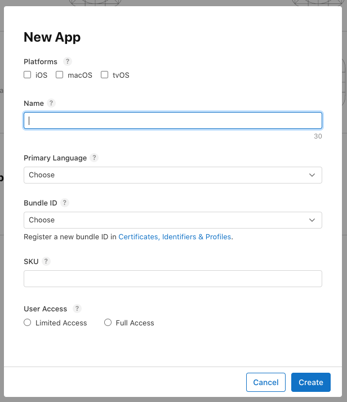
A new window will appear, in which you must set the following fields:
-
Platform: The platform that your app runs. Choose 'iOS'.
-
Name: The app name as you want it to appear on the App Store (note that this is not the name that appears below the icon, but the name on the store).
-
Primary language: The language of the app.
-
Bundle ID: The identifier of the app on the store. Use the one defined while creating the iOS certificates and provisioning profiles.
-
SKU: The identifier of the app. Use the same value as used for Bundle ID.
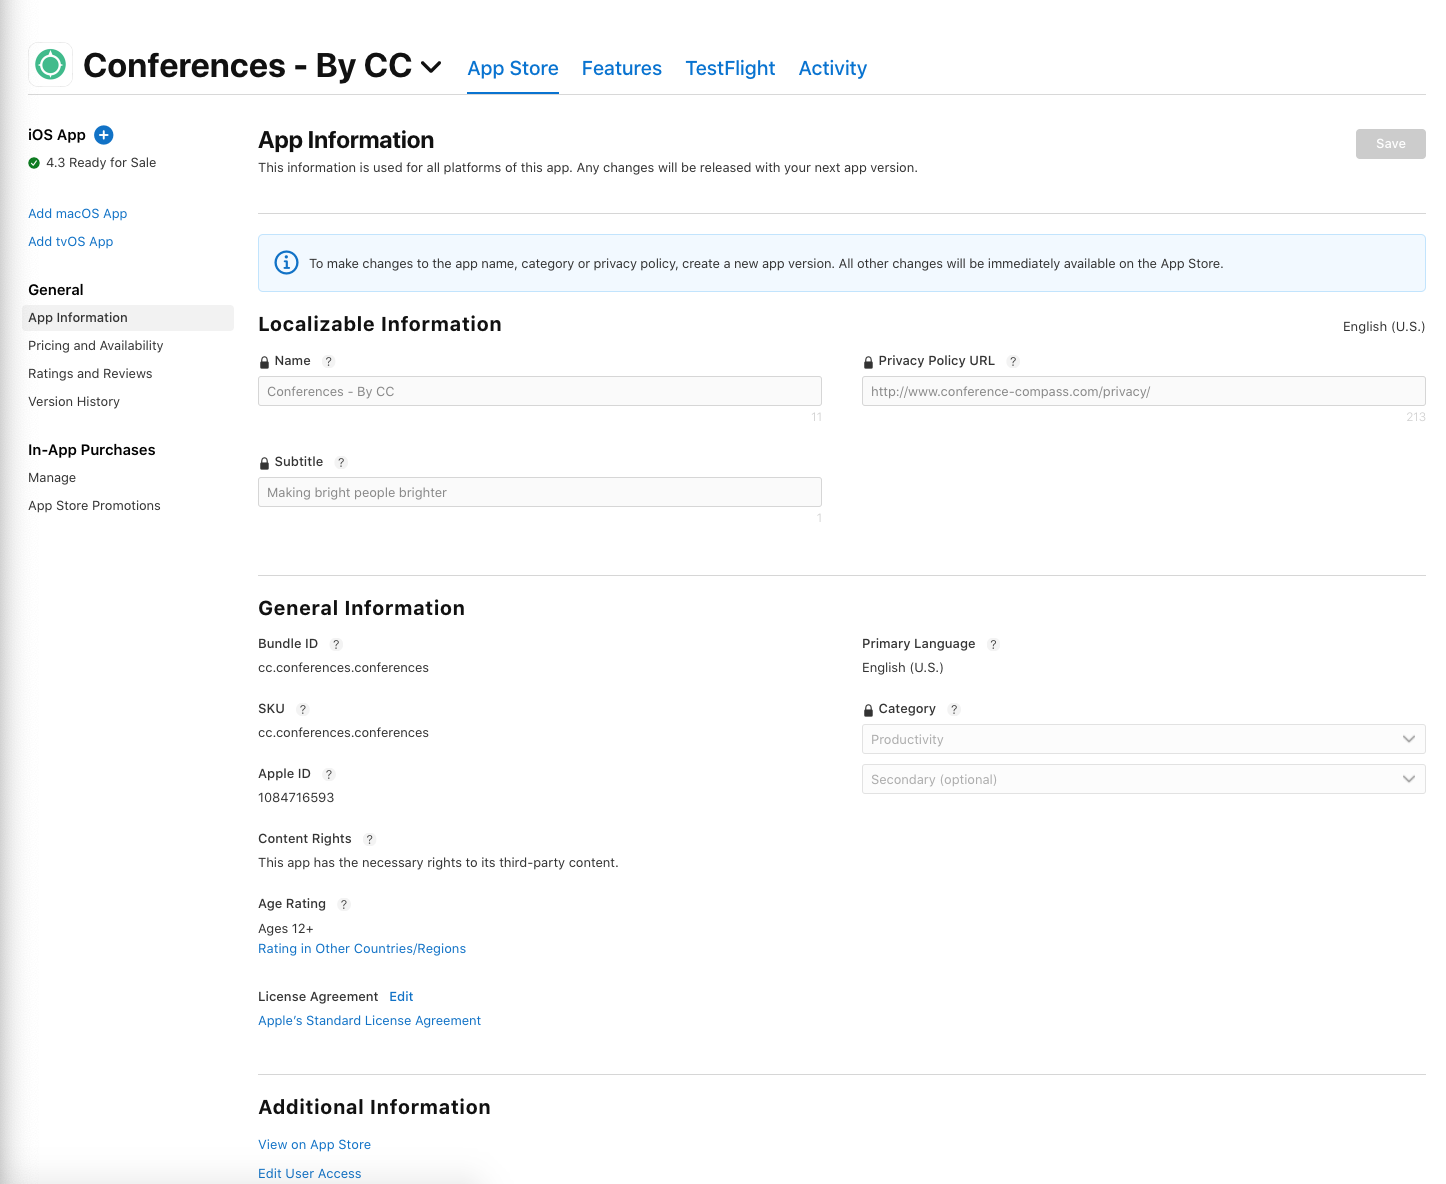
Under the App Information page, you can add the metadata of the app. There are some restrictions and tips on how to fill in those fields:
-
Name: The name of your app should be filled in as it will appear on the App Store. This can't be longer than 30 characters.
-
Subtitle: The subtitle, which is optional, should be a summary of your app. It will appear under your app’s name on the App Store for customers with devices running iOS 11 or later. The subtitle can't be longer than 30 characters.
-
Categories: Choose the categories that best describe the app. For more information, see the App Store Category Definitions
-
Content rights: If your app contains, shows, or accesses any third-party content, you must have the rights to it or be permitted to use the content. Select "No"
-
Age rating – After clicking Age Rating, answer the questionnaire about the app contents, the rating will be calculated and applied. This app's age rating will appear on the App Store across all your platforms.
For a reference of how the fields appear on the App Store, you can consult Apple's Product Page Optimisation documentation.
This step is required only once: when creating the first version of the app. If you wish to resubmit an app, it is only necessary to create a new version.
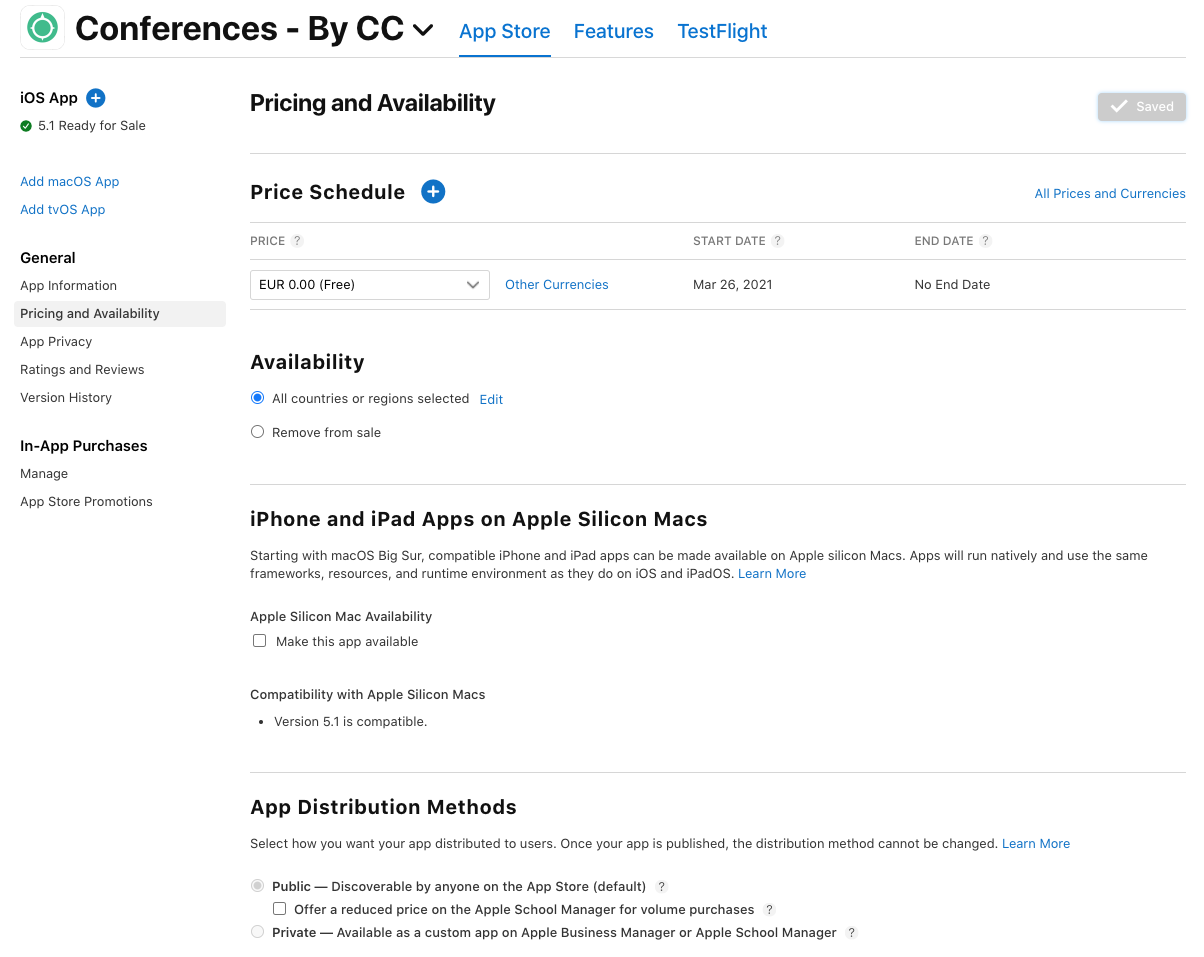
Pricing and Availability
Navigate on the menu on the left side to Pricing and Availability. Set the price to free and the Availability to All countries and regions selected.
App Privacy
The privacy policy is provided by Conference Compass, and the URL to be entered is http://www.conference-compass.com/privacy.
It's also required to fill in a form on Data Collection and you can follow our support page Apple Privacy Guidelines.
Screenshots
You must upload at least one screenshot of each required device, and uploading an app preview is optional.
Screenshots must be in the JPG or PNG format, and in the RGB color space. App previews must be in the M4V, MP4, or MOV format and can’t exceed 500 MB
Required devices:
iPhone with 5.5-inch display (iPhone 6/7/8 Plus) (1242 × 2208)
iPhone 6.5-inch display (iPhone X) (1242 × 2688)
iPad Pro 12.9-inch display (2nd generation) (2048 × 2732)
iPad Pro 12.9-inch display (3rd generation) (2048 × 2732)
For the first upload, the creation of an app version for iOS is also necessary.
Creating a new version
In the left menu, under the version number followed by Prepare for Submission you will create the version of your app.
On the version's page, you can add or change some of the app's metadata. This information is relative to the specific version. The following items describe how the fields can be filled in, organised by sections:
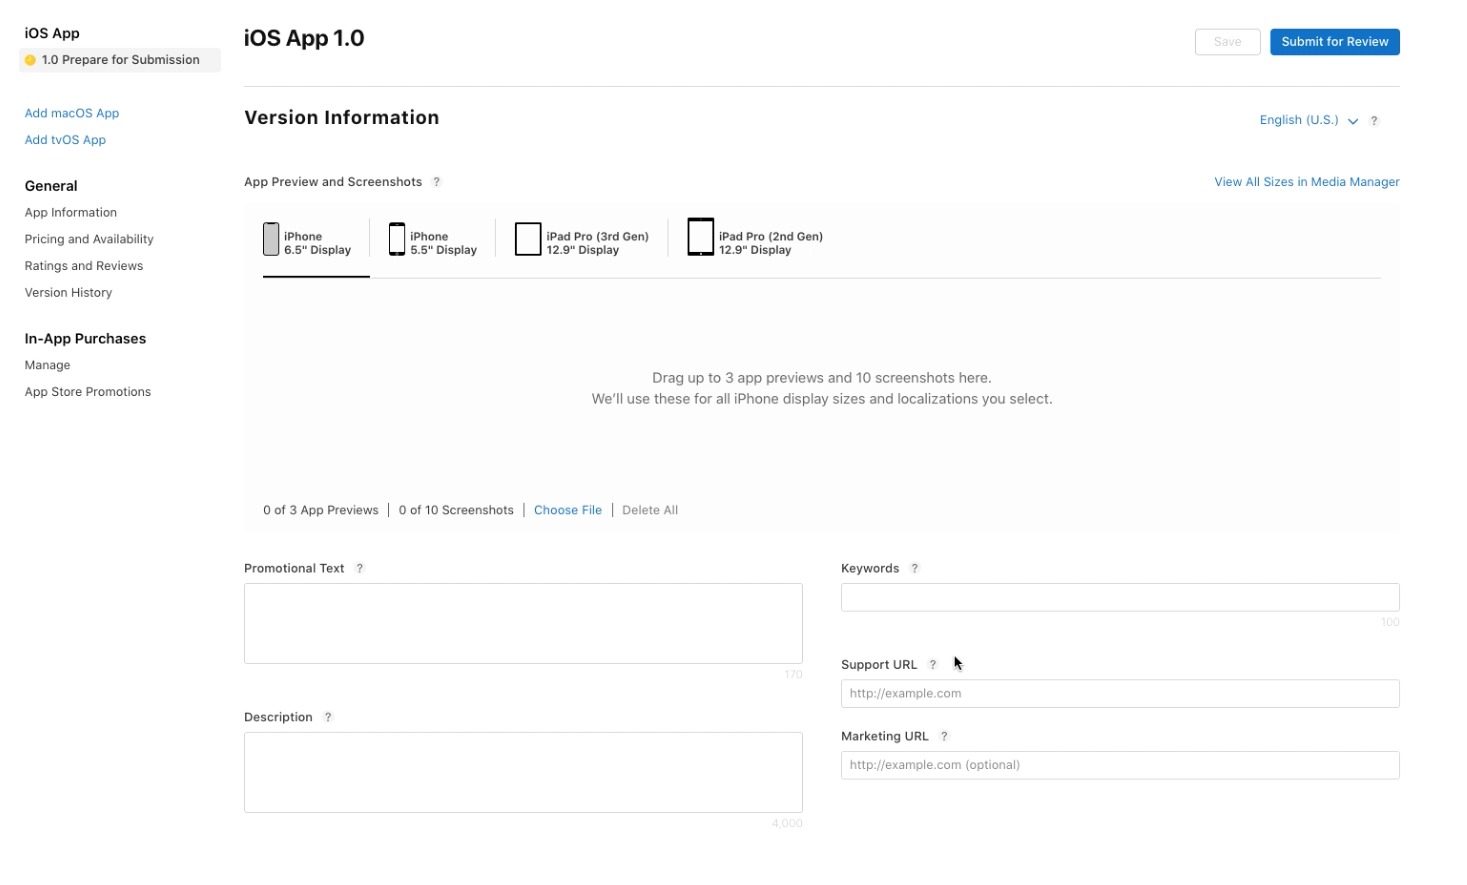
Version Information
-
What's new in this version?: If this is not the first version of the app you will need to describe what has changed, such as new features and bug fixes.
-
App Previews and Screenshots: It is necessary to upload at least one screenshot for each format (iPhone and iPad). For iPhone, the screenshots need to be taken at a 5.5-inch display (iPhone 6/7/8 Plus) and for iPad on a 12.9-inch display (Large iPad Pro). All screenshots must be in the JPG or PNG format, and in the RGB colour space.
-
Promotional Text (optional): Promotional text lets you inform your App Store visitors of any current app features without the need to submit a new app version. Max 170 characters, including spaces. This text will appear above your description on the App Store for customers with devices running iOS 11 or later.
-
Description: A description of your app, detailing features and functionality. The iOS App Store may reject the app if the description is not detailed enough. Don't only describe the event(s), but also the functionality of the app.
-
Keywords: One or more keywords that describe your app. Keywords make App Store search results more accurate. Separate keywords with a comma. Max 170 characters, including spaces.
-
Support URL: A URL with support information for your app. We recommend you to add a URL of either your event website or your company website. This URL will be visible on the App Store.
-
Marketing URL (optional): A URL with marketing information about your app. We recommend you to add a URL of either your event website or your company website. This URL will be visible on the App Store.
General App Information
-
App Store Icon: The build should upload the app icon automatically, if that fails, upload the same icon of your app as used when building the app. It must have the dimensions 1024x1024px and cannot contain transparency.
-
Copyright: The name of the person or entity that owns the exclusive rights to your app, preceded by the year the rights were obtained (for example, "2008 Acme Inc."). Do not provide a URL. Suggestion: <Company name> / Conference Compass B.V.
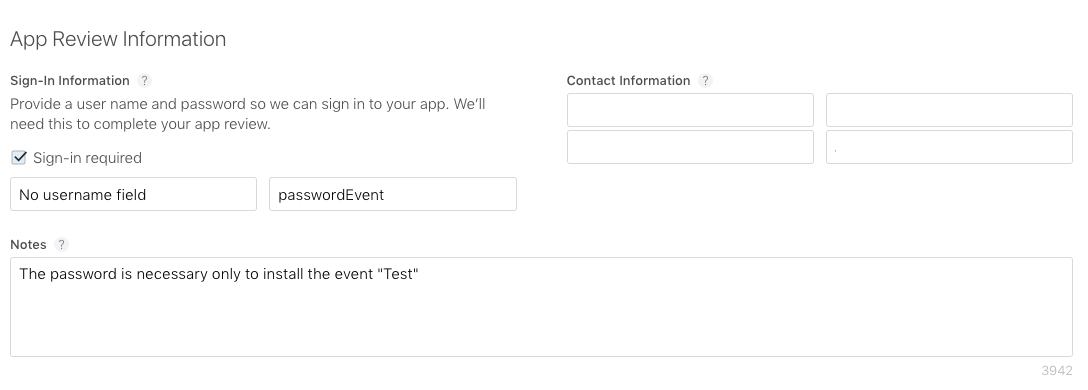
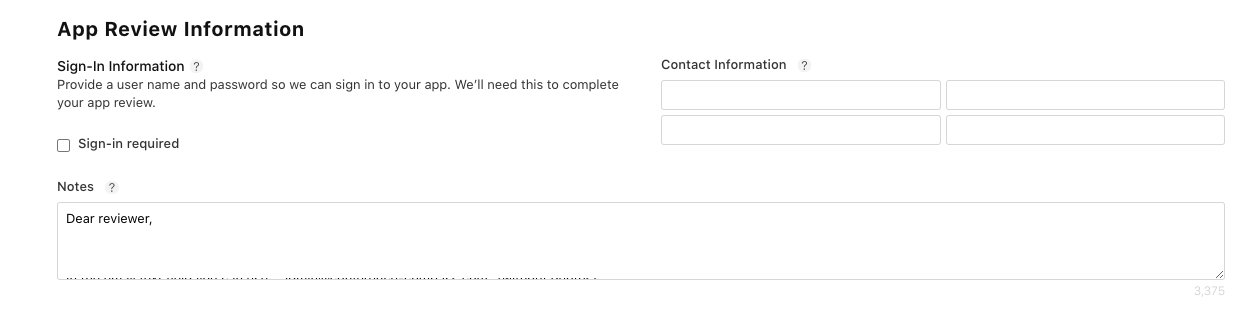
App Review Information
-
Sign-In Information: If your event requires password, select the box Sign-in required and add the login information. Add 'No username required' on the username field. Explain briefly on the Notes text box which events needs a password.
-
Contact Information: The person in your organisation who should be contacted if the App Review team has any questions or needs additional information.
You can now save the app version. After uploading the .ipa file, you will be able to select it as a new build under the Build section and submit the version to review.
Uploading the .ipa file
After creating the app on App Store Connect, the next step is to upload the .ipa file. You have two ways to upload your file: Application Loader or Transporter.
Transporter
We recommend to upload your file using Transporter, first open the App Store on your macOS and search for the app Transporter.
Log in to Transporter with your App Store Connect credentials and drag the .ipa file to the software, once that is done Transporter will run a review of the package you are sending. Then, click on Deliver and go back to App Store Connect > Your App > Activity where you can follow the uploading process.
Application Loader
Another option, is to use Application Loader to submit your app to App Store Connect. Here you'll be required to download the Application Loader (available within iOS SDK) on a Mac OS machine is required. To download it, navigate to this link and log in with your credentials for the Apple Developer Program. Choose the 10.2.1 (10E1001) and click to download the .xip file from the link in the right corner.
More information about the Application Loader can be found in Apple's documentation.
Log in with the Apple credentials you also use to log in to App Store Connect and click Deliver Your App. Select the .ipa file and follow the next steps. After completion, you can close the Application Loader.

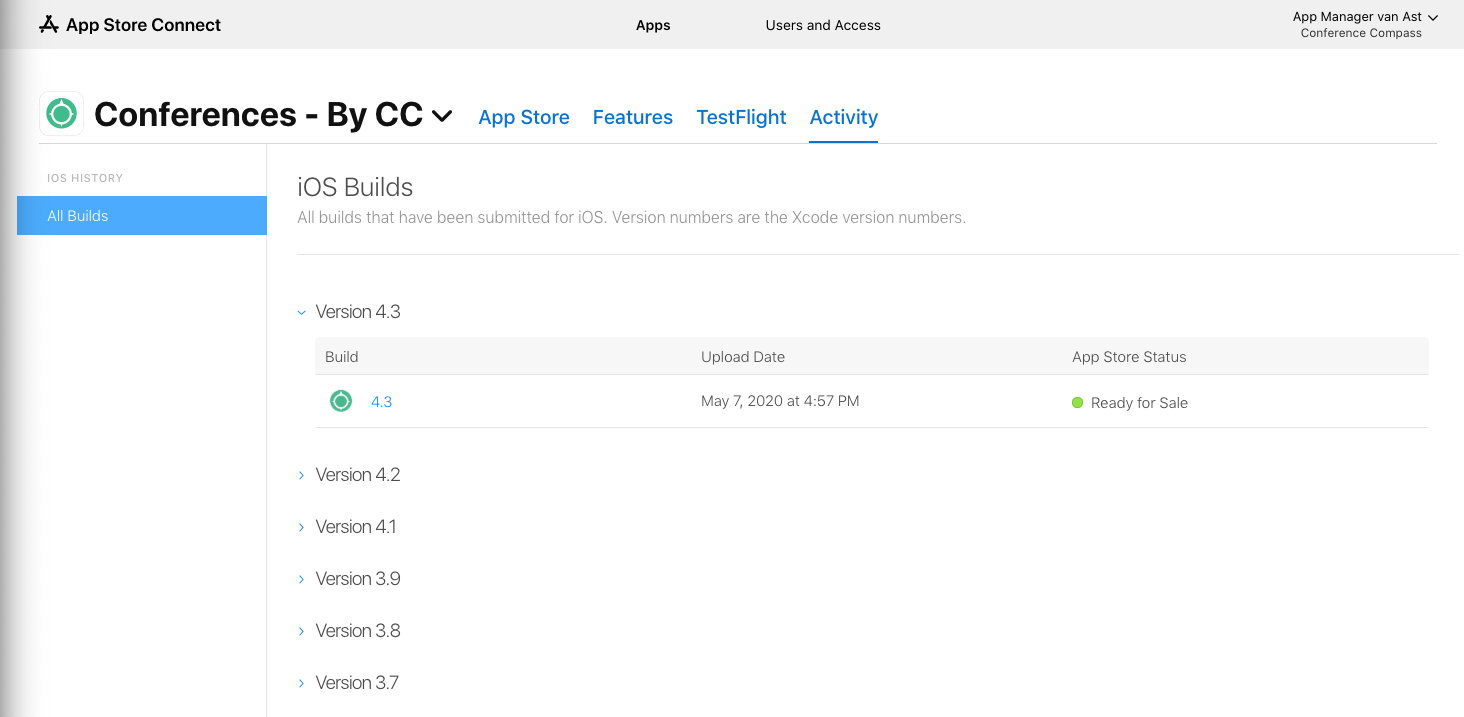
App Store Connect
Once the .ipa file has been submitted, you track the build status on the Activity tab on App Store Connect. It should take between 15 minutes to 1 hour for the build to be processed. After it is completed, you will receive an email with a notification and you should be able to add it to the app on the version page, under the Build section.
Once everything is complete, you can submit the app by clicking on Submit to Review in the top-right corner of the app's page.
Select No for the following questions and confirm the submission.
Release to the App Store
All apps submitted to the App Store are reviewed by Apple before being released to the store. The process should take 1 to 2 days, but incomplete submissions can lead to delays on the review process or even cause the rejection of the app. Apps with placeholder texts and/or without any events have a right risk of being rejected by Apple. To submit an app to the store, it cannot be in a test state.
Make sure all the buttons have functionality and include as much features as possible to give your user the best app-like experience, this will be taken into account in the review process. Don't forget to explain to the Apple reviewer how she can access your app like a real user, providing login credentials and instructions.
When the review is done and the status of the app changes, you will receive an email on your Apple account.
You can choose to release the app automatically after it has been accepted by Apple or you can release it manually after. If you choose the option to manually release your app, you'll be required to go to App Store Connect after the app status is set up Pending Developer Release and make it live on the store.