The article explains how to customize the following elements:
Homepage
Event registration allows you to fully brand your homepage and make a great first impression. Display all necessary information on this page or create different pages per topic.
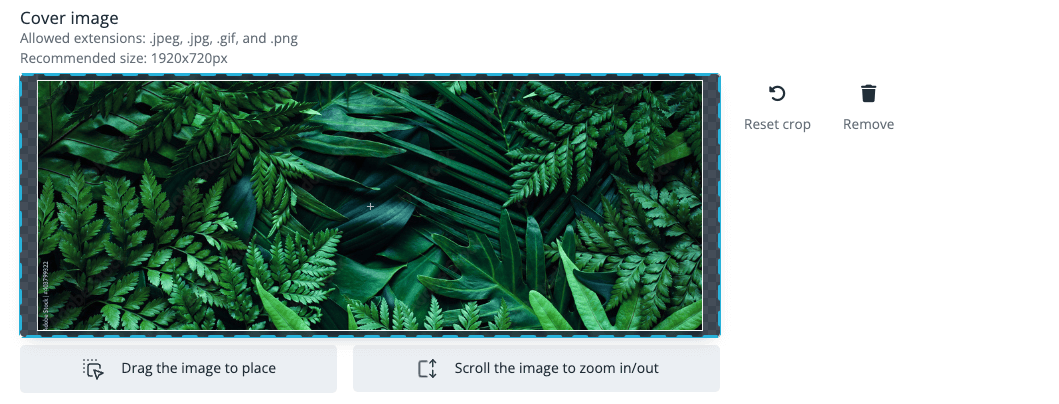
Cover image
Upload a cover image for your homepage. Drag the image to place and scroll the image to zoom in or out. Make sure the image has the recommended size (1920x720px) for optimal rendering.
By default, the cover image will also be displayed on the other pages of your website. You can add specific cover images for additional pages in Content > Website > Additional pages > Cover image for additional pages.
Event title position
Depending on how you want to advertise your event on your homepage, you can display the event title (the name of your event) in 3 different ways:
Underneath the cover image
Choose this option if your cover image contains logos and/or text and if you do not want the event title to be displayed on the image itself. The full cover image will be displayed properly with the event title underneath it. Note that the image will not be displayed during the registration process but the title will appear with the background color of your profile.

Choose this option if your cover image does not contain any logos or text

No title
Choose this option if the title of your event has been embedded in the cover image. You will still see the event title in the confirmation email but not on the event website nor during the registration process, where only the cover photo will be displayed.

During the registration process, the cover image might be slightly cropped to fit the screen, making some areas invisible.
General event description
Use the WYSIWYG content editor to write and design the event description to be displayed on your homepage.
- WYSIWYG content editor
By definition, the WYSIWYG is an acronym for “What You See Is What You Get”. The edited content – text and graphics – you see on the display has the exact same appearance as your web page. Among others, you have the possibility to layout your content as you want, insert links, images, documents, tables, etc.
WYSIWYG content editor can be found throughout the platform for all your customization needs.
Access the code view when pressing the Source icon.

- Insert documents and images
In order to insert documents and images in the WYSIWYG, you first need to upload them in Content > Files.
In the Files section, you can either publish a document on your homepage and/or send it along with confirmation emails. If published on the website, it will appear under the Related files section on the homepage.

Once uploaded in Files, go back to the WYSIWYG and insert your document by pressing the Insert a document icon.

Display options

- Display social network share buttons
Share the event details directly to your favorite social media. Ticking this check box will allow you to share an event on Facebook, Twitter and LinkedIn directly from the homepage, the confirmation page and in the confirmation email.

- <b segoe="" ui",="" roboto,="" oxygen,="" ubuntu,="" "helvetica="" neue",="" arial,="" sans-serif;"="">Display main location
A Google Maps plan is automatically displayed on your homepage. By default, it is set on zoom 8, but the map zoom can be adjusted as per your preferences.
The physical location is by default mentioned in the confirmation emails, tickets, documents and invoices sent out to your attendees. If you prefer to hide the physical location, simply untoggle the Display main location button.
Additional pages
Easily create and edit pages to add to your website from the Additional pages section in Content > Website.
Add dedicated pages for your Partners, Sponsors, Program, Speakers, Confirmed attendees or for any other information. For example, an event organizer might find it helpful to add a page with multiple videos, FAQs, venue information or even some practical company information or policies. We got you covered!
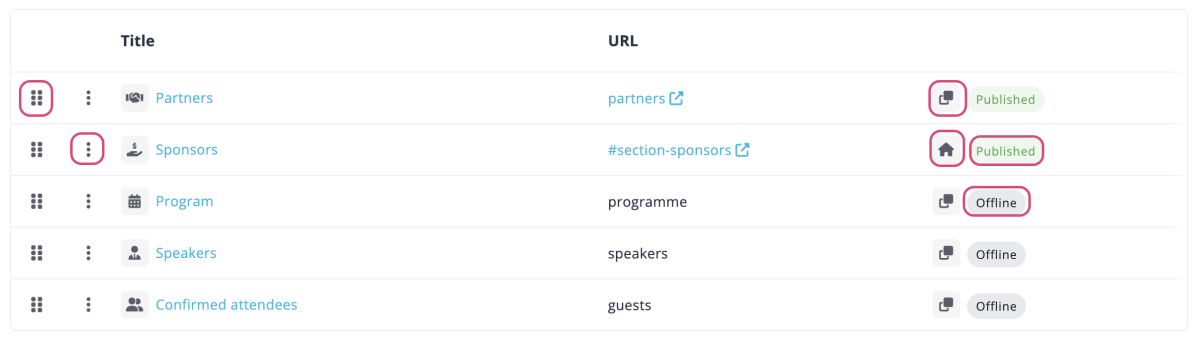
Tips:
- Use the 6-dots button to change the pages order
- Click the 3-dots button to publish, unpublish, edit, or delete the page
- The Page icon indicates the page is a separate page displayed in the menu bar
- The Home icon indicates the page is displayed on your homepage
Pages general setup
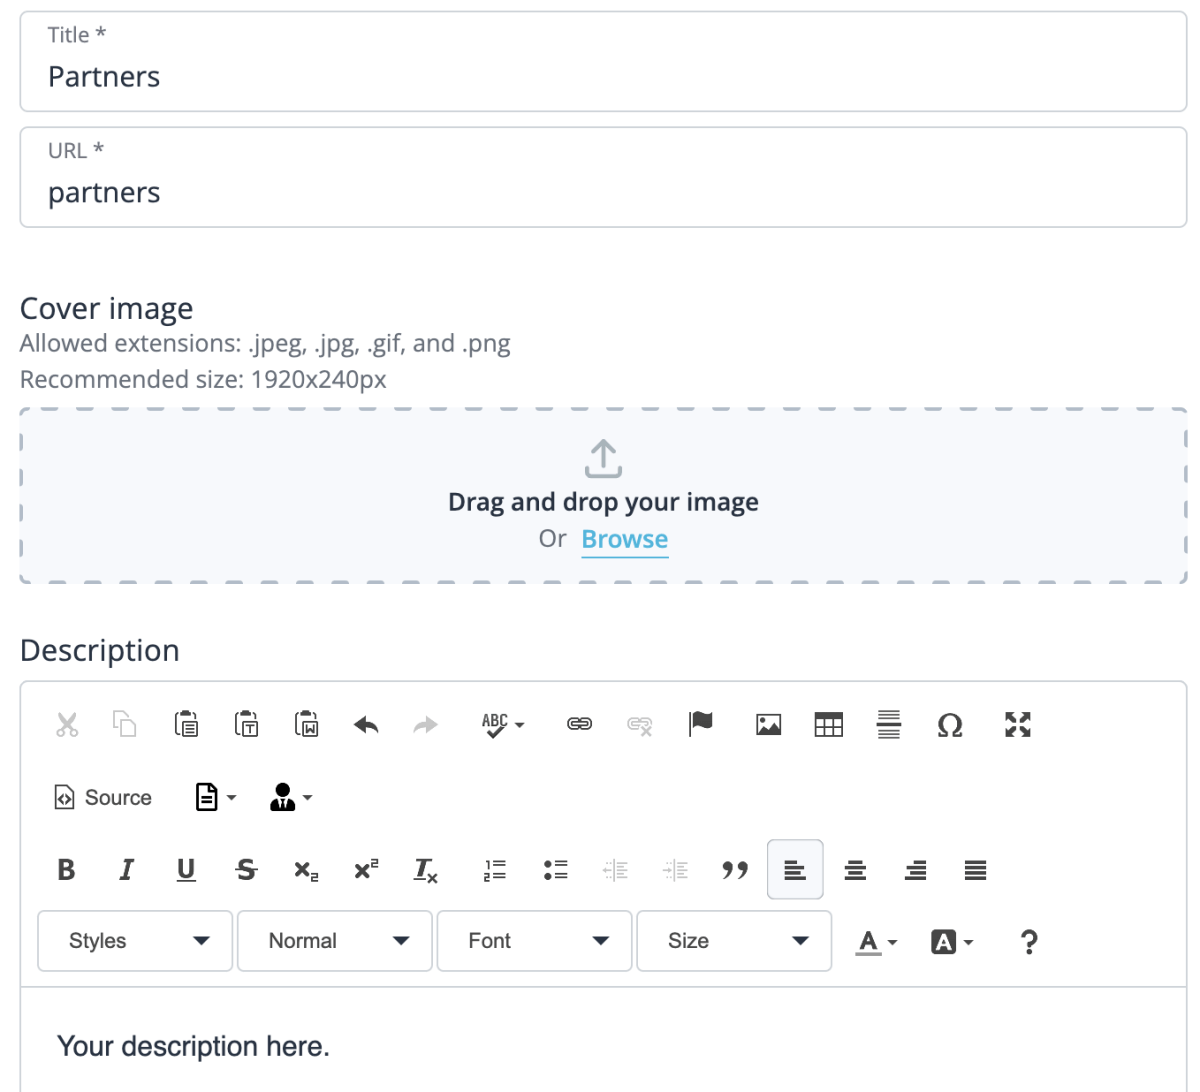
When adding an additional page, start by defining the Title and the URL slug of the page.
The URL slug is the last part of the URL and can be customized as you want
https://name-of-the-account.floq.live/name-of-the-event/pages/ slug
A specific Cover image can be uploaded for any additional page created. This will override your main cover image.
Use the WYSIWYG editor to write and design your page description, as for the Homepage.
When the content of your page is finalized, you can display the content of the page on your homepage and/or in the menu bar, to display social network share buttons and publish the page.
Partners, Sponsors and Speakers pages
The build process is exactly the same for Partners, Sponsors and Speakers. When you Add a partner / sponsor / speaker, you can either Add an existing partner / sponsor / speaker, (amongst all existing partners / sponsors / speakers, in your Profile) or add a new partner / sponsor / speaker from scratch.
- Partners and Sponsors
The following information can be displayed on the Partners and Sponsors card: Name, Short description, Picture, Website and Social Media logos (Facebook, Twitter, LinkedIn). The Long description is displayed when clicking on Read More. Clicking on the Picture will open the Website. Make sure to enter the full URL (with “https://”).
- Speakers
For the Speakers page, the information is slightly different as you can also display the Job title and the Company.
You can access your list of speakers at the Profile level (Left side bar menu > Profiles > Content > Speakers). You can either manage speakers and translations from there or directly from the speakers page.
Discover how to link speakers to your program sessions in the forthcoming Program Builder section.
Program page
Find out more explanations in the upcoming Program Builder section.
Confirmed attendees page
The Confirmed attendees page will anonymously display a table view of your attendees' company and job title.
Content page
If you do not find what you need in the existing page templates, simply create a blank content page and edit it as you like.
Programme builder
With this groundbreaking feature, you can now build your entire event program with ease and flexibility. Whether you prefer to start from scratch or generate it from existing sessions in the backend, this feature empowers you to create a program that perfectly aligns with your vision and requirements.
Getting started
Navigate to Content > Website > Additional pages > Add page and click Program to create your program.

Start by defining the title and the URL slug for the page and click Save to access the Program Builder. Just as for other additional pages, a specific cover image can be uploaded, a description can be added, and you now also have the possibility to display the program on the homepage of your event website.
The program builder gives you the ability to effortlessly design your program. Create tracks and seamlessly drag and drop sessions from the left panel onto them. You can add, remove, reorder, or duplicate tracks and sessions and include as many as needed. Use the 3-dots button to edit, duplicate, or delete your tracks and your sessions.

On the website, registrants will have the ability to navigate between tracks, enabling them to explore and engage with the diverse offerings of the program.

Create tracks
Tracks are the first layer to build your program. You can create tracks using various dimensions, such as date, location audience, or any other relevant categorization that helps to organize your program seamlessly and effectively.
Start by defining a title and a description (if necessary). Depending on the features activated on your event, you have the choice to build your customized track from scratch or import existing sessions from a specific date or category. No matter which option you choose, you will be able to add, remove, and reorder sessions on your track at any time.

Customize your session's time format by choosing from three options. Select between displaying a long or short date format or opt for a time-only format. The time format is automatically adjusted based on the regional settings selected in General > Essentials > Regional settings.

Toolbox
In addition to Existing sessions, you have two other fields to help you build your program: Blank Sessions and Content. They give you the flexibility to design your program exactly the way you want it.
Blank sessions
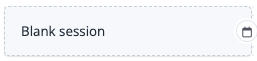
With blank sessions, you can create sessions directly on your program page. Blank sessions are not associated with any categories, options, or groups in the Tickets section (unlike Existing sessions).
Simply add a title and a description using the text editor. You can also include a start date and an end date to provide a clear timeframe for your session.
If you have designated speakers for your session, you can easily link them. By doing so, their name and picture will be displayed on your program, providing registrants with valuable information. The speaker icon helps you identify sessions with assigned speakers in the backend.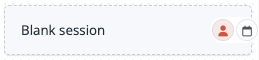
You also have the option to give your sessions an extra level of visual distinction with color highlights.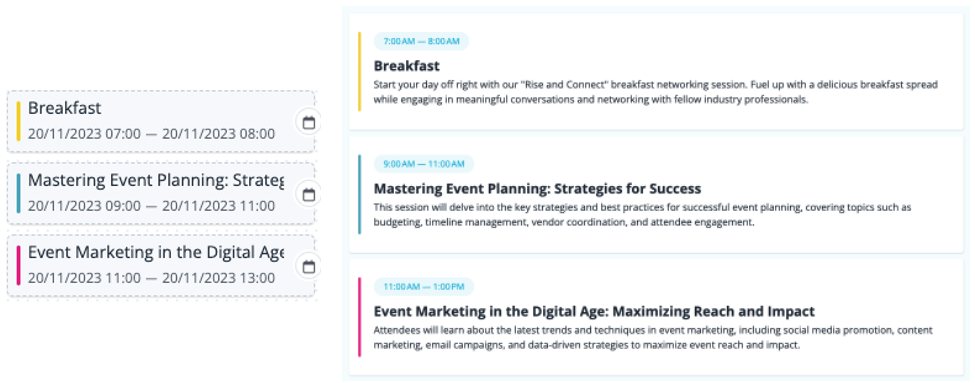 To give you the utmost flexibility in tailoring your program, none of the fields are mandatory, except for the title. This means you can choose to include as much or as little information as you prefer for each session.
Content
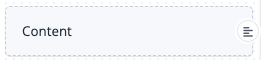
Content fields offer unparalleled flexibility by allowing you to create diverse types of content. Whether it is adding titles, pictures, videos, or any other form of content, this field lets you customize your program and improves the registrant experience.
Simply add a title and a description using the text editor and use color highlight should you need to create an extra level of visual distinction.
Existing sessions
Existing sessions are sessions that are linked to categories, options, or groups. When you add a category, an option, or a group in the Tickets section, it will automatically be available in the left panel so that you can drag and drop it onto your track(s). You can easily distinguish them by their dedicated colored icons in the backend.

Any changes made to these sessions will automatically be reflected in the associated category, option, or group in the Tickets section. Likewise, any updates made directly in the category, option, or group will be reflected in the existing sessions. Please ensure accuracy and consistency when modifying sessions, categories, options, or groups.
Existing sessions cannot be directly duplicated in the program, but categories and options can be duplicated in the Tickets section.
When you drag and drop a group onto a track, you can select if you want to import the group along with the linked sessions or only the group without any sessions.
If you plan to use Existing sessions, we recommend finalizing the setup of your Tickets section before building your program.
Register
Customize your communication all the way through the registration process in the Content > Register section.
Important info
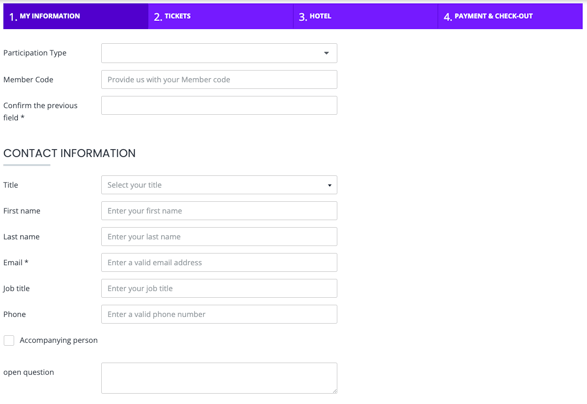
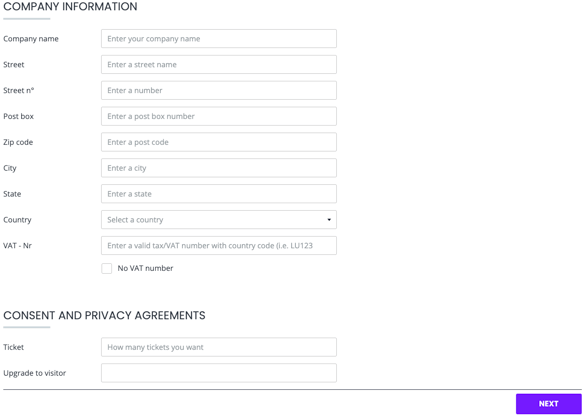
On each page of the registration process you have the possibility to add important information:
- Underneath the registration form
on My information page
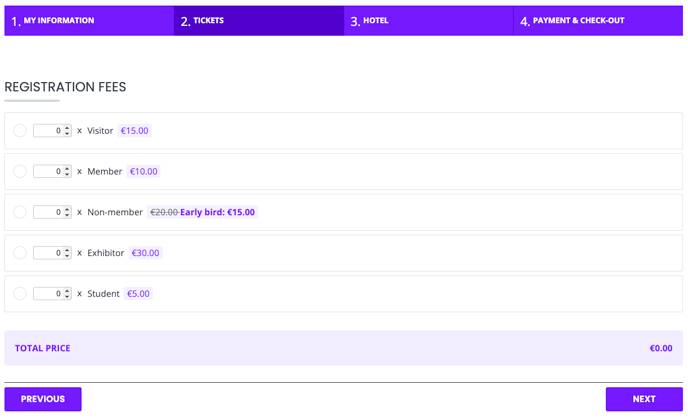
- Underneath the categories and options form
on Tickets page
- Underneath the hotel booking options
on the Hotel page.
- Underneath the registration summary
on the Check-out page
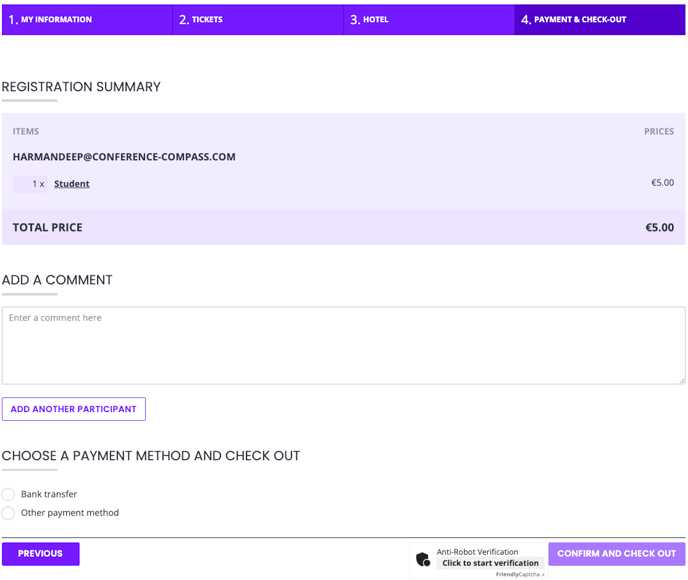
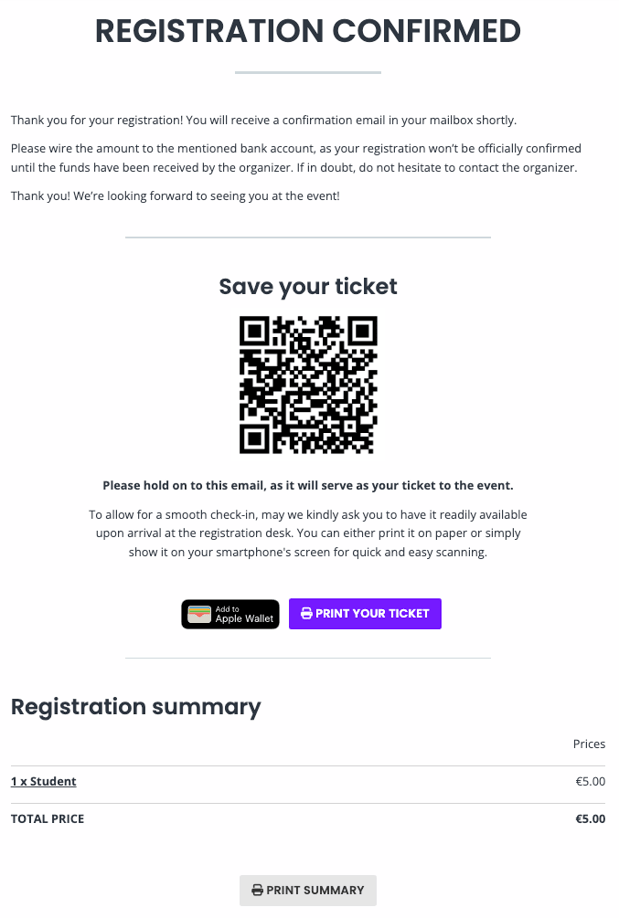
Confirmation page
- Explanations texts
Edit the texts registrants will see on the check-out page. The texts may be different depending on whether it is a free or a paid event, on the chosen payment method, and on the activation of certain features (Not coming, Notify me, etc.).
- Print Summary
Only available for paid events with several categories, this feature allows attendees to print their registration summary directly on the Confirmation page. The summary includes the registration form, the category and/or option(s) and the QR code.
Enhance the communication with your registrants
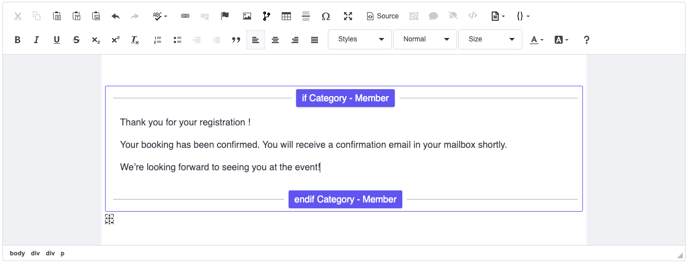
- With conditions
Registrants can receive specific messages depending on the category and/or option(s) they registered for if you create conditions in the WYSIWYG content editor. Use the Insert condition button to select a category or an option.
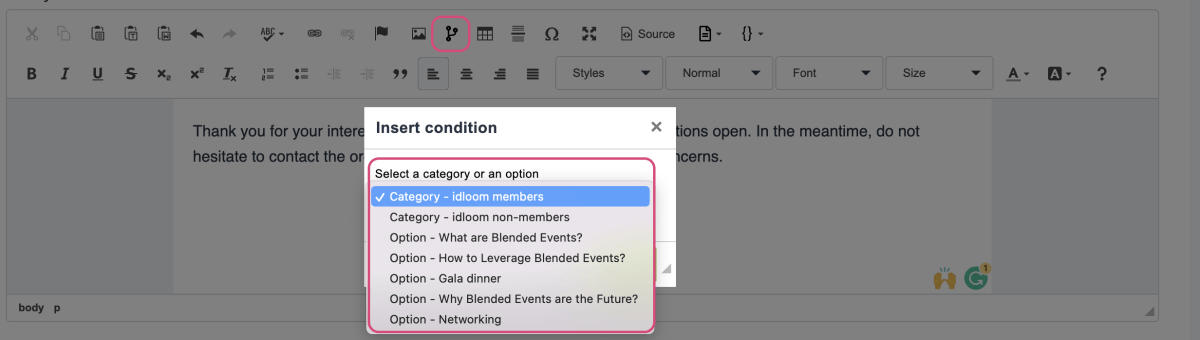
You can then create content that is relevant to your targeted audience in the appropriate area.
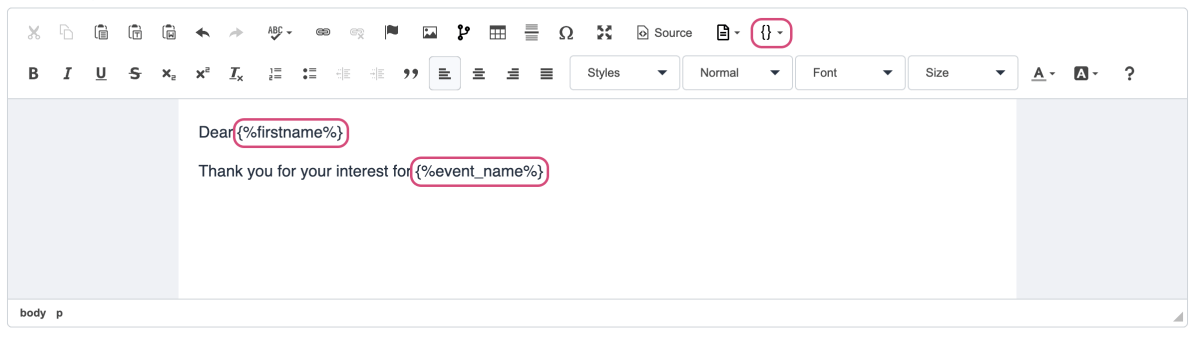
- With merged fields
Improve the quality of the messages sent to your registrants with the merged fields functionality. Use the Insert field button to select a field from the list. The list may be different depending on your registration form and registration settings (category, option, etc.).
Automatic emails
Confirmation email
By default, Confirmation emails are sent automatically to registrants. But you have the choice to deactivate this feature and to manually send Confirmation emails to your registrants from the List of attendees (General > Attendees > Attendee's details > More actions > Send confirmation email).
Confirmation emails can be customized with several display options: Subject, Title, specific Cover image, Attendee’s details, and Main location.
Edit the texts registrants will see in your emails in the Explanations texts section. The texts may be different depending on whether it is a free or a paid event, on the chosen payment method, and on the activation of certain features (Not coming, Notify me, etc.).
– Pro tip –
Improve your email communication by using Conditions and Merged fields (detailed explanations can be found in the previous chapter).
Toggle the Be in BCC of automatic emails button if you want to add an email address to be in BCC of all automatic emails. This address will receive a copy of all the emails that are automatically sent to your registrants (confirmation emails, cancellation emails, modification emails, and failed payment emails).

Other automatic emails
Apart from the confirmation email, registrants will also receive other automatic emails depending on specific actions. Edit the texts registrants will see in these emails in the Explanations texts section.
- A Cancellation email if they cancel their registration
> if Allow attendees to cancel their registration is activated in Registration > Settings - A Modification email if they modify their registration
> if Allow attendees to modify their registration is activated in Registration > Settings - A Failed payment email
> if for some reason their payment was unsuccessful
QR Code
Activate and display QR code on the confirmation page and in the confirmation email.

Edit the QR code description in the WYSIWYG to improve the communication to your attendees.
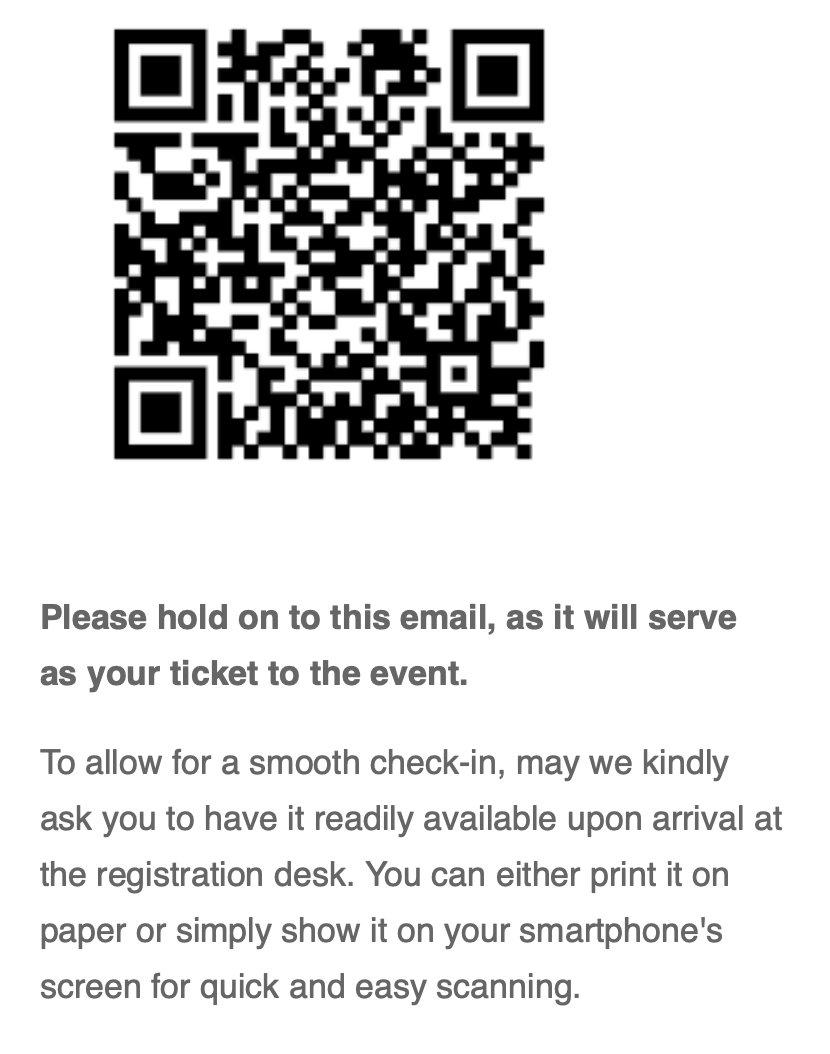
QR code can be scanned for a global check-in at the entrance of your event or for specific sessions. Easily know who attended which sessions and even how long they stayed.
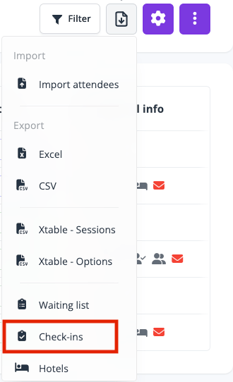
Export the Check-ins information from the List of attendees (General > Attendees > List of attendees > Import/Export button > Check-ins).
If you prefer to use an external check-in system, please select QR code for external check-in system. The QR code will be using your attendee’s UID and will allow you to get you to get all the check-in information.
Foldable ticket
A foldable ticket is automatically generated as an E-ticket for your attendees. Attach foldable ticket to confirmation email and let your registrants print the document and fold it into to fit in the provided lanyards. It can be used as a badge and as a ticket to be scanned at the event entrance for check-in.
Edit the Foldable ticket description in the WYSIWYG to improve the communication to your attendees.

Attachments
Choose the files you want to attach to the confirmation email : foldable tickets, invoice or proforma/receipt.