Form
Customize the registration form and collect only the information you need.
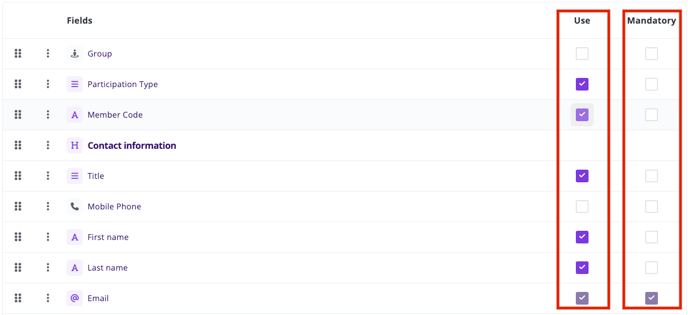
Check the fields you want to use in your registration form and set which ones are mandatory.
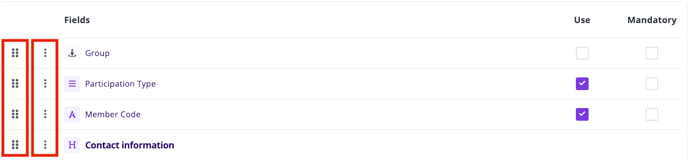
Use the 6-dots button to change the fields order: simply drag and drop the fields to organize your registration form more efficiently.
Use the 3-dots button or click the field name to edit it.
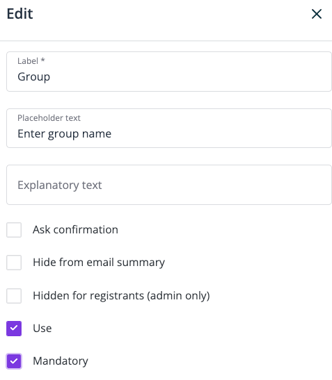
Edit the field to change the label, the placeholder text, the explanatory text and other predefined values.
The registration form is composed of pre-defined fields like First name, Last name, Email, Job title, etc. that will appear in your list of attendees and in your files.
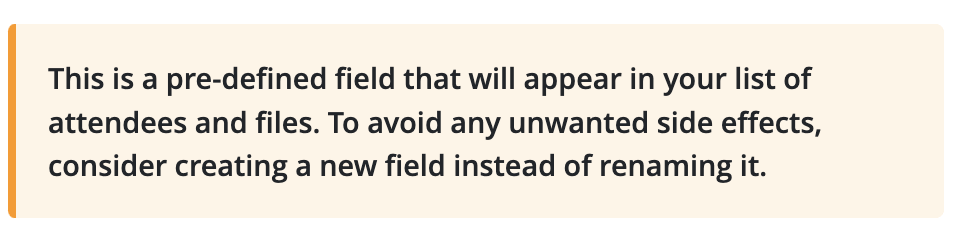
Pre-defined fields contains this warning message when you edit them. To avoid any unwanted side effects, do not rename pre-defined fields but create new ones instead.
If you do not find the field you need in the pre-defined ones, simply create a new one with the + Add field button and use our field templates.
Collect the exact information you need from your attendees and create unlimited number of custom fields.
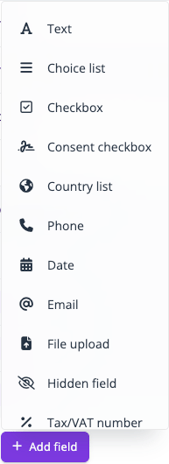
E-mail field
The simplest way of restricting who can register to your events is to define the list of email addresses’ domains that are allowed to register. Simply enter the domains (starting with @) that are accepted separated by ";" and only allowed domains will be able to register. This feature is useful for internal events, for which you only want email addresses from your organization to be able to register.
Phone field
Activate country dialing codes so that your registrant has to enter validated input based on the chosen country.

File upload field
Let your registrants upload documents directly from the registration form.
Text field
Add multi-line free text fields and edit placeholders for more versatility. This allows you to ask registrants for more complex information, such as questions about their preferences, their jobs or companies, about what they expect from the event, or even very elaborate questions that are specific to each individual event. Registrants can answer these questions on multiple lines (if “Multi Line” box is checked).
Hidden field
Create fields which only event managers can see in the backend and in the list of attendees export. It is very useful to keep hidden information about your attendees.
Form conditions
Customize your registration form by applying conditions and actions on certain fields and categories.
Step 1: Requirements
Select whether My information or Ticket is step one of the registration process of your event by navigating to General > Essential > Registration flow.
- If My Information is step 1, registrants will need to answer the form before being able to select their ticket.
- If Ticket is step 1, registrants will select their ticket first and then answer the form.
Go to Registration > Form to create form questions and display them in the order they should show on the form. The default display is the order in which they are set up in the Form. Conditions will not alter the order in which the fields are displayed. Therefore, it is very important that the fields are in the order they should be displayed in the registration process. These fields will be important, as they will be the options in Step 2.
Go to Tickets > Category to create a category for each registrant type. These are necessary to only display the respective options available to each registrant type.
Step 2: Determine displayed and hidden fields
Go to Registration > Form conditions and use the toggle buttons to unselect the fields from the list that will initially be hidden to registrants. Typically, the basic fields like First name, Last name, Email, and the first trigger fields will be displayed. The other fields will remain hidden and will be displayed based on the conditions that will be set up in the List of conditions.
Step 3: Add conditions
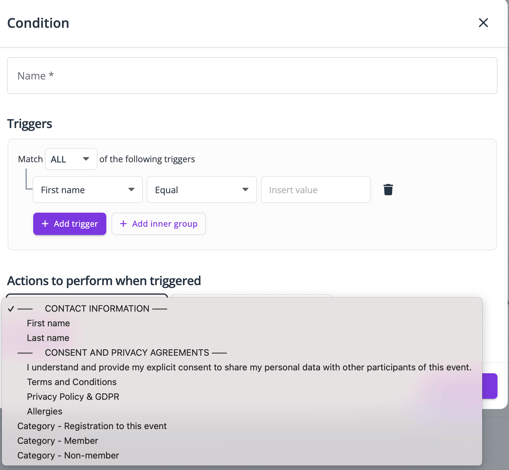
Go to Registration > Form conditions and click Add condition at the bottom of the page. The condition window will pop up.
Create a condition and assign the answer that will trigger the next set of actions. Form fields and categories are automatically populated and can be selected from the Actions.
There can be multiple conditions created. Decide if your conditions should Match ALL or Match ANY conditions for the next actions to take place.
For example, if a choice list field says: I am a(n): Elected Official; County Staff Member; Other, the organizer will pick one of them to create a track. Then, the organizer will add the actions that will be triggered by this answer. So, that Elected Official will answer the fields specific to her.
While adding the fields that will be triggered, the organizer has the option to show or hide the field. Continuing with the example from above, the Elected Official will then have a series of fields that will show in the form.
Lastly, the category should be set to Elected Official to only show the options available for that registrant type.
Alternatively, the organizer can change the registration flow and have the tickets be the first step in the process. In this case, the condition will be the category equal Elected Official. From there, the actions can be activated, and the respective fields will show or hide based on the action chosen.
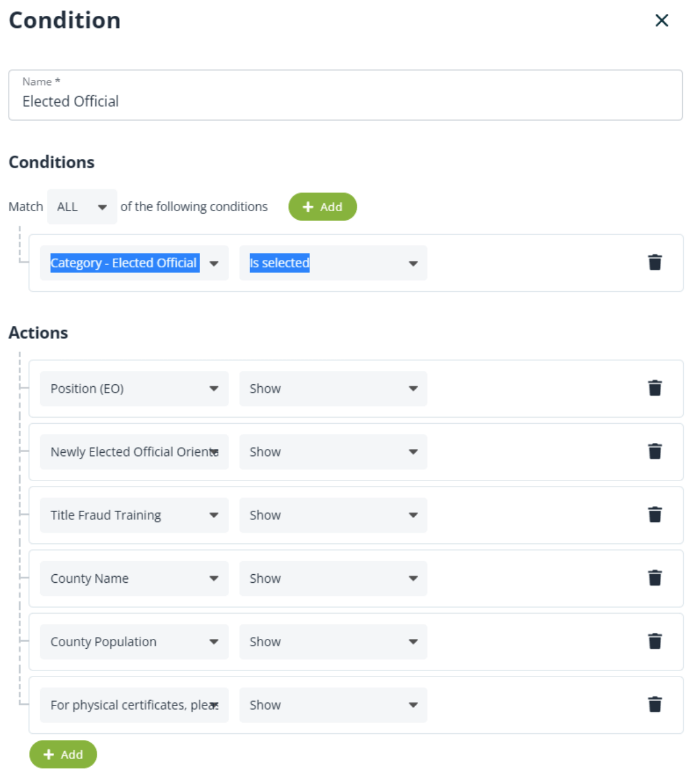
In this example, the Elected Official condition is complete, unless there are other conditions to other questions in the form that need to be set up.
Step 4: Create other conditions
Repeat the same steps to create conditions for the County Staff Member and the Other categories. This will enable each registrant to answer a specific set of fields on the form and see only the option available to them.
If the actions are not too different, you can duplicate the condition (by clicking on the 3 dots next to the condition's name) and edit it. This will help save time and not have to start from scratch for similar conditions.
Step 5: Check all conditions and actions work
Make sure that all actions are set up and triggered properly in the registration form on the registration site.
Registration settings
Customize the registration process
- Force email uniqueness
Avoid that someone registers twice with the same email address on the same event and avoid getting duplicates in your list of attendees.
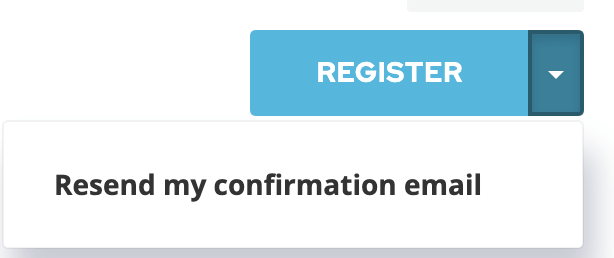
- Allow attendees to resend themselves the confirmation email
Let your registrants simply enter their email address on the event website to resend themselves the confirmation email.
- Allow attendees to modify their registration
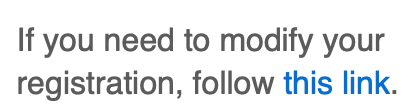
This feature saves you valuable time while giving your registrants more control over their own registration. Attendees can modify their registration at any time by clicking on the Modification link received in the confirmation email.
They will be redirected to the first page of their filled-in registration form, where a pop-up will appear asking if they wish to modify their registration.

It is voluntarily limited to adding options in case of paid event, so you won’t get any last-minute cancellations or have to deal with reimbursements. Attendees won't be able to uncheck the paid options they already purchased.

- Allow attendees to cancel their registration
Attendees can cancel their registration at anytime by clicking on the Cancelation link received in the confirmation email.

They will be redirected to the first page of their filled-in registration form, where a pop-up will appear asking if they wish to cancel their registration.
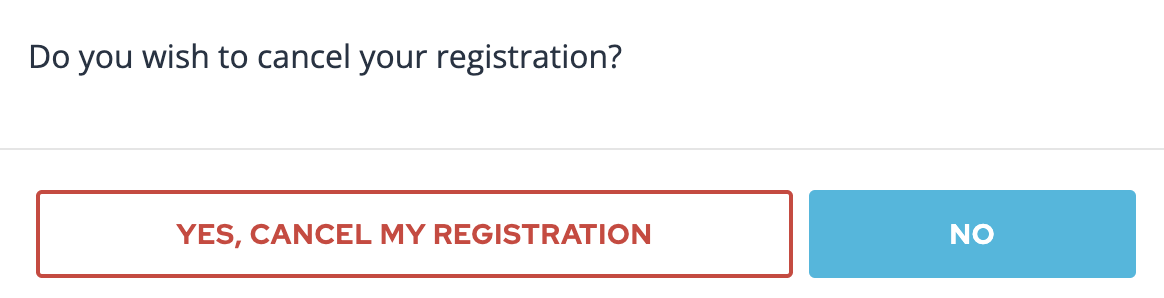
Your cancelled attendee will subsequently find himself under the status Cancelled in your list of attendees.

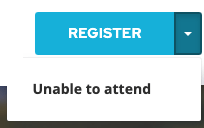
- Allow registrants to notify that they will not attend
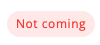
Let your attendees inform you they won't be able to attend your event.
They will subsequently find themselves under the status Not coming in your list of attendees.
- Display Terms and Conditions
Enter your terms and conditions for registrants to read and accept. Alternatively, enter a text and link to your company’s terms and conditions page.

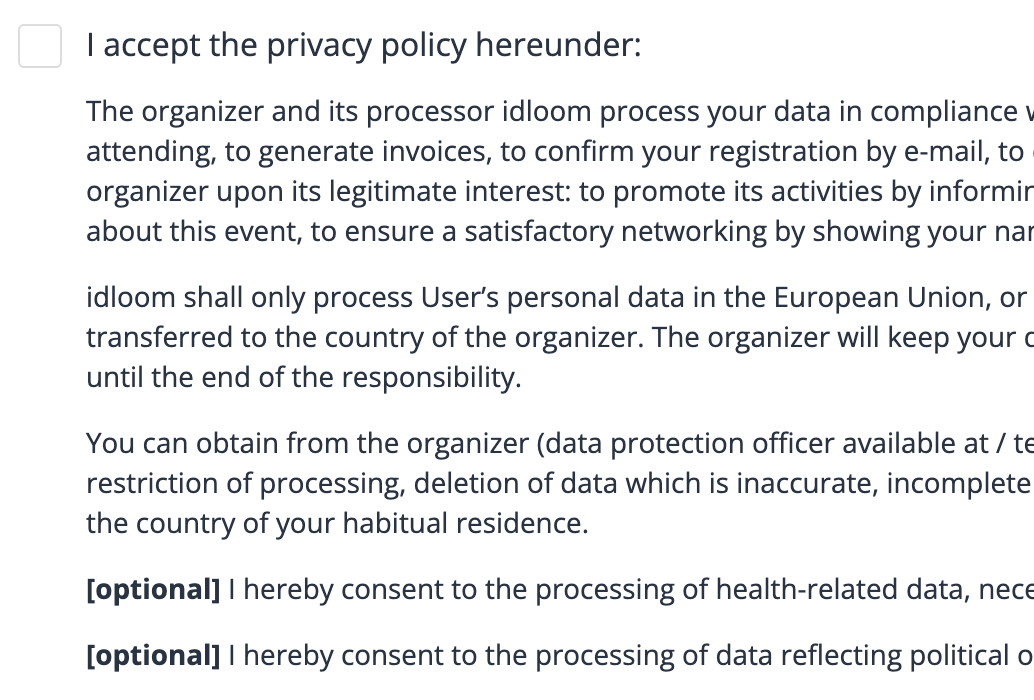
- Display Privacy Policy & GDPR
Get Privacy policy & GDPR consent from your attendees. As a service provider, Conference Compass is willing to guarantee that the organization of your events will comply with these requirements.
This is why, when setting up your event, we propose a (rather short) model of privacy policy to validate when registering for your events. You can of course customize it to better align with your needs or the specificities of the use you intend to make of the collected data.
Integrated app
This feature restricts the registration process to people with a login to integrated app on the event.
Restricted registration
Decide who can register for your events, and pre-fill the data of invited guests. If you need to prevent undesired registrants from registering, event registration lets you restrict registrations in multiple ways: with email domain restrictions, with code restrictions, by linking with third-party software.
Email domain restriction
Go to Registration > Form and edit the field Email. Simply enter the domains (starting with @) that are accepted in the Allowed domains field, separated by “;” and Save. This feature is useful for internal events, for which you only want email addresses from within the organization to be able to register.
Code restriction using the same code for all registrants
The second way of restricting registrations to your events goes further, and lets you define a unique access code for all registrants to access the form.
Activate restricted registration, select Use the same code for all registrants and save. Registrants will need to enter the code to be able to register. It’s simple and effective!
In Pop-up text, enter the text you want to appear when people are prompted to enter their code. Make the code mandatory and define the code you need.
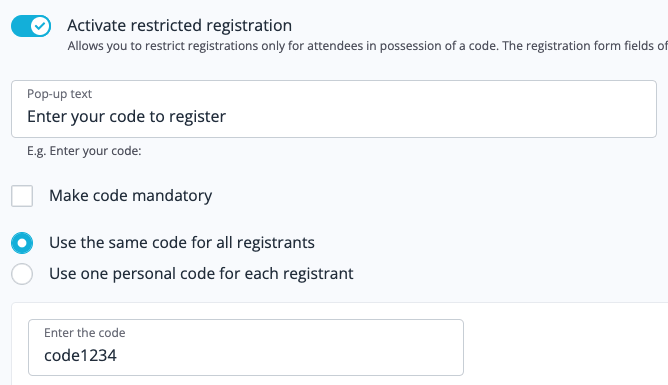
As a result, only people with the code will be able to register to the event.
Code restriction using one personal code for each registrant
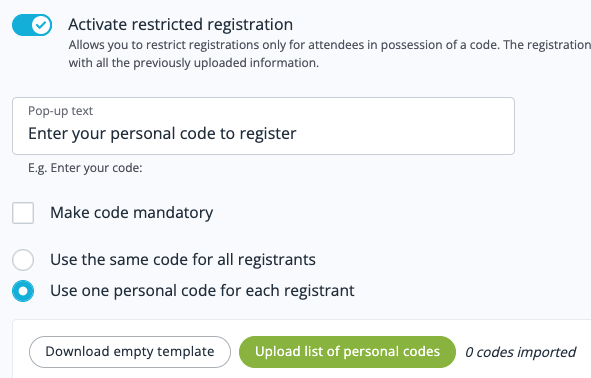
If you want to go even further and restrict registrations in a more personalized way, you can upload a list of people in the backend and define a unique code which is individual to each of them.
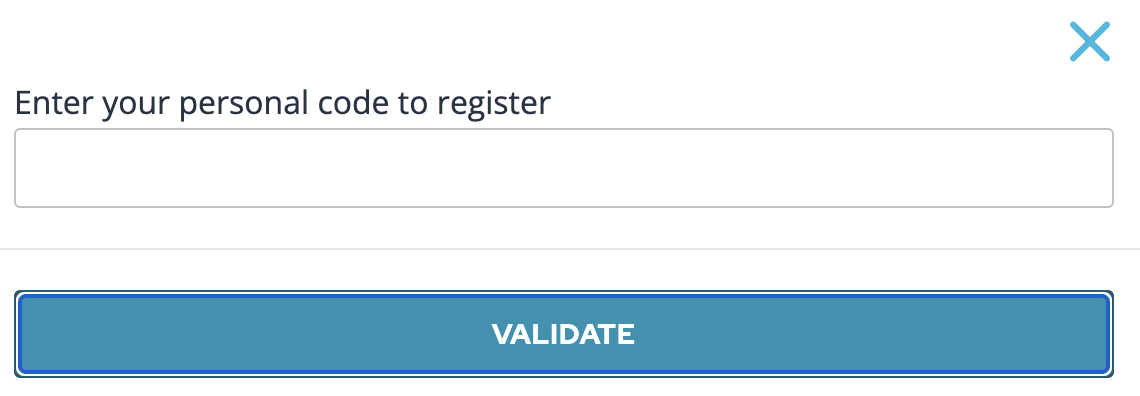
Activate restricted registration, select Use one personal code for each registrant and save. Registrants will need to enter their own code to be able to register.
In the Pop-up text, enter the text you want to appear when people are prompted to enter their code. Make the code mandatory or not (if you also want to let people register without any code).
As a result, only people with the code will be able to register for the event.
- Click on Download the empty template. The spreadsheet matches precisely all the fields created in the Form and the Categories & Options defined.

- Fill out at least the guests personal code (in column A - Registration code) and their email address. You have the choice to fill out more information if you need.

- You can also pre-select categories and/or options for each guest by filling the column with a 1 in the required field(s).

- Once all data has been inserted, save your document. Click on Upload the list of personal codes to import your spreadsheet and Save. There will be a notification on the top right corner of your screen “The import will start soon. You’ll be notified by email when it is done.” You will receive an email once your codes have been imported.
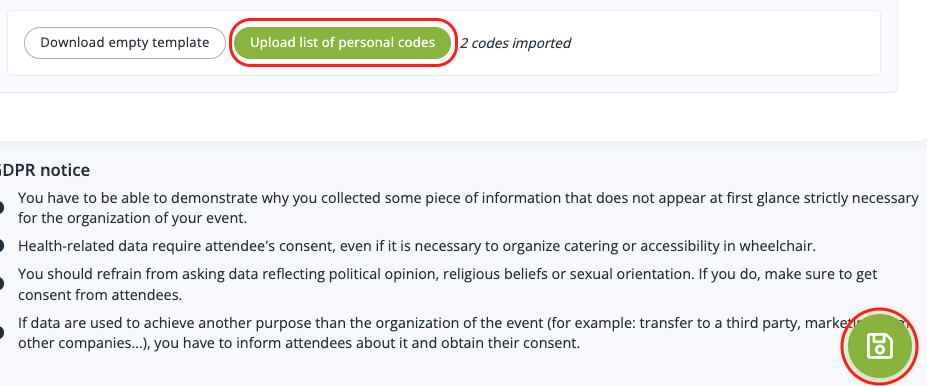
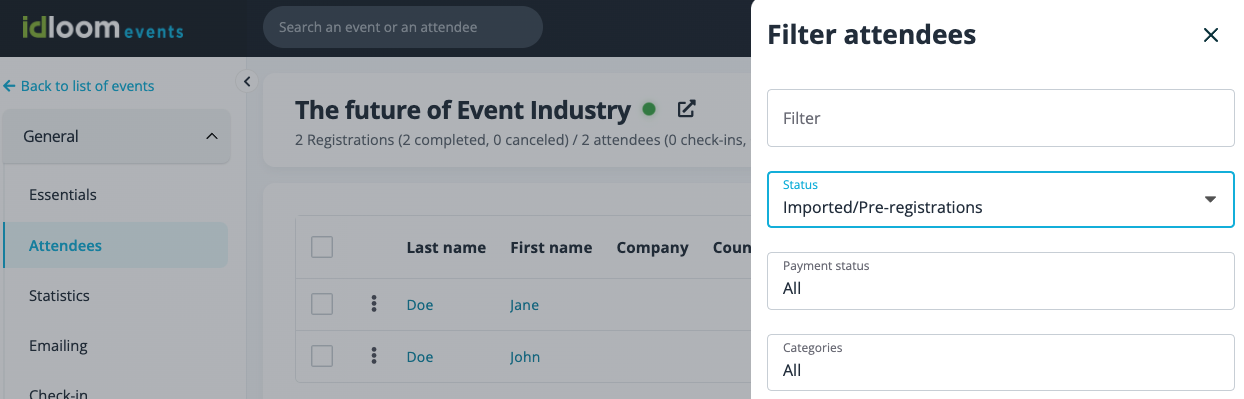
- The imported guests are automatically added to the List of attendees (General > Attendees) under the status Imported / Pre-registrations. Filter your List of attendees on this status to see your imported guests.
All registrants entering their codes will have their form pre-filled with the data previously inserted. Once they’re registered, their status will automatically be changed from Imported / Pre-registrations to Registration complete. The personal code can be used only once.
If registrants do not have a code, they will not be able to register if the code is mandatory. They’ll only be able to register if it is not mandatory, but in this case the form won’t be prefilled with their information.
Tips:
- A unique code can be anything – email address, badge number, student ID, etc.
- All you have to do is communicate the code to your invitees when you send out invitations
- From the imported codes, you can generate custom URLs directly opening the pre-filled form without having to enter the code first
- It’s a great way to distribute a fixed number of seats for a select group of people (i.e. 10 tickets available to a given company).
Restricting registrations by linking with third-party software
Because of event registration's extensive set of API features, you can also restrict registrations by systematically matching registrant's email addresses to whitelisted contacts in your CRM system. This does however require some setup. Don’t hesitate to contact us if you need any assistance with this.