Badge layouts
Go to the Account section from the left sidebar menu. Click on + New clip badge layout to create your badge layouts (page size, badges per page, badge size, page rotation…).

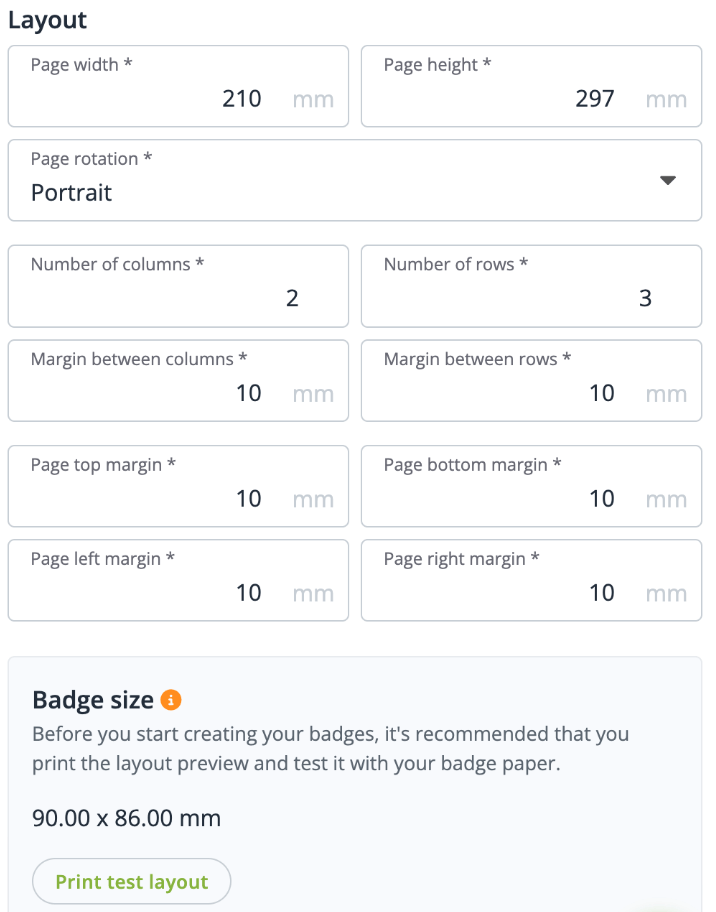
- Enter your paper size (page width and height)
- Add number of columns & rows to define how many badges will be print on your page
- Set up margins according to your printing needs
- Use the preview to view how your badges will be displayed on the page
Once your layout is created and set up as you wish, you can design your badges in your events.
Badge design
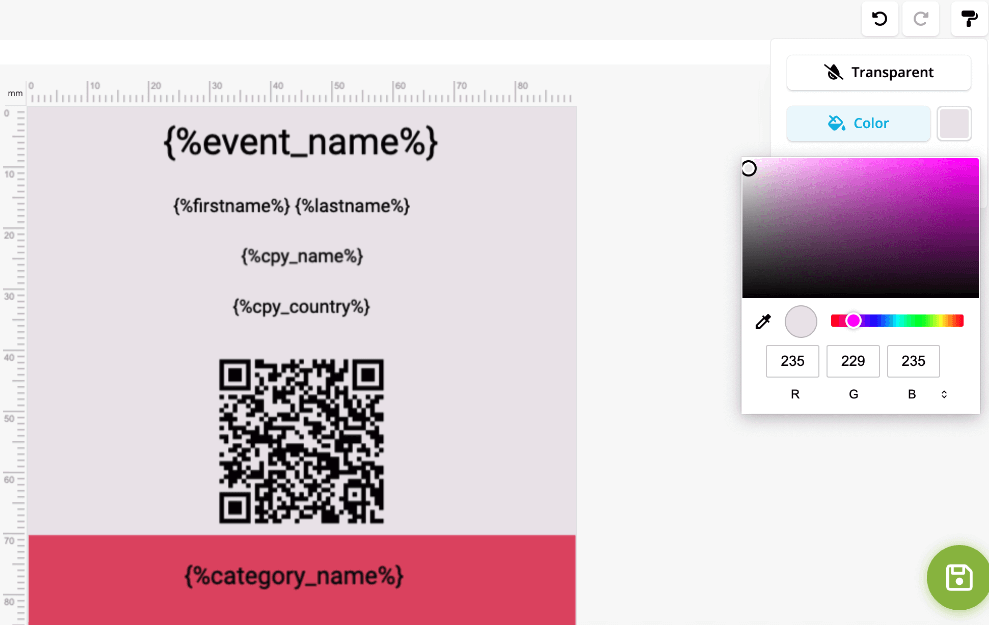
Go to your Event > General > Badges to design your badges. Click on the + New badge button and select one of the clip badge layouts available to you. Fill in the badge name as this will be helpful to differentiate the different types of badges you are creating for different attendee types.
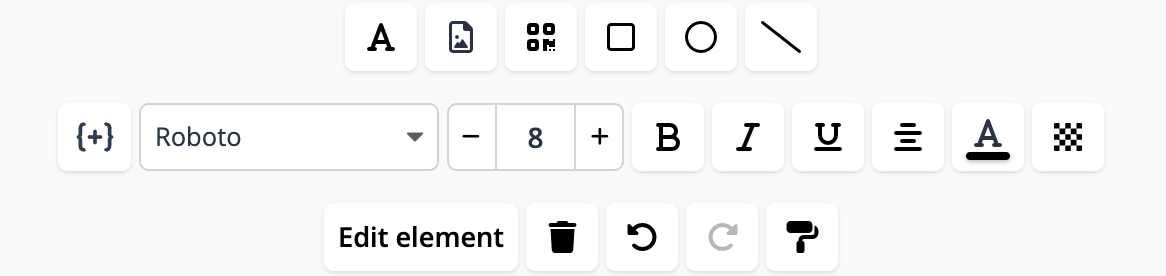
In the badge editor you will find a series of options to customise your badges.
- Text block to include texts or merged fields (Event name, Category name, First name, etc.),
- Image as background or as a file,
- Shapes: squares, circles, triangles or lines,
- QR codes to support onsite check-in,
- Additional options: alignment, colors, etc.,
- Duplicating options,
- And much more...
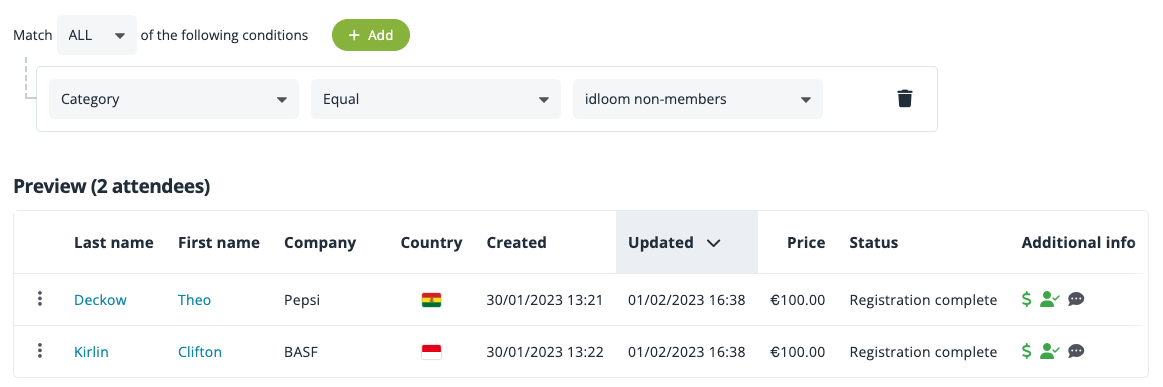
Edit segment
Choose to whom the badge design should apply by configuring a segment. Set this up to apply to all attendees or to specific attendees based on conditions on form fields and values, participation types, categories and options, tags, etc.
Print badges
Once you are happy with the design and you have created the correct segment of attendees, you can see the result of the badge and the printings options. Download your badges in PDF when you are ready.
Check-in
During check-in, a print badge button appears for each attendee. Simply click on this button to print the attendee’s badge.